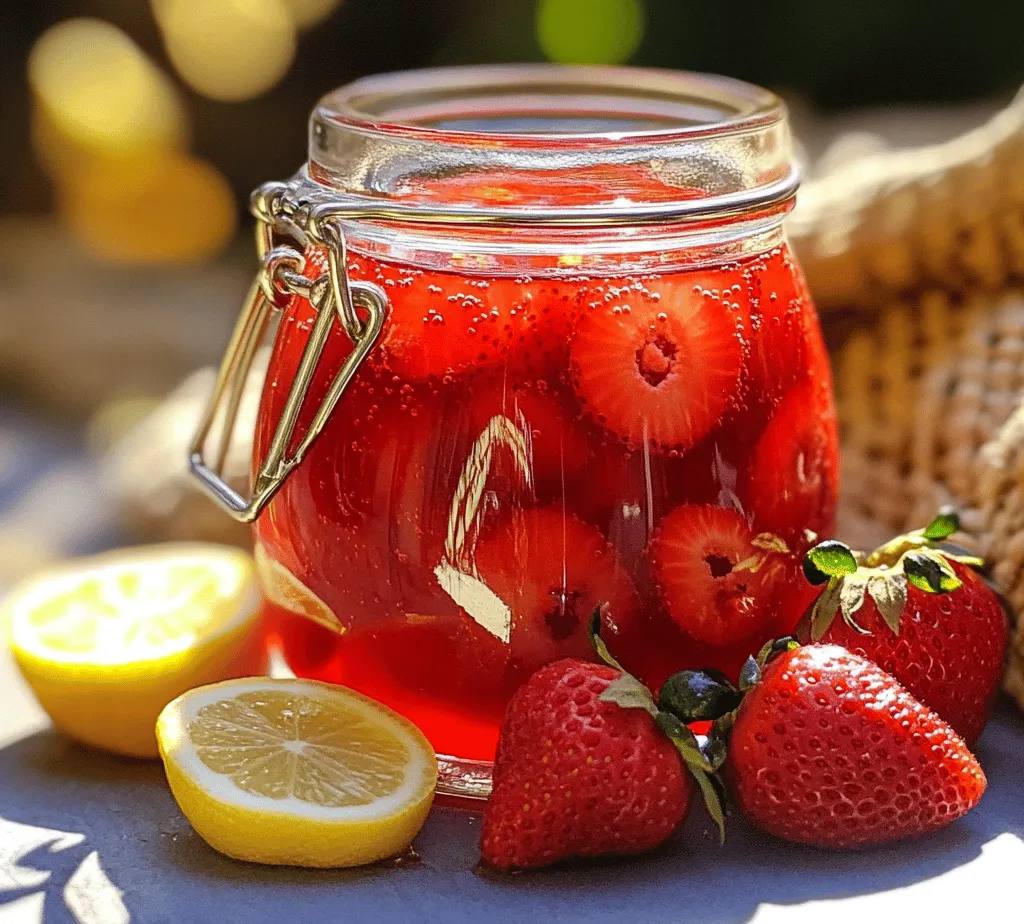
Introduction to Homemade Strawberry Syrup
There’s something undeniably enchanting about the vibrant sweetness of strawberries that captures the hearts and taste buds of many. Homemade strawberry syrup is a delightful way to harness the essence of fresh strawberries, transforming them into a luscious liquid that can elevate a variety of dishes and beverages. Whether drizzled over pancakes, swirled into yogurt, or mixed into cocktails, this syrup brings a burst of flavor and a touch of elegance to any meal.
The allure of making your own strawberry syrup lies not only in the rich, natural taste but also in the control you have over the ingredients. By opting for fresh strawberries and minimal additives, you can create a syrup that is not only delicious but also free from preservatives and artificial flavors. The process is straightforward, and the end result is a stunning, ruby-red syrup that is as pleasing to the eye as it is to the palate.
Using fresh ingredients is paramount in this recipe. The quality of strawberries directly impacts the flavor and texture of the syrup. When in season, locally grown strawberries provide the best taste and nutritional benefits, making them the ideal choice for this homemade elixir. Furthermore, the versatility of strawberry syrup cannot be overstated. It can be used in an array of culinary applications, ranging from breakfast staples to sophisticated desserts and refreshing drinks.
Imagine waking up to a stack of fluffy pancakes drizzled with sweet strawberry syrup, or serving a scoop of vanilla ice cream topped with this vibrant concoction. The possibilities are endless, and each spoonful brings the taste of summer to your table year-round.
The Allure of Strawberries: Nutritional Benefits and Flavor Profile
Strawberries are not just a treat for the taste buds; they are also a powerhouse of nutrition. These vibrant berries are low in calories yet high in essential vitamins and minerals. A single cup of sliced strawberries provides more than 100% of the daily recommended intake of vitamin C, which is crucial for immune function and skin health. They are also rich in antioxidants, particularly anthocyanins, which are responsible for their bright red color and are known to combat inflammation and oxidative stress.
In addition to vitamin C, strawberries are a good source of dietary fiber, folate, and potassium. The fiber content aids in digestion and helps maintain a healthy gut, while folate is important for cell division and overall cellular health. The potassium in strawberries can assist in regulating blood pressure, offering heart health benefits.
From a culinary perspective, strawberries possess a unique flavor profile that strikes a lovely balance between sweetness and acidity. This duality makes them incredibly versatile in the kitchen. The natural sugars in strawberries bring a pleasant sweetness, while their slight tartness adds complexity to dishes. This flavor harmony is what makes strawberry syrup such a popular choice; it can enhance both sweet and savory dishes, providing a depth of flavor that is hard to resist.
When incorporated into recipes, strawberries can transform simple ingredients into something extraordinary. Whether you’re creating a refreshing summer drink, a decadent dessert, or a breakfast treat, the addition of strawberry syrup can elevate the dish, creating memorable culinary experiences.
Essential Ingredients for Strawberry Syrup
To create homemade strawberry syrup, you will need a few key ingredients that work synergistically to produce a rich and flavorful end result. Here’s a detailed breakdown of each ingredient and its significance in the syrup-making process:
Fresh Strawberries: Selection and Preparation
The star of the show is undoubtedly the strawberries. For the best results, choose fresh, ripe strawberries that are in season. Look for berries that are bright red, firm, and free from blemishes. Overripe or mushy strawberries may lead to a syrup that lacks texture and flavor.
Once you have selected your strawberries, it’s important to prepare them properly. Begin by gently rinsing them under cold water to remove any dirt or pesticides. After rinsing, hulling the strawberries is the next step. This involves removing the green leafy tops and the white core of the berry. You can use a small knife or a dedicated hulling tool for this task. Once hulled, slice the strawberries in half or quarters to ensure even cooking and maximize their flavor extraction during the syrup-making process.
Granulated Sugar: Role and Alternatives
Granulated sugar plays a crucial role in the creation of strawberry syrup. It acts as a sweetener, balancing the natural tartness of the strawberries and enhancing their flavor. The sugar also aids in the preservation process, helping to extend the shelf life of the syrup.
While granulated sugar is the traditional choice, there are alternatives you can consider if you prefer a different sweetening method. For example, you can use coconut sugar, honey, or agave syrup. Keep in mind that each of these alternatives may impart their own unique flavors, which can complement or alter the taste of the strawberry syrup. If using a liquid sweetener like honey or agave, you may need to adjust the amount of water in the recipe to achieve the desired consistency.
Water: Importance in the Syrup-Making Process
Water is an essential component of the syrup-making process, as it helps to dissolve the sugar and extract the flavors from the strawberries. The amount of water you use can affect the consistency of the syrup; too little may result in a thick syrup, while too much could lead to a watery end product.
A general guideline for making strawberry syrup is to use equal parts water to strawberries, but this can be adjusted based on your preference for syrup thickness. As the mixture simmers, the water will reduce, concentrating the flavors and achieving the desired syrup consistency.
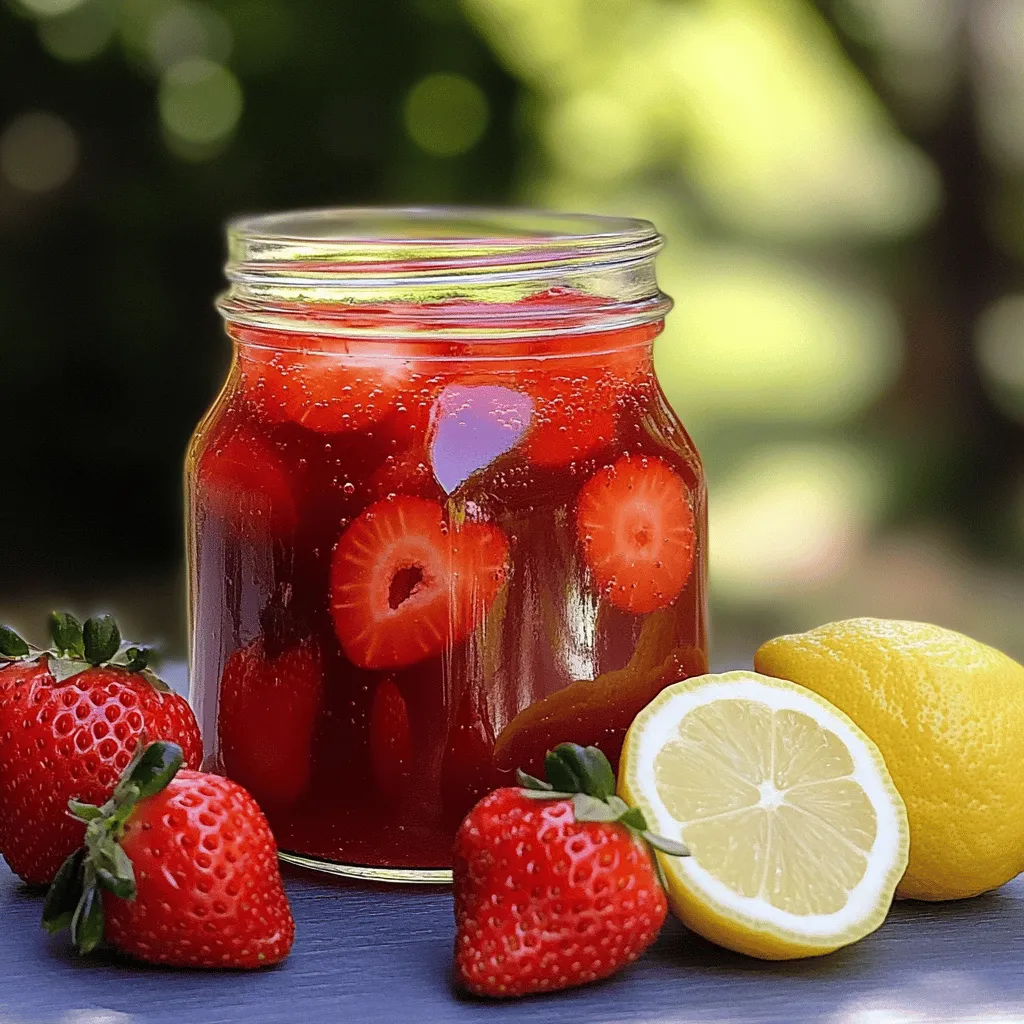
Lemon Juice: Enhancing Flavor and Preserving Freshness
Lemon juice is a key ingredient that not only enhances the flavor profile of the strawberry syrup but also helps to preserve its freshness. The acidity of lemon juice brightens the sweetness of the strawberries, adding a zesty kick that elevates the overall taste.
Additionally, lemon juice contains natural preservatives that can help extend the shelf life of the syrup. By incorporating fresh lemon juice into your recipe, you can ensure that your homemade strawberry syrup remains vibrant and flavorful for longer periods.
Vanilla Extract: Optional Enhancement and Flavor Layering
While vanilla extract is an optional ingredient in this recipe, it can add a wonderful layer of complexity to your strawberry syrup. The warm, aromatic notes of vanilla complement the sweetness of the strawberries, creating a more nuanced flavor profile.
If you choose to include vanilla extract, opt for pure vanilla extract rather than imitation for the best results. A small amount, typically around one teaspoon, is sufficient to enhance the overall flavor without overpowering the natural taste of the strawberries.
Salt: Balancing Sweetness
A pinch of salt may seem like an unusual addition to a sweet syrup, but it plays an important role in balancing flavors. Salt enhances sweetness and can help bring out the natural flavors of the strawberries, making the syrup taste more vibrant. Just a small amount is needed; typically, about 1/8 teaspoon will suffice.
Step-by-Step Instructions for Making Strawberry Syrup
Creating your own strawberry syrup is a simple and rewarding process. Follow these detailed step-by-step instructions to make a delicious batch that can be enjoyed in a variety of ways.
Preparing the Strawberries
1. Hulling and Halving Fresh Strawberries: Start by hulling the strawberries to remove the green tops and the core. Rinse them thoroughly under cold water to ensure they are clean. Once hulled, slice the strawberries in half or quarters, depending on their size. Uniformity in size is crucial for even cooking, so try to keep the pieces consistent.
2. Importance of Uniformity in Size for Even Cooking: Cutting strawberries into similar sizes ensures that they will cook evenly, which is important for both flavor extraction and achieving the desired syrup consistency. Larger pieces may take longer to break down, resulting in an uneven texture.
Cooking Process
3. Detailed Instructions on Simmering the Mixture: In a medium-sized saucepan, combine the prepared strawberries, water, and granulated sugar. For a standard batch, use approximately 2 cups of hulled and sliced strawberries, 1 cup of water, and 1 cup of sugar. Place the saucepan over medium heat and stir the mixture gently to dissolve the sugar.
4. Techniques for Mashing Strawberries for Desired Texture: As the mixture begins to heat up, the strawberries will start to release their juices. Once the mixture comes to a gentle simmer, you can use a potato masher or the back of a spoon to mash the strawberries slightly. This will help to release more flavor and create a thicker syrup. Mash to your desired consistency, whether you prefer a chunkier texture or a smoother syrup.
Adding Flavor Enhancers
5. Timing and Method for Incorporating Lemon Juice and Vanilla: After simmering the mixture for about 10-15 minutes, it’s time to add the lemon juice. Squeeze in the juice of one lemon (about 2 tablespoons) and stir well. If you’re using vanilla extract, add it at this point as well. Allow the mixture to simmer for an additional 5 minutes to let the flavors meld together.
Once the syrup has thickened to your liking, remove it from heat and allow it to cool. The syrup will continue to thicken as it cools, making it easier to pour and store.
By following these steps, you’ll create a homemade strawberry syrup that captures the essence of fresh strawberries. This syrup can be stored in the refrigerator for up to two weeks, allowing you to enjoy its delightful flavor in multiple culinary creations. Stay tuned for the next part, where we’ll explore additional tips for achieving the best results and answer some common questions about homemade strawberry syrup.
Straining the Syrup
Once your strawberry mixture has simmered and softened, it’s time to strain it. Straining is a crucial step in creating a smooth, silky strawberry syrup. This process eliminates any seeds or pulp, ensuring that the syrup has a refined texture that complements a variety of dishes.
Importance of Straining for a Smooth Texture
Straining the syrup helps achieve that desired glossy finish that makes your strawberry syrup visually appealing. Without this step, you may end up with a gritty or chunky texture, which can detract from the overall experience. A smooth syrup not only looks better but also blends more seamlessly into your recipes, allowing the sweet strawberry flavor to shine through without distraction.
Tips for Maximizing Liquid Extraction from Solids
To ensure you extract as much liquid as possible, follow these tips:
1. Use a Fine Mesh Strainer: A fine mesh strainer or cheesecloth will help catch the smallest particles, allowing only the syrupy goodness to flow through. If you find that your syrup is still too thick, consider using a coffee filter to catch any remaining solids.
2. Press Gently: After pouring the mixture into the strainer, use the back of a spoon to press down on the solids. This will help push more liquid through without forcing too much pulp into your syrup.
3. Let it Drip: Patience is key. Allow the mixture to drip naturally without rushing the process. Let it sit for a few minutes to ensure that you’re getting every last drop of that delicious strawberry flavor.
Cooling and Storing the Syrup
After straining, it’s important to cool your syrup properly before storing it. This will help preserve its freshness and flavor.
Proper Cooling Techniques
To cool your strawberry syrup, pour it into a clean glass jar or container. Placing the jar in a cold water bath can speed up the cooling process. Simply fill a larger bowl with ice water and set your jar inside. This method prevents the syrup from cooking further and ensures it retains its vibrant flavor.
Storage Considerations for Longevity
Once cooled, store your strawberry syrup in an airtight container in the refrigerator. It’s best to use a glass jar as it is non-reactive and helps maintain the syrup’s flavor. Properly stored, your homemade strawberry syrup can last up to two weeks in the fridge. For longer storage, consider freezing the syrup in ice cube trays. Once frozen, transfer the cubes to a zip-top bag and store them in the freezer for up to six months. This way, you can enjoy strawberry syrup even when strawberries are out of season!
Uses for Homemade Strawberry Syrup
The versatility of homemade strawberry syrup makes it a must-have in your kitchen. Its sweet, fruity flavor can enhance a wide variety of dishes and beverages.
Culinary Applications
1. Drizzling Over Pancakes and Waffles: Start your day on a sweet note by drizzling warm strawberry syrup over pancakes or waffles. The syrup’s rich flavor elevates a simple breakfast into a delightful feast.
2. Incorporating into Desserts: Use your strawberry syrup to create mouthwatering desserts. Drizzle it over vanilla ice cream or incorporate it into cheesecake for a fresh, fruity twist. It can also be used as a filling in cakes or pastries, adding a burst of flavor to every bite.
3. Mixing in Beverages: Strawberry syrup is an excellent addition to beverages. Mix it into lemonades for a refreshing summer drink or add it to cocktails for a touch of sweetness. It pairs beautifully with sparkling water for a light, bubbly treat.
Creative Serving Suggestions
– Pairing with Other Fruits and Flavors: Enhance your syrup by mixing it with other fruits like blueberries, raspberries, or even citrus zest. This not only adds depth of flavor but also creates a beautiful color palette perfect for any dish.
– Savory Dishes: Don’t shy away from using your strawberry syrup in savory dishes. It can add a sweet contrast to grilled meats, especially chicken or pork. A drizzle over a cheese platter can also create an unexpected but delightful flavor combination.
Why Homemade is Better: Benefits of Making Your Own Syrup
Making your own strawberry syrup at home offers numerous advantages over store-bought alternatives.
Comparison of Homemade Versus Store-Bought Syrups
Store-bought syrups often contain preservatives, artificial flavors, and high fructose corn syrup. In contrast, homemade syrup is crafted with fresh ingredients, allowing you to control what goes into your food. You can avoid unnecessary additives, ensuring that your syrup is as wholesome as it is delicious.
Control Over Ingredients and Customization Options
When you make your own syrup, you have complete control over the ingredients. This means you can adjust sweetness levels, experiment with different types of sugar (like coconut sugar or honey), and even incorporate unique flavorings such as vanilla or mint. Customizing your syrup to suit your personal taste or dietary needs is part of the joy of homemade cooking.
The Satisfaction of Crafting Your Own Flavors
There’s a unique satisfaction that comes from creating something from scratch. The process of selecting fresh strawberries, cooking them down, and transforming them into syrup is rewarding. It allows for a personal connection to the food you consume, enhancing the enjoyment of every dish it graces.
Tips for Perfecting Your Strawberry Syrup
As you become more comfortable with making strawberry syrup, consider these tips to perfect your batch.
Adjusting Sweetness and Consistency to Taste
Everyone’s palate is different. Start with the suggested amount of sugar in the recipe, but feel free to adjust based on your preference. If you prefer a thicker syrup, allow it to simmer longer to concentrate the flavors further. For a thinner syrup, add a little water until you reach your desired consistency.
Experimenting with Additional Flavors
Don’t hesitate to play with flavors! Adding herbs like basil or thyme can introduce a savory note to your syrup. For a spicy kick, consider infusing the syrup with a dash of cayenne or ginger. These additions can elevate your syrup and make it even more versatile.
Troubleshooting Common Issues in Syrup-Making
If you find that your syrup is too thick, you can always thin it out by adding small amounts of water and reheating gently. Conversely, if your syrup is too thin, you can boil it down for a few more minutes to thicken it. If you’re battling separation, ensuring you mix well during storage can help maintain a consistent texture.
Conclusion: The Joy of Homemade Strawberry Syrup
In conclusion, homemade strawberry syrup is not only a delightful addition to your culinary repertoire but also a testament to the joys of cooking from scratch. With its bright, fresh flavor, it can enhance a multitude of dishes, from breakfast favorites to elegant desserts.
By crafting your own syrup, you gain the benefits of controlling ingredients, customizing flavors, and experiencing the satisfaction that comes from making something delicious with your own hands. Whether you’re drizzling it over pancakes, mixing it into drinks, or experimenting with savory pairings, this syrup is sure to become a beloved staple in your kitchen.
So why not give it a try? Gather your ingredients, follow the steps, and enjoy the process of creating something sweet and special. The joy of homemade strawberry syrup is waiting for you to savor, and who knows, it might inspire you to create even more delightful concoctions in your kitchen!