Introduction
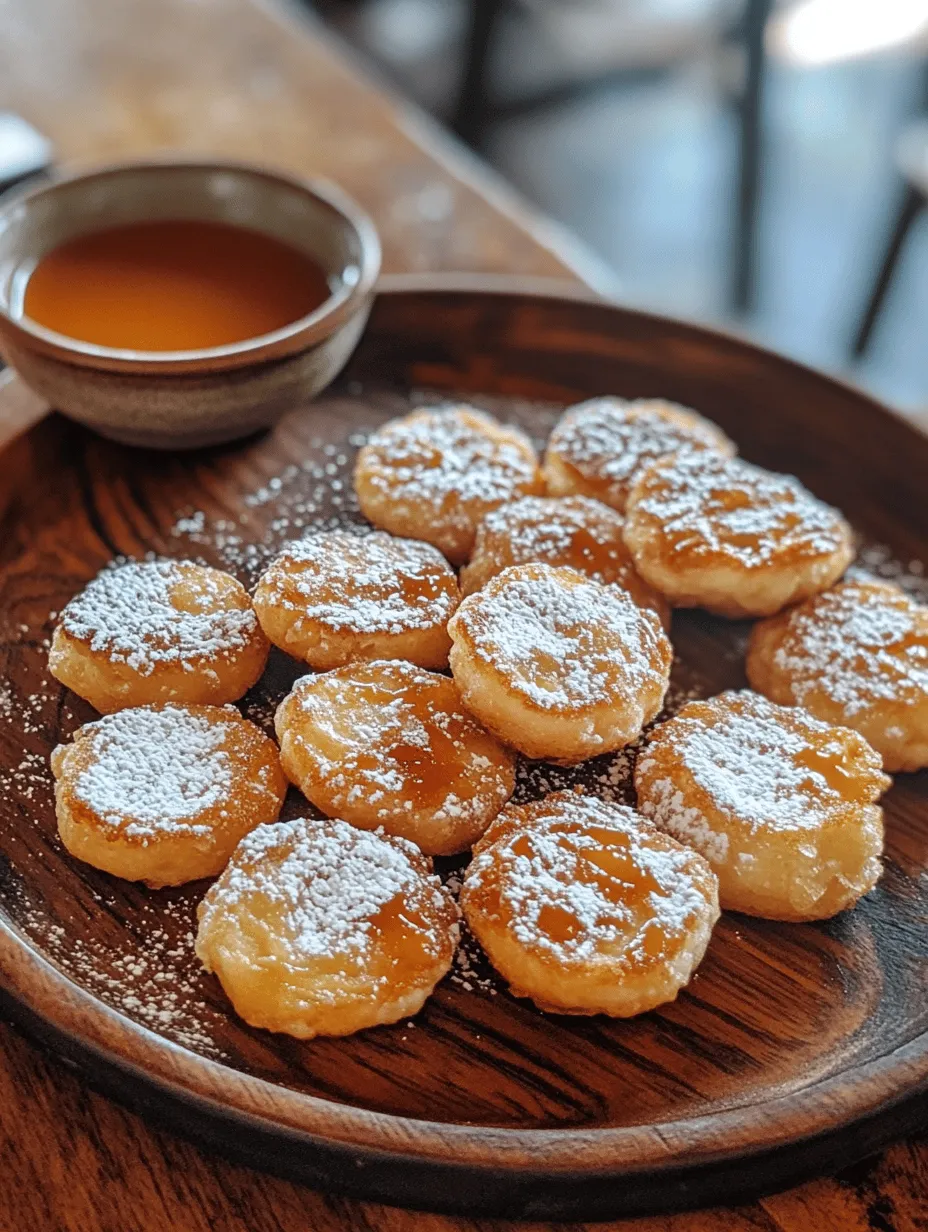
As the leaves turn and the air gets crisp, the arrival of fall beckons an array of seasonal delights, one of which is the beloved apple fritter. A comforting treat, apple fritters combine the warm, sweet flavors of apples with a decadent fried dough, making them a favorite among dessert lovers. Traditionally enjoyed as a larger pastry, mini apple fritter bites bring a fun twist to this classic. These delightful, bite-sized morsels are perfect for sharing, making them an ideal addition to fall gatherings, potlucks, or simply as a satisfying snack at home.
The beauty of mini apple fritter bites lies not only in their size but also in the use of fresh, high-quality ingredients, particularly apples. Varieties like Granny Smith and Honeycrisp are renowned for their crisp texture and tart sweetness, which perfectly complement the rich, fried dough. By choosing the right apples, you can elevate the flavor profile of these fritters, ensuring each bite bursts with freshness.
In this article, we’ll explore the ingredients needed to create these irresistible mini apple fritter bites, the essential steps to prepare the apples, and how to mix the dough to achieve the perfect fritter experience.
Understanding the Ingredients
Creating the perfect mini apple fritter bites requires a careful selection of ingredients. Every component contributes to the overall flavor, texture, and success of the recipe. Below is a detailed breakdown of what you’ll need.
Fresh Apples
The star ingredient in mini apple fritters is undoubtedly the apples. Choosing the right variety is crucial for achieving the best flavor and texture. Granny Smith apples are an excellent choice due to their tartness, which balances the sweetness of the fritters. Their firm texture holds up well during frying, ensuring they maintain some bite. Alternatively, Honeycrisp apples offer a sweeter flavor with a delightful crunch, making them another fantastic option. The combination of these apples not only enhances the taste but also provides a lovely contrast to the sweet, spiced batter.
All-Purpose Flour
All-purpose flour serves as the foundation for the fritters, providing the necessary structure. It forms the base of the batter, creating a delightful contrast to the tender apple pieces. The gluten in the flour develops during mixing and frying, contributing to the light and airy texture that defines a good fritter.
Baking Powder and Baking Soda
These two leavening agents play a vital role in achieving the light, fluffy texture of the fritters. Baking powder contains both an acid and a base, which react when moistened and heated, producing carbon dioxide bubbles that help the fritters rise. Baking soda, on the other hand, requires an acidic ingredient (often present in the apples) to activate. Together, they ensure that each fritter puffs up beautifully, creating a satisfying bite.
Spices
The warm spices of cinnamon and nutmeg elevate the flavor profile of the fritters. Cinnamon adds a sweet warmth that is synonymous with fall, while nutmeg introduces a hint of earthiness. These spices not only enhance the overall flavor but also create an inviting aroma that fills the kitchen during cooking.
Sugar
Sugar is essential for balancing the flavors in the fritters. While apples provide natural sweetness, additional sugar enhances the overall taste and contributes to the golden-brown color of the fritters as they fry. The careful balance of sugar ensures that the fritters are satisfyingly sweet without being overwhelming.
Milk and Egg
Milk and egg are pivotal in achieving the right batter consistency. Milk adds moisture, which is essential for a tender fritter, while the egg acts as a binding agent, helping to hold the ingredients together. The combination of these two ingredients results in a smooth batter that envelops the apple pieces perfectly.
Oil
Choosing the right oil for frying is crucial for achieving the desired texture and flavor of the fritters. Oils with high smoke points, such as vegetable oil or canola oil, are ideal as they can withstand the heat required for frying without imparting unwanted flavors. The oil not only helps to create a crispy exterior but also ensures that the fritters cook evenly.
Preparing the Apples
The preparation of the apples is a crucial step in making mini apple fritter bites. Properly preparing the apples ensures that they integrate well into the batter and maintain their integrity during frying. Here’s a step-by-step guide on how to prepare the apples for this recipe.
Step 1: Peel the Apples
Begin by peeling the apples using a vegetable peeler or knife. Removing the skin allows the flavors of the apples to meld more seamlessly with the batter, contributing to a smoother texture in each fritter.
Step 2: Core the Apples
Once peeled, it’s essential to core the apples to remove the seeds and tough center. You can use an apple corer or simply slice the apples in half and use a knife to cut out the core.
Step 3: Dice the Apples
After coring, dice the apples into small, bite-sized pieces. Aim for uniformity in size to ensure even cooking. Small chunks allow for better distribution of apple throughout the fritter while ensuring that each bite delivers a satisfying apple flavor.
Step 4: Tossing with Sugar and Cinnamon
To enhance the apple flavor before adding them to the batter, toss the diced apples with a mixture of sugar and cinnamon. This not only adds an extra layer of sweetness but also infuses the apples with warm spice, preparing them for their role in the fritters.
Step 5: Allowing the Apples to Sit
Let the tossed apples sit for a few minutes. This step allows the sugar to draw out some moisture from the apples, intensifying their flavor. The slight maceration of the apples also ensures that they are juicier when mixed into the batter, creating a more flavorful fritter.
Mixing the Dough
Now that the apples are prepped, it’s time to create the batter for the fritters. Properly mixing the dough is crucial for achieving the right texture and ensuring the fritters are light and fluffy.
Step 1: Combine Dry Ingredients
In a large mixing bowl, combine the all-purpose flour, baking powder, baking soda, sugar, cinnamon, and nutmeg. Whisk these dry ingredients together until they are evenly distributed. This step is essential for ensuring that the leavening agents are well mixed, which will promote even rising during frying.
Step 2: Mix Wet Ingredients
In a separate bowl, whisk together the milk and egg until well combined. Adding the wet ingredients separately allows for better control when incorporating them into the dry mixture, ensuring a consistent batter.
Step 3: Combine Dry and Wet Ingredients
Gradually pour the wet mixture into the bowl of dry ingredients. Using a spatula or wooden spoon, gently stir the mixture to combine. It’s important to avoid overmixing at this stage. Overmixing can develop the gluten in the flour too much, resulting in dense fritters. Instead, mix until just combined, and small lumps remain in the batter.
Step 4: Fold in the Apples
Once the batter is mixed, it’s time to add the prepared apple pieces. Carefully fold the apples into the batter, ensuring they are evenly distributed without bruising them. This gentle folding helps maintain the integrity of the apple pieces while ensuring that each fritter is packed with flavor.
With the dough prepared and the apples incorporated, you are now ready to move on to the frying process, where these delightful mini apple fritter bites will come to life. Stay tuned for the next part of this article, where we will delve into the frying techniques and tips for achieving the perfect golden-brown fritters.
Frying Techniques for Perfect Fritter Bites
Frying mini apple fritter bites may seem daunting, but with the right techniques, you can achieve golden-brown, crispy perfection. The key to successful frying lies in temperature control and proper frying practices.
Heating the Oil
To achieve the ideal frying temperature, heat your oil to 350°F (175°C). A deep-frying thermometer is highly recommended for accuracy. If you don’t have one, you can use a simple test: drop a small piece of batter into the oil. If it sizzles and rises to the surface immediately, the oil is ready. If it sinks and takes a while to bubble, the oil is too cool. Conversely, if it browns too quickly, the oil is too hot.
Signs of Readiness
In addition to the bubbling test, you can observe the oil’s surface. It should shimmer, indicating that it is hot enough for frying. Maintain a consistent temperature by adjusting the heat as necessary, especially when adding new fritters to the oil, as this can lower the temperature.
Best Practices for Frying
When it comes to frying, remember to avoid overcrowding the pan. Adding too many fritters at once can lower the oil temperature, leading to soggy bites. Fry in batches, leaving enough space between each fritter to allow hot oil to circulate freely. This will ensure even cooking and a crispy exterior.
Determining Frying Time
Each batch of mini apple fritter bites typically takes about 3-4 minutes to fry, depending on their size. Keep a close eye on them while frying. When they turn a rich golden-brown and float to the surface, they are ready to be removed. Use a slotted spoon or spider strainer to gently lift them out of the oil, allowing excess oil to drain back into the pot.
Finishing Touches: Draining and Dusting
Once your mini apple fritter bites are perfectly fried, the next steps are critical for achieving the ideal texture and presentation.
Draining Excess Oil
It’s essential to drain the fritters well to avoid a greasy finish. After removing them from the oil, place them on a plate lined with paper towels. This will absorb any excess oil and help keep your bites light and crispy. Allow them to sit for a few moments before dusting with powdered sugar.
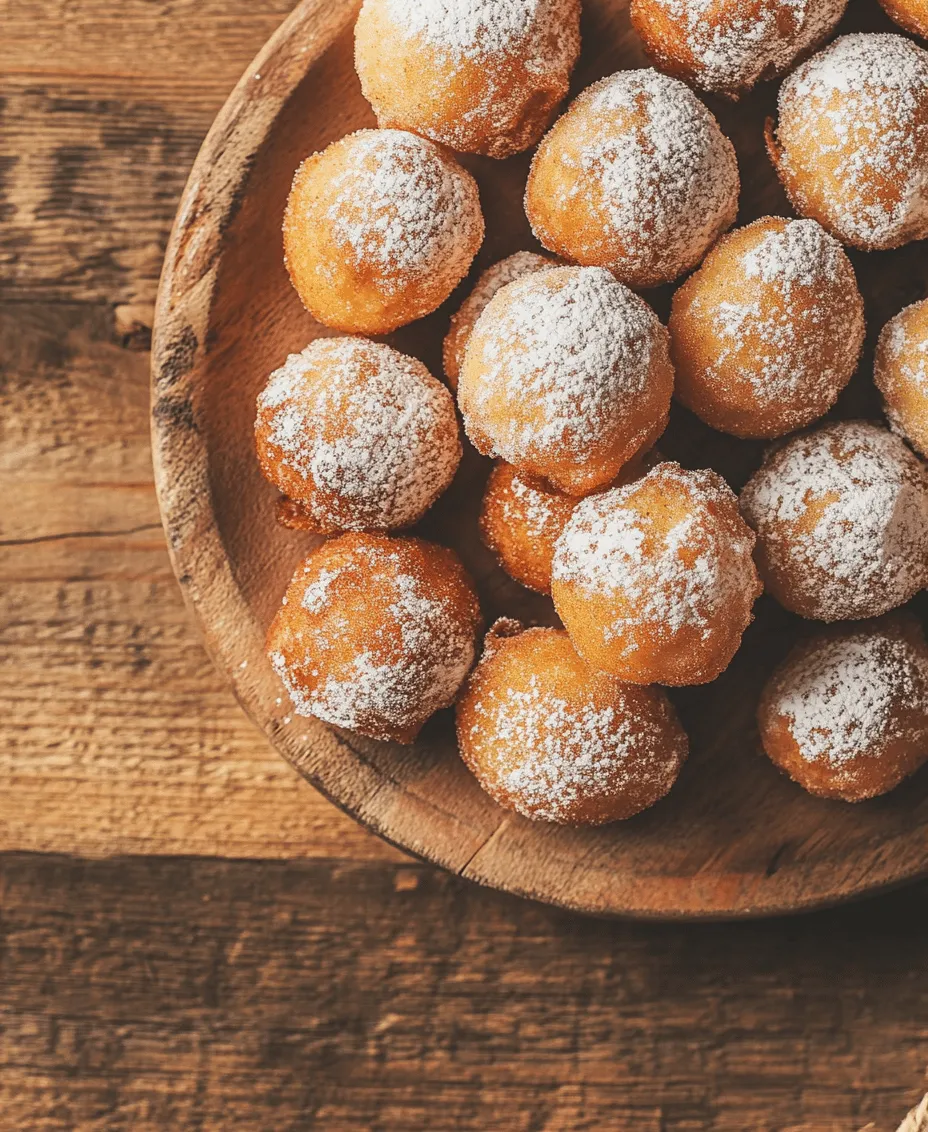
Dusting with Powdered Sugar
For that perfect finishing touch, dust your fritters generously with powdered sugar. Use a fine mesh sieve for even coverage, creating a beautiful contrast against the golden-brown fritters. For an extra touch of elegance, consider adding a dash of cinnamon to the sugar before dusting, enhancing the flavors and visual appeal.
Optional Enhancements
For those who want to indulge a little more, serving the fritters with a drizzle of caramel sauce can elevate the experience. The sweetness of the caramel complements the cinnamon-spiced apple filling beautifully, making for a delightful treat that everyone will love.
Serving Suggestions
These mini apple fritter bites are perfect for various occasions, whether it’s a cozy family gathering or a festive party.
Creative Serving Ideas
Consider serving your fritters in a tiered cake stand for a visually appealing display. Pair them with small cups of caramel or chocolate sauce for dipping to encourage guests to customize their experience. You could also serve them alongside a warm apple cider or a rich coffee, creating a comforting atmosphere.
Beverage Pairings
When it comes to beverages, mini apple fritter bites pair wonderfully with several options. A warm cup of coffee enhances the rich flavors of the fritters, while a glass of spiced apple cider complements their sweetness. If you’re hosting a gathering, consider offering a variety of beverages to cater to different tastes, ensuring a memorable experience for all.
Garnishing and Plating
To make the dish visually appealing, consider garnishing the platter with fresh apple slices or a sprinkle of chopped nuts, such as pecans or walnuts. This not only adds color but also enhances the overall flavor profile. A drizzle of caramel sauce on the platter serves as both decoration and a tasty addition for guests to enjoy.
Storage and Reheating Tips
If you find yourself with leftover fritters, proper storage and reheating methods are essential to maintain their texture and flavor.
Storing Leftovers
To store leftover mini apple fritter bites, place them in an airtight container lined with paper towels. This will help absorb any remaining moisture, keeping the fritters as fresh as possible. Store them in the refrigerator for up to three days. For longer storage, consider freezing them; they can last up to three months when properly sealed in freezer-safe bags.
Reheating Instructions
When you’re ready to enjoy your leftover fritters, reheating them properly is key to restoring their crispiness. Preheat your oven to 350°F (175°C) and arrange the fritters on a baking sheet. Bake them for about 10-15 minutes, or until heated through and crisp. Avoid using the microwave, as this can make them soggy.
Healthier Variations
If you’re looking to make your mini apple fritter bites a bit healthier without sacrificing flavor, here are a few suggestions.
Using Whole Wheat Flour
Substituting all-purpose flour with whole wheat flour can add a nutty flavor and increase the fiber content of your fritters. This simple swap not only enhances the nutritional value but also adds a unique taste that complements the sweetness of the apples.
Reducing Sugar
Consider reducing the sugar in the batter and opting for natural sweeteners like honey or maple syrup. This will help cut down on added sugars while still providing a deliciously sweet fritter. You can also experiment with reducing the amount of powdered sugar used for dusting.
Incorporating Other Fruits or Spices
For a unique twist, try incorporating other fruits such as diced pears or blueberries into the batter. Adding spices like nutmeg or ginger can also enhance the flavor profile and create a delightful variation of the classic apple fritter.
Conclusion
Making mini apple fritter bites is a joyful experience that brings the warmth and flavors of fall into your home. The blend of crispy exteriors and soft, spiced apple interiors creates a comforting treat that is perfect for any occasion. As you experiment with this recipe, feel free to put your own spin on it, whether through healthier substitutions or creative serving ideas.
These fritters not only delight the taste buds but also create cherished memories when shared with family and friends. With their delightful balance of flavor, texture, and comfort, mini apple fritter bites are sure to become a beloved family favorite, especially during the fall season. So grab your apples, gather your ingredients, and get ready to enjoy these delectable bites!