Introduction
As the holiday season approaches, homes around the world begin to fill with the delightful aromas of baked goods, roasted meats, and, of course, chocolatey confections. Among these seasonal treats, Christmas fudge stands out as a timeless favorite. This rich and creamy confection not only satisfies your sweet tooth but also embodies the spirit of sharing and joy that encapsulates the holiday season. Whether you’re gathering with family or celebrating with friends, a tray of homemade fudge is sure to bring smiles and warmth.
Christmas fudge is more than just a dessert; it’s a tradition that has been passed down through generations. Each bite is a reminder of cozy gatherings, twinkling lights, and heartwarming stories shared over cups of hot cocoa. This article will guide you through a delightful Christmas fudge recipe that marries rich chocolate with festive flavors. Prepare to indulge in a sweet treat that will become a staple of your holiday celebrations.
Understanding the Ingredients of Christmas Fudge
To create the perfect Christmas fudge, it’s essential to understand the role of each ingredient. Here’s a breakdown of the key components that contribute to the rich flavor and smooth texture of this festive treat:
– Semisweet Chocolate Chips: These are the foundation of any great fudge, providing a deep, rich chocolate flavor. Their melting properties make them ideal for achieving a creamy consistency, and they strike the perfect balance between sweetness and richness.
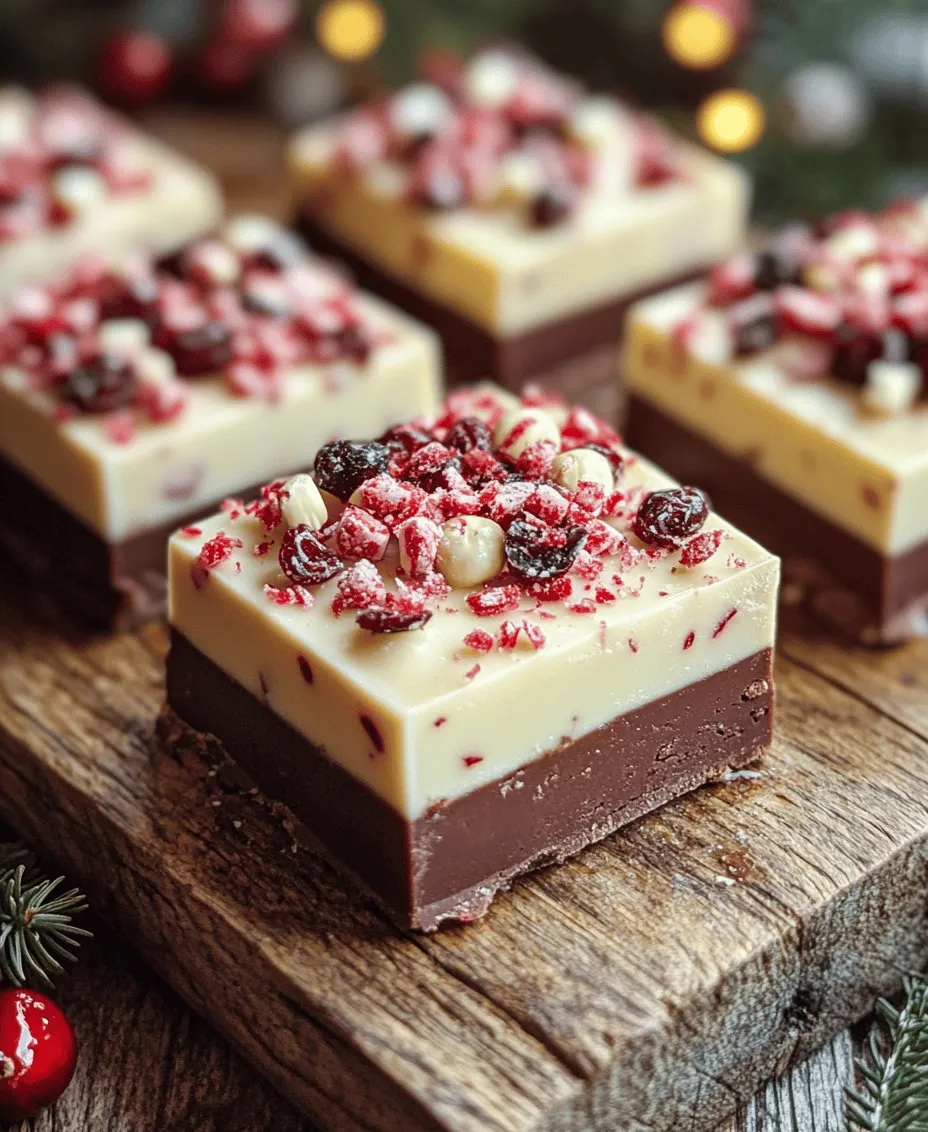
– White Chocolate Chips: While not technically chocolate, white chocolate adds a luscious creaminess and a contrasting sweetness that complements the semisweet chocolate. This layer of flavor elevates the overall taste of the fudge and gives it a beautiful marbled appearance when mixed.
– Sweetened Condensed Milk: Often regarded as the secret ingredient in many fudge recipes, sweetened condensed milk is what brings the fudge together. Its creamy texture and sweetness not only help bind the ingredients but also contribute to the overall smoothness of the finished product.
– Unsweetened Cocoa Powder: For chocolate lovers, adding unsweetened cocoa powder intensifies the chocolate flavor without making the fudge overly sweet. It enhances the richness and gives the fudge a more complex taste profile.
– Vanilla Extract: A classic flavoring agent, vanilla extract adds depth and warmth to the fudge. Its aromatic qualities help to round out the overall flavor, making each bite even more enjoyable.
– Salt: While it may seem counterintuitive to add salt to a sweet treat, it plays a crucial role in balancing the sweetness. A pinch of salt enhances the flavors of the chocolate and other ingredients, making the fudge more flavorful and satisfying.
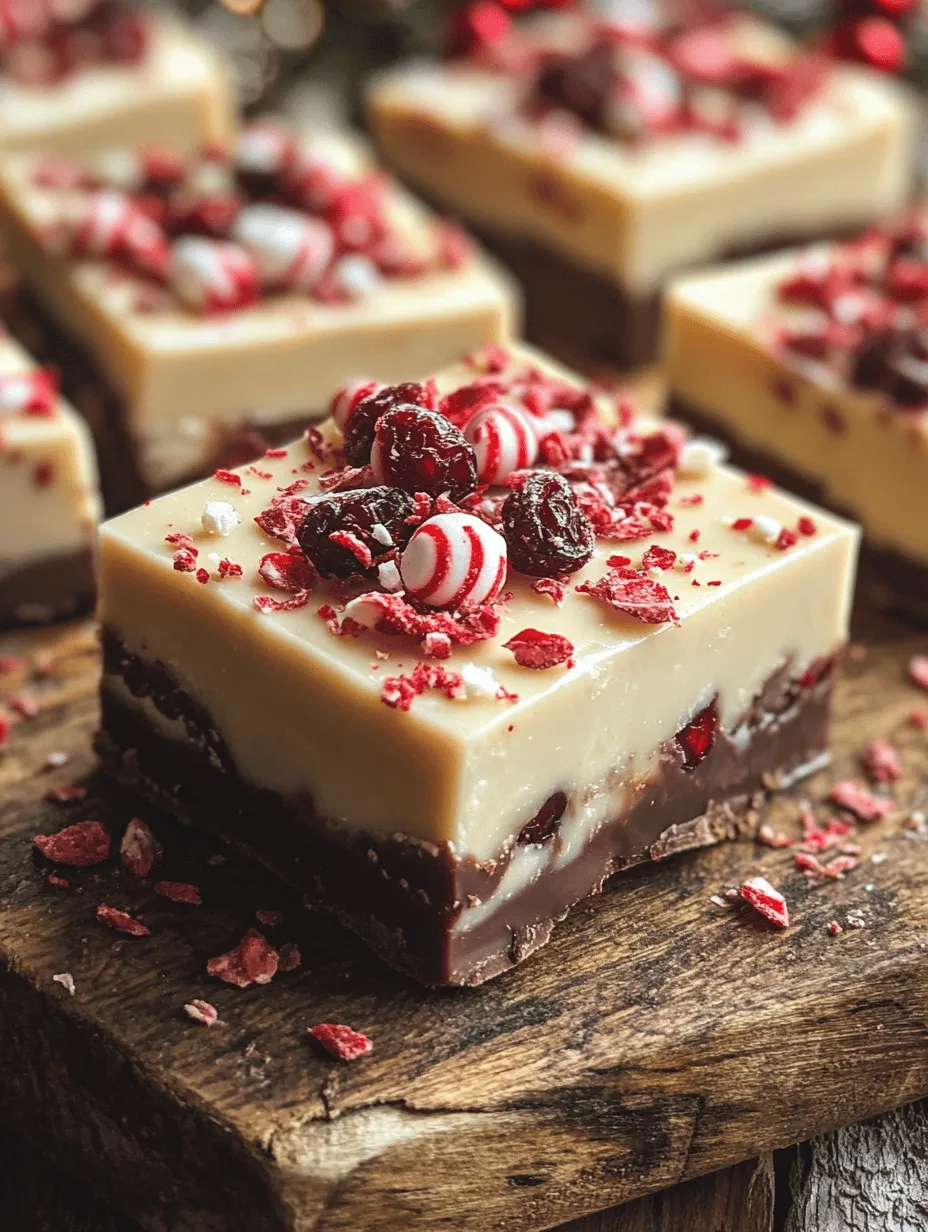
– Crushed Peppermint Candies: These festive morsels not only add a delightful crunch but also infuse the fudge with a refreshing minty flavor. Their bright red and white colors also provide a visual appeal that’s perfect for the holiday season.
– Chopped Nuts: While optional, adding nuts such as walnuts or pecans introduces a delightful crunch and nuttiness that complements the smooth fudge. They add a textural contrast that elevates the overall experience.
– Dried Cranberries or Cherries: For an extra festive touch, consider incorporating dried cranberries or cherries. These add a pop of color and a tartness that balances the sweetness of the fudge, creating a more complex flavor profile.
Preparing for Your Fudge-Making Adventure
Before diving into the fudge-making process, it’s important to gather your tools and equipment. Having everything organized will ensure a smooth and enjoyable cooking experience. Here’s a list of essential items you’ll need to make your Christmas fudge:
– Measuring Cups and Spoons: Accurate measurements are crucial for achieving the right consistency and flavor in your fudge. Using both dry and liquid measuring cups will help you get precise quantities of each ingredient.
– Medium Saucepan: A medium-sized saucepan is perfect for melting chocolate and combining ingredients. It’s essential to use a pan that distributes heat evenly to prevent scorching the chocolate.
– Mixing Bowls: A couple of mixing bowls will come in handy for preparing your ingredients and mixing the fudge. It’s a good idea to have one for dry ingredients and another for wet ingredients to streamline the process.
– Spatula or Wooden Spoon: You’ll need a sturdy spatula or wooden spoon for stirring the fudge as it cooks. This will help you achieve a smooth and lump-free mixture.
– Baking Dish: An 8×8-inch square baking dish is ideal for setting your fudge. Line the dish with parchment paper for easy removal and cleanup.
– Cooling Rack: Once your fudge is ready, a cooling rack will allow it to cool evenly and prevent it from becoming soggy.
Now that you have your ingredients and tools ready, you’re all set to embark on your fudge-making adventure. The following sections will guide you through the step-by-step process of crafting your own Christmas fudge, ensuring that you create a festive delight that your family and friends will rave about.
Ingredient Preparation
Proper preparation is key to a successful fudge-making experience. Begin by gathering all your ingredients and tools. For this Christmas fudge recipe, you will need:
– Semi-sweet chocolate chips
– Sweetened condensed milk
– Unsweetened cocoa powder
– Peppermint extract
– Crushed peppermint candies (for topping)
As you prepare your ingredients, here are some tips to ensure a seamless cooking experience:
1. Measuring Ingredients: Use dry measuring cups for dry ingredients and liquid measuring cups for liquids. For sticky ingredients like sweetened condensed milk, lightly spray the measuring cup with non-stick spray for easier pouring.
2. Room Temperature Ingredients: If you’re using any ingredients that need to blend well with chocolate (like extracts), ensure they are at room temperature to help with the melting process.
3. Chopping Chocolate: If you’re using chocolate bars instead of chips, chop them into uniform pieces to ensure even melting.
4. Organizing Your Workspace: Clear your workspace and have a spatula, mixing bowl, and baking dish ready. This will help streamline the process.
Step-by-Step Instructions for Making Christmas Fudge
Preparing the Baking Dish
To make removing the fudge from the baking dish easier, start by lining your 8×8 inch baking dish with parchment paper. Cut the parchment paper so that it covers the bottom and sides of the dish, leaving a little overhang. This allows you to lift the fudge out later for easy cutting. You can lightly grease the parchment with a bit of cooking spray to prevent sticking.
Melting the Chocolates
The key to perfect fudge is melting the chocolate properly. To achieve this, you can use a double boiler method or a microwave:
– Double Boiler Method: Fill a pot with a few inches of water and bring it to a gentle simmer. Place a heatproof bowl over the pot (make sure the bowl doesn’t touch the water) and add your chocolate chips and sweetened condensed milk. Stir gently until melted and smooth.
– Microwave Method: Place the chocolate chips and sweetened condensed milk in a microwave-safe bowl. Heat in 30-second intervals, stirring in between, until fully melted and smooth. Be careful not to overheat, as chocolate can burn easily.
Combining Dry Ingredients
In a separate bowl, mix together the unsweetened cocoa powder and crushed peppermint candies. This step is crucial because it evenly distributes the cocoa and peppermint flavor throughout the fudge. Use a whisk to ensure there are no lumps in the cocoa powder, which can affect the texture of your fudge.
Mixing Everything Together
Once your chocolate mixture is melted, it’s time to combine it with your dry ingredients. Pour the cocoa and peppermint mixture into the melted chocolate and stir with a spatula until fully incorporated. Make sure there are no dry patches remaining, as this will ensure a smooth texture.
Spreading and Topping
After mixing, pour the fudge mixture into the prepared baking dish. Using the spatula, spread the mixture evenly across the dish. To create a festive touch, sprinkle additional crushed peppermint candies on top of the fudge. Gently press them into the fudge to ensure they stick when it sets.
Chilling the Fudge
Chill the fudge in the refrigerator for at least 2-3 hours or until it is firm. The cooling process is vital, as it allows the fudge to set properly, achieving the right texture that is both creamy and firm. Cover the dish with plastic wrap if you want to prevent any odors from the fridge from affecting the fudge.
Cutting and Serving
Once the fudge is set, use the parchment paper overhang to lift it out of the dish. Place it on a cutting board and use a sharp knife to cut it into squares. For a more festive presentation, you can cut the fudge into holiday shapes using cookie cutters.
The Joy of Sharing and Enjoying Christmas Fudge
Serving Suggestions
Christmas fudge is versatile and can be served in numerous delightful ways during holiday gatherings:
– On a Dessert Platter: Arrange squares of fudge on a decorative platter along with other holiday treats such as cookies, truffles, and candies to create a festive dessert display.
– With Warm Beverages: Pair your fudge with warm drinks like hot cocoa, coffee, or eggnog for a cozy treat.
– As Party Favors: Place fudge squares in small, clear bags and tie them with festive ribbons to give as party favors for guests to take home.
Gift-Worthy Treat
Christmas fudge makes an excellent homemade gift that is sure to be appreciated. You can package your fudge in decorative boxes, tins, or cellophane bags, and personalize them with a handwritten note. This thoughtful gesture is perfect for friends, family, and coworkers during the holiday season, and the homemade touch adds an extra layer of warmth.
Storage and Shelf Life
To keep your fudge fresh, store it in an airtight container at room temperature for up to two weeks. If you want to keep it longer, you can refrigerate it, where it can last for up to a month. For even longer preservation, consider freezing the fudge. Wrap it tightly in plastic wrap and then foil, ensuring no air can get in, and it can last for up to three months. Just remember to thaw it in the refrigerator before serving.
Conclusion
Christmas fudge is more than just a treat; it’s a symbol of festive joy, warmth, and the spirit of giving. By following this comprehensive recipe and guide, you can create a delicious batch of fudge that will not only satisfy your sweet tooth but also bring people together. Enjoy this delightful confection during the holiday season and share the love and joy it brings with family and friends. Whether served at gatherings, gifted to loved ones, or enjoyed by yourself, this Christmas fudge is sure to create lasting memories during the most wonderful time of the year.
