Introduction
In the world of culinary creations, homemade syrups stand out as a versatile and flavorful addition to a variety of dishes. From pancakes to cocktails, drizzling a homemade syrup can elevate any meal or drink, adding a unique touch that store-bought options often lack. Among the myriad of syrup flavors available, green apple syrup is particularly enchanting. Its balance of sweetness and tartness creates a delightful experience for the palate, making it an exceptional ingredient to have on hand. The best part? Making this syrup at home is incredibly easy and allows you to use fresh, high-quality ingredients that contribute to its vibrant flavor.
Imagine waking up to a stack of fluffy pancakes drizzled with a luscious green apple syrup, or transforming a simple glass of sparkling water into an invigorating beverage with just a splash. The joy of crafting your own syrup from scratch is not only satisfying but also opens up a world of culinary possibilities.
Understanding Green Apple Syrup
Green apple syrup has its roots in various culinary traditions, where fruits have been transformed into syrups to enhance flavors in desserts, breakfast dishes, and even savory recipes. The use of apples in syrup is particularly popular due to their availability and versatility. The tartness of green apples, often associated with varieties like Granny Smith, sets this syrup apart. The refreshing acidity of green apples provides an invigorating contrast to traditional sweet syrups, making it a delightful option for those seeking something a little different.
The flavor profile of green apples is bright and crisp, characterized by a sharp tartness balanced by a subtle sweetness. This unique blend contributes to a syrup that is not only delicious but also versatile. Whether you’re pouring it over waffles, mixing it into cocktails, or using it as a glaze for meats, green apple syrup adds a refreshing twist that elevates any dish. The syrup can also be used as a sweetener for yogurt or oatmeal, making it an excellent addition to breakfast or brunch.
Ingredients Overview
Creating the perfect homemade green apple syrup requires a few simple yet essential ingredients. Each one plays a crucial role in achieving the right flavor and consistency. Below, we delve into the key components of this delightful syrup.
Green Apples
The star of the show is, undoubtedly, the green apple. When selecting apples for this syrup, it’s best to choose varieties that are known for their tartness, such as Granny Smith. These apples not only provide the necessary acidity that defines the syrup’s flavor but also offer several health benefits. Green apples are rich in vitamins A and C, dietary fiber, and antioxidants, making them a nutritious choice. Their crisp texture and bright green hue add visual appeal to the syrup, enhancing its overall charm.
Granulated Sugar
Granulated sugar is a vital ingredient in the creation of any syrup, including green apple syrup. It serves two primary purposes: sweetening the syrup and preserving it. The sugar dissolves during cooking, melding with the apple juice to create a smooth and syrupy consistency. Additionally, the sugar acts as a preservative, extending the shelf life of your homemade syrup. While the sweetness balances the tartness of the green apples, the amount of sugar can be adjusted based on personal taste preferences.
Water
Water is another essential ingredient in the syrup-making process. It serves to create the right consistency, allowing the sugar and apple juice to blend seamlessly. The amount of water used can be tailored to achieve the desired thickness of the syrup. The goal is to create a syrup that is thick enough to cling to pancakes or waffles but still pourable.
Lemon Juice
Adding lemon juice to the mixture is crucial for balancing flavors. The acidity of lemon juice complements the tartness of the green apples, enhancing the overall flavor profile of the syrup. Furthermore, lemon juice acts as a natural preservative, helping to prolong the syrup’s freshness. Using freshly squeezed lemon juice is recommended for the best flavor, but bottled lemon juice can be used in a pinch.
Vanilla Extract
A splash of vanilla extract elevates the flavor of the syrup, adding a warm and aromatic depth that complements the bright notes of green apples. The vanilla provides a subtle sweetness and enhances the overall sensory experience of the syrup. It’s a simple addition that can make a significant difference.
Ground Cinnamon
While optional, ground cinnamon is a delightful addition that can enhance the flavor of green apple syrup. This warm spice introduces a hint of earthiness and complexity that pairs beautifully with the sweetness of the apples and the warmth of the vanilla. A small amount can transform the syrup into a comforting and aromatic treat, perfect for autumn-inspired dishes.
Salt
A pinch of salt may seem insignificant, but it plays a vital role in elevating the syrup’s sweetness. Salt helps to balance flavors and can enhance the overall taste experience. When used in moderation, it rounds out the sweetness of the syrup, making it more complex and enjoyable.
Step-by-Step Instructions
Now that we have explored the key ingredients and their roles in creating green apple syrup, let’s dive into the step-by-step instructions for making this delightful concoction at home. Follow these easy steps to craft your own homemade green apple syrup.
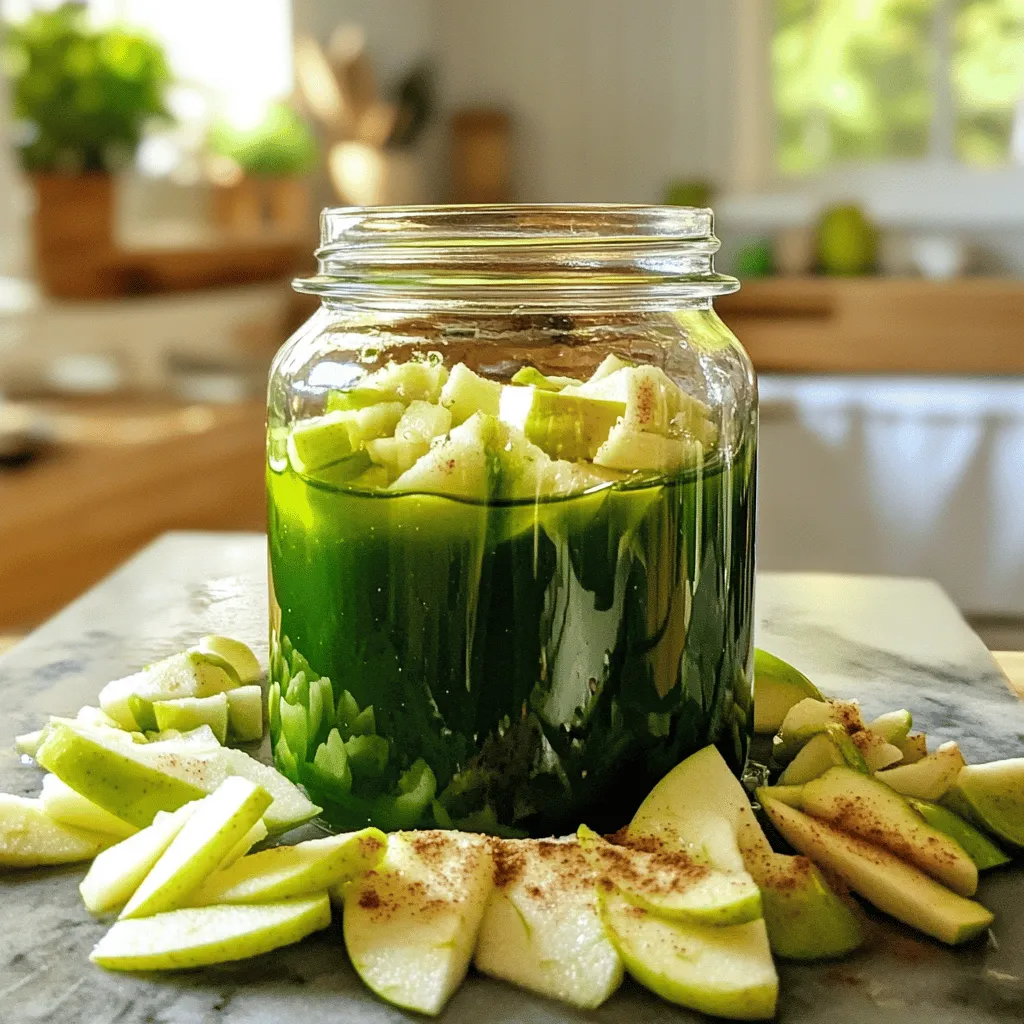
Step 1: Prepare the Green Apples
Begin by washing and peeling the green apples. Ensure that all dirt and residues are removed, as you want your syrup to be as clean and fresh as possible. Core the apples and slice them into small pieces. This will help release their juices during cooking, contributing to a more flavorful syrup.
Step 2: Combine Ingredients in a Pot
In a medium-sized saucepan, combine the sliced green apples with water, granulated sugar, and lemon juice. Start with a ratio of about 4 cups of sliced apples to 1 cup of water and 1 cup of sugar, adjusting as necessary based on your taste preference. Stir the mixture gently to ensure the apples are coated with sugar and lemon juice, allowing them to macerate for a few minutes. This step will help draw out the natural juices from the apples.
Step 3: Cook the Mixture
Place the saucepan over medium heat and bring the mixture to a gentle simmer. As it heats, the sugar will dissolve, and the apples will begin to soften. Stir occasionally to prevent sticking and ensure even cooking. Allow the mixture to simmer for about 15-20 minutes, or until the apples are tender and have released their juices.
Step 4: Blend the Mixture
Once the apples are softened, remove the saucepan from the heat. Using an immersion blender, carefully blend the mixture until smooth. If you don’t have an immersion blender, you can transfer the mixture to a regular blender in batches. Be cautious, as the mixture will be hot. Blending the mixture helps to break down the apple pieces, creating a thick and syrupy texture.
Step 5: Strain the Syrup
After blending, strain the mixture through a fine-mesh sieve or cheesecloth into a clean saucepan. This step will remove any solid apple pieces, resulting in a smooth syrup. Use a spatula or spoon to press down on the solids, extracting as much liquid as possible. Discard the solids or save them for another use, such as adding to smoothies or baked goods.
Step 6: Add Flavor Enhancers
Return the strained syrup to the stovetop over low heat. At this stage, stir in the vanilla extract and, if desired, the ground cinnamon. Allow the syrup to heat gently for another 5 minutes, which will help meld the flavors together. Taste the syrup and adjust the sweetness or acidity if needed, adding more sugar or lemon juice to achieve the desired flavor profile.
Step 7: Cool and Store the Syrup
Once the syrup is heated through and the flavors have developed, remove it from the heat. Allow the syrup to cool completely before transferring it to a clean, airtight container. Store the syrup in the refrigerator, where it can last for up to two weeks.
This homemade green apple syrup can be used in a variety of ways, enhancing your culinary creations with its sweet and tangy flavor. Whether drizzled over breakfast favorites or used as a unique ingredient in cocktails, it is sure to impress.
Stay tuned for part two of this article, where we will explore more creative ways to use green apple syrup, serving suggestions, and tips for achieving the best results.
Preparing the Apples
The first step in creating a delicious green apple syrup is preparing the apples properly. Start by selecting fresh, ripe green apples, which are known for their tartness and crisp texture. Varieties such as Granny Smith are ideal for this recipe.
Begin by washing the apples thoroughly under cold running water to remove any dirt or pesticide residues. Once clean, use a sharp peeler to remove the skins. Peeling the apples not only makes for a smoother syrup but also helps to reduce bitterness that might come from the skin. After peeling, core the apples to remove the seeds and tough center.
Next, chop the apples into small, even-sized pieces. Aim for cubes that are about one inch in size; this ensures they cook evenly. If the pieces are too large, they may not soften adequately during cooking, leading to an inconsistent syrup texture. Once chopped, place the apples into a large mixing bowl, and you are ready to move on to the next step.
Combining Ingredients
With your apples prepared, it’s time to combine the ingredients. In a large pot, add the chopped apples along with sugar, water, and a splash of lemon juice. The lemon juice is not only crucial for balancing the sweetness with a hint of acidity but also helps to preserve the vibrant green color of the apples during cooking.
Mix the ingredients thoroughly to ensure that the sugar is evenly distributed among the apple pieces. This initial mixing is vital as it allows the sugar to start drawing out the natural juices from the apples, creating a syrup base before you even begin cooking. Letting the mixture sit for about 10-15 minutes can further enhance this process, as the apples will release more liquid, making for a more flavorful syrup.
Simmering
Once your ingredients are mixed, it’s time to start the cooking process. Place the pot on the stove over medium heat and bring the mixture to a gentle simmer. Simmering is a critical stage in this recipe. It allows the sugar to dissolve fully while the apples soften and release their juices, creating a rich, flavorful syrup.
Stir the mixture frequently during the simmering process to prevent the apples from sticking to the bottom of the pot and to ensure even cooking. This process typically takes around 20-30 minutes. You want the apples to become tender and break down, which will contribute to the syrup’s overall consistency. Keep an eye on the heat; avoid boiling the mixture vigorously, as this can lead to a burnt flavor and may alter the syrup’s delicate taste.
Straining the Mixture
After simmering, it’s time to extract the luscious juice from the apple mixture. To do this, you’ll need a fine-mesh strainer or cheesecloth placed over a large bowl or pot. Carefully pour the apple mixture into the strainer, allowing the liquid to flow through while the solids remain behind.
To ensure you extract as much juice as possible, use the back of a spoon or a spatula to press down on the apple pulp. This step is crucial as it helps release the remaining juices trapped in the softened apple pieces. Be patient during this process; the more juice you can extract, the richer your syrup will be. Once strained, discard the solids or save them for another use, such as adding to smoothies or baking.
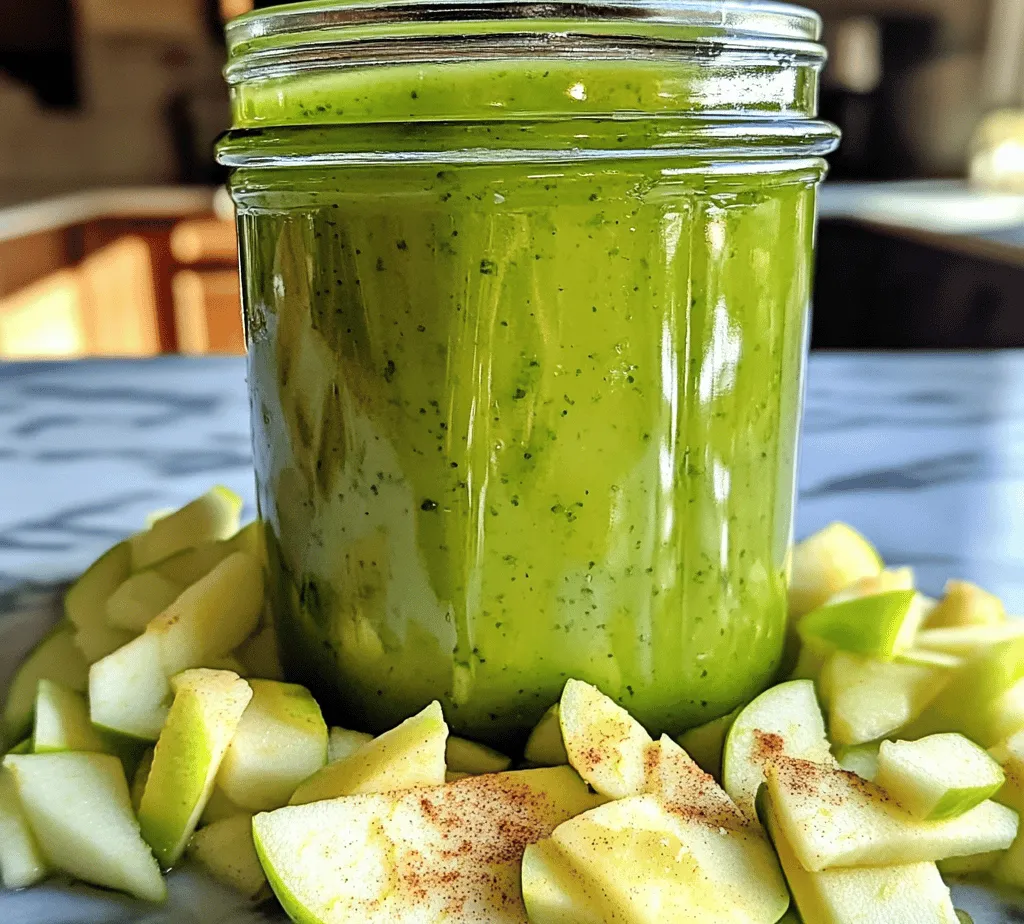
Thickening the Syrup
The next step is to thicken your syrup to achieve that perfect pourable consistency. Pour the strained liquid back into the pot and return it to the stove over medium heat. Allow it to simmer gently. As it cooks, water will evaporate, and the syrup will begin to thicken.
This stage requires attention; stir occasionally to prevent sticking and burning. Depending on how thick you prefer your syrup, this process can take anywhere from 15 to 30 minutes. A good indicator of doneness is when the syrup coats the back of a spoon and drips slowly off. Keep in mind that the syrup will thicken further as it cools, so it’s better to err on the side of slightly thin during cooking.
Storage
Once you’ve achieved the desired thickness, it’s time to store your syrup. Allow it to cool completely before transferring it into clean, airtight containers. Glass jars or bottles with secure lids are excellent options for storage. If you plan on using the syrup within a few weeks, it can be refrigerated. Homemade green apple syrup can last for about 2-3 weeks in the fridge.
For longer storage, consider freezing the syrup. Pour it into freezer-safe containers or ice cube trays, allowing for easy portioning later. When stored properly, your syrup can last for several months in the freezer. Just remember to label your containers with the date so you can keep track of freshness.
Serving Suggestions
Now that your homemade green apple syrup is ready, it’s time to explore the many delicious ways to enjoy it.
Breakfast Delights
Green apple syrup is a fabulous addition to your breakfast table. Drizzle it over fluffy pancakes or crispy waffles for a delightful sweet touch. It also pairs beautifully with oatmeal; stir in a spoonful to add a burst of flavor and sweetness. For a special treat, consider making apple syrup French toast, where the syrup can be poured generously over the toasted bread for an irresistible breakfast.
Dessert Enhancements
Transform your desserts with the addition of green apple syrup. A drizzle over vanilla or caramel ice cream creates a refreshing contrast that’s hard to resist. You can also use the syrup to enhance cakes, especially spice or pound cakes, adding a tart and sweet layer of flavor. For an impressive dessert, layer it with whipped cream and sliced apples in a parfait glass.
Beverage Additions
Get creative with your beverages by using green apple syrup as a sweetener. It can add a unique twist to cocktails, making it an excellent addition to apple martinis or even homemade sangria. For a refreshing non-alcoholic option, mix the syrup with sparkling water or lemonade for a bubbly and flavorful drink on a hot day.
Culinary Pairings
Green apple syrup can also complement savory dishes. Drizzle it over cheese platters featuring sharp cheddar or creamy brie for an elegant appetizer. It also pairs wonderfully with roasted meats, particularly pork or chicken, providing a lovely contrast to the savory flavors. Use it as a glaze during the last few minutes of cooking to create a sweet and tangy finish.
Health Benefits of Green Apples
In addition to its delightful flavor, green apples offer several health benefits that make them a great addition to your diet. They are low in calories and high in dietary fiber, aiding in digestion and promoting a feeling of fullness. Green apples are also rich in vitamin C, which supports the immune system, and antioxidants, which can help combat oxidative stress in the body.
Using homemade syrup gives you the advantage of knowing exactly what goes into your food. Unlike store-bought syrups, which often contain preservatives and artificial flavors, your homemade version is free from these additives. You have complete control over the sweetness level, allowing you to adjust it to your personal taste and dietary needs.
Conclusion
Making your own green apple syrup is not only a rewarding culinary experience but also a delightful way to add flavor to a multitude of dishes. From breakfast staples to sophisticated desserts and savory pairings, this syrup showcases versatility that enhances any meal.
Experiment with your syrup, try new combinations, and enjoy the fresh, authentic taste that only homemade recipes can offer. With the tips and serving suggestions provided, you can create a cherished addition to your kitchen that is perfect for everyday meals and special occasions alike. So gather those green apples, try out this recipe, and discover the joy of making your own syrup at home!