Introduction
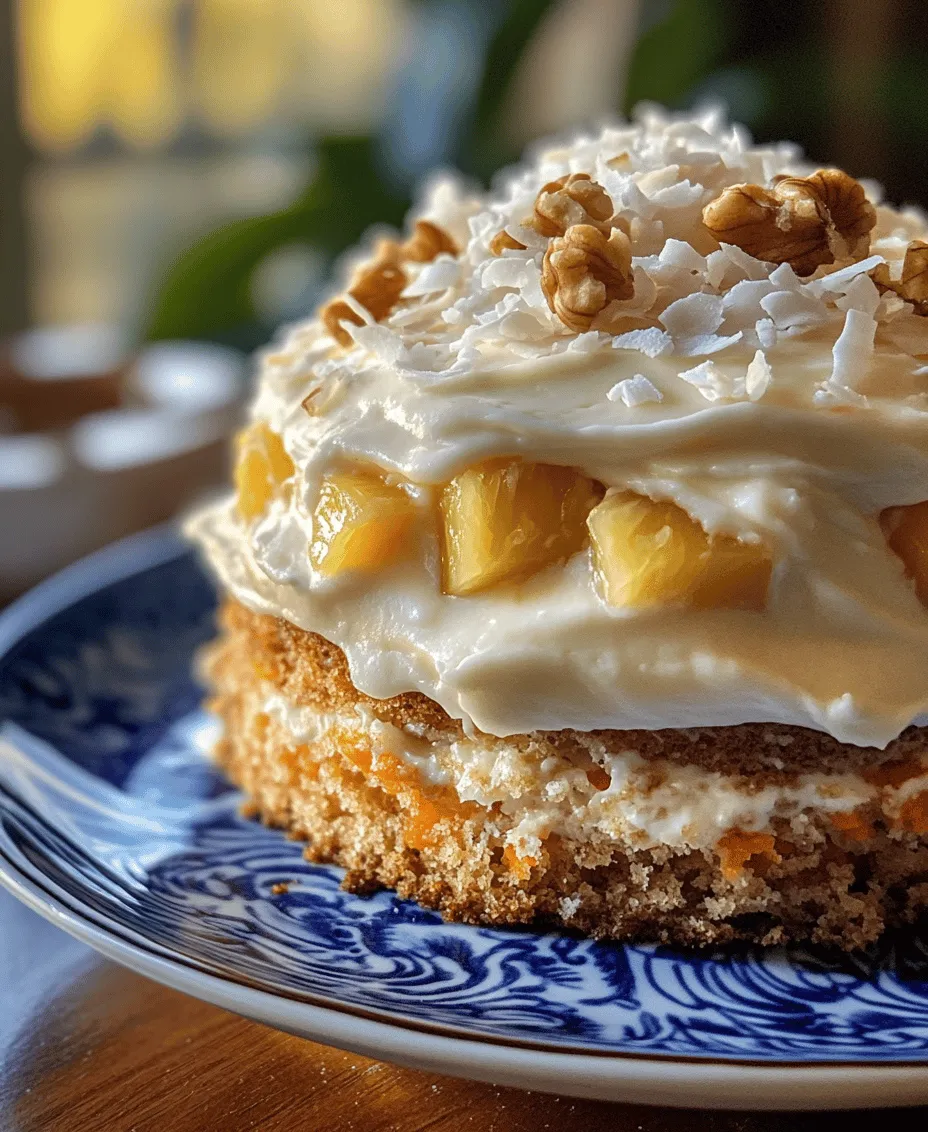
The Hawaiian Carrot Pineapple Cake is not just any dessert; it’s a celebration of tropical flavors that brings the essence of the islands straight to your kitchen. This delightful cake harmoniously combines the sweetness of ripe pineapple, the earthy goodness of freshly grated carrots, and the tropical richness of coconut. Each bite is a journey through a lush landscape of flavors that evoke memories of sun-soaked beaches and carefree moments.
This cake stands out for its unique blend of ingredients, making it an ideal centerpiece for gatherings, birthdays, or simply a delicious treat for yourself and your loved ones. The vibrant colors and rich flavors are not only visually appealing but also create a delightful experience that leaves taste buds dancing. Celebrating unique dessert recipes like the Hawaiian Carrot Pineapple Cake is essential, as they bring joy and flavor to our lives, transforming ordinary moments into extraordinary celebrations.
Understanding the Ingredients
Before diving into the preparation of this tropical delight, it’s essential to understand the key ingredients that contribute to its unique flavor and texture. Each component plays a vital role in creating the perfect cake that is both moist and flavorful.
All-Purpose Flour
All-purpose flour serves as the backbone of the Hawaiian Carrot Pineapple Cake, providing the necessary structure and texture. It acts as a binding agent, holding all the other ingredients together. The right amount of flour ensures that the cake rises properly while maintaining a tender crumb. When measuring flour, it’s important to spoon it into the measuring cup and level it off with a knife to avoid packing it down, which can lead to a denser cake.
Granulated Sugar
Granulated sugar is not just a source of sweetness; it also plays a crucial role in moisture retention. In this recipe, sugar helps to create a moist cake, enhancing the overall taste and texture. As it dissolves during mixing and baking, sugar contributes to the cake’s structure and browning, giving you that beautiful golden top. Additionally, the sugar balances the natural earthiness of carrots, making the cake irresistibly delicious.
Baking Powder and Baking Soda
Both baking powder and baking soda are essential leavening agents in this recipe. Baking powder is a combination of an acid and a base, which reacts when mixed with wet ingredients, producing carbon dioxide that helps the cake rise. Baking soda, on the other hand, requires an acidic ingredient to activate it— in this case, the crushed pineapple provides that acidity. Together, these leavening agents create a light and fluffy texture, ensuring that the cake doesn’t turn out dense or heavy.
Ground Cinnamon
Ground cinnamon is a spice that elevates the flavor profile of the Hawaiian Carrot Pineapple Cake. Its warm, aromatic notes complement the sweetness of the pineapple and carrots, creating a well-rounded taste. Cinnamon also has health benefits, including anti-inflammatory properties and the ability to regulate blood sugar levels, making it a wonderful addition to this dessert.
Grated Carrots
Grated carrots are a star ingredient, contributing not only to the flavor but also to the nutritional value of the cake. Carrots are rich in vitamins A and K, potassium, and antioxidants. They provide moisture to the cake, ensuring it remains tender and delicious after baking. The natural sweetness of the carrots enhances the overall flavor, making it a wholesome treat that you can feel good about indulging in.
Crushed Pineapple
Crushed pineapple is another key element that gives the Hawaiian Carrot Pineapple Cake its distinctive tropical flavor. It adds moisture and sweetness, making the cake incredibly moist and flavorful. Pineapple is also rich in vitamin C and manganese, offering health benefits alongside its delicious taste. When using crushed pineapple, be sure to drain it well to prevent excess moisture from affecting the cake’s texture.
Shredded Coconut
Shredded coconut brings texture and an additional layer of flavor to the cake. Its subtle sweetness and chewiness pair beautifully with the other ingredients, enhancing the overall tropical experience. Coconut is also a source of healthy fats and can help improve heart health. When choosing shredded coconut, opt for unsweetened varieties to control the sugar content of your cake.
Nuts (Optional)
While nuts are optional, adding them to the cake can provide a delightful crunch and enhance the flavor. Chopped walnuts or pecans are popular choices, contributing a rich nuttiness that complements the other ingredients. Nuts also bring added nutritional value, including healthy fats, protein, and fiber. If you decide to include nuts, make sure to chop them coarsely for the best texture.
Cream Cheese Frosting
No Hawaiian Carrot Pineapple Cake would be complete without a rich and creamy cream cheese frosting. This frosting is the perfect complement to the cake’s flavors, adding a tangy sweetness that balances the tropical ingredients beautifully. Cream cheese frosting is easy to make and can be flavored with vanilla or even a hint of coconut for an extra tropical twist. Its smooth texture spreads easily, creating a luscious layer on top of the cake.
Preparation Steps Explained
Now that we have explored the essential ingredients, it’s time to delve into the preparation steps that will help you create this wonderful cake. Following these instructions will ensure that your Hawaiian Carrot Pineapple Cake turns out perfectly, bursting with flavor and moisture.
Preheating the Oven
The first step in preparing your Hawaiian Carrot Pineapple Cake is to preheat your oven to 350°F (175°C). Preheating is crucial as it ensures that the cake bakes evenly from the start. An oven that isn’t hot enough can lead to uneven cooking, resulting in a cake that is undercooked in the center or overly dry around the edges. To preheat your oven effectively, set the temperature and allow it to warm up for at least 15-20 minutes before placing the cake in. You can also use an oven thermometer to check that the temperature is accurate, as some ovens can be off by a few degrees.
Mixing Dry Ingredients
Once your oven is preheated, it’s time to mix the dry ingredients. In a large mixing bowl, combine your all-purpose flour, granulated sugar, baking powder, baking soda, ground cinnamon, and a pinch of salt. Sifting the dry ingredients together not only helps to eliminate lumps but also ensures that they are evenly distributed throughout the mixture. When measuring your flour and sugar, use the spoon-and-level method to avoid excess, which can lead to a dense cake. After sifting, use a whisk to blend the dry ingredients thoroughly, creating a uniform mixture.
Combining Wet Ingredients
Next, focus on combining the wet ingredients. In a separate bowl, whisk together the grated carrots, crushed pineapple (well-drained), shredded coconut, and any optional nuts you choose to include. In another bowl, beat together the eggs and vegetable oil until well combined; this mixture adds moisture and richness to the cake. When incorporating the wet ingredients into the dry ingredients, it’s essential to mix them gently to avoid overworking the batter. Overmixing can lead to a tough cake, so stir until just combined, and no dry streaks remain. The result should be a thick, luscious batter ready to be baked into a delicious tropical cake.
By understanding the ingredients and following these preparation steps, you’re well on your way to creating a Hawaiian Carrot Pineapple Cake that will impress your friends and family. This cake is not only a treat for the taste buds but also a way to bring a bit of the tropics into your home. Stay tuned for the next part, where we will explore the baking process and tips for achieving the perfect cake texture.
Merging Wet and Dry Ingredients
Once you have prepared your wet and dry ingredients for the Hawaiian Carrot Pineapple Cake, it’s time to combine them. This step is critical as it influences the final texture and consistency of your cake. Begin by creating a well in the center of your dry ingredients, and then gradually pour the wet mixture into this well.
Using a spatula or a wooden spoon, gently fold the ingredients together. It’s important to avoid over-mixing at this stage. Over-mixing can lead to a dense cake rather than the light, fluffy texture we aim for. Instead of vigorously stirring, use a gentle folding technique, which maintains the airiness that your cake needs to rise properly. Aim to mix just until you no longer see dry flour; small lumps are okay. This method helps retain the moisture and ensures a beautifully textured cake.
Baking Process
With your batter ready, the next step is baking. Preheat your oven to 350°F (175°C). Proper oven temperature is crucial for achieving the perfect cake; too hot, and the outside will bake too quickly while the inside remains raw. Too cool, and you risk a dense, undercooked result.
Pour the batter evenly into your prepared cake pans, filling them about two-thirds full. This allows enough room for the cake to rise without spilling over. Bake in the preheated oven for approximately 25-30 minutes. To check for doneness, insert a toothpick or cake tester into the center of the cake. If it comes out clean or with a few moist crumbs, your cake is ready.
Cooling Techniques
Cooling is a vital step that many bakers overlook. Once your cakes are done baking, remove them from the oven and allow them to cool in the pans for about 10-15 minutes. This initial cooling period allows the cake to firm up slightly, making it easier to remove from the pans without breaking.
Next, carefully turn the cakes out onto a wire rack to cool completely. It is essential to ensure the cakes are completely cool before frosting them, as warm cakes can cause the frosting to melt and slide off. A well-cooled cake also aids in achieving a smooth and even frosting application, resulting in a more professional finish.
Frosting and Decoration
Now that your cakes are cool, it’s time to frost them. The cream cheese frosting is an integral part of the Hawaiian Carrot Pineapple Cake, adding a rich, tangy contrast to the sweetness of the cake itself. To achieve a smooth frosting, make sure your cream cheese and butter are at room temperature before mixing.
Start by beating the cream cheese and butter together until creamy and light. Gradually add in the powdered sugar and vanilla extract, mixing until you reach the desired consistency. For a thicker frosting, add more powdered sugar as needed.
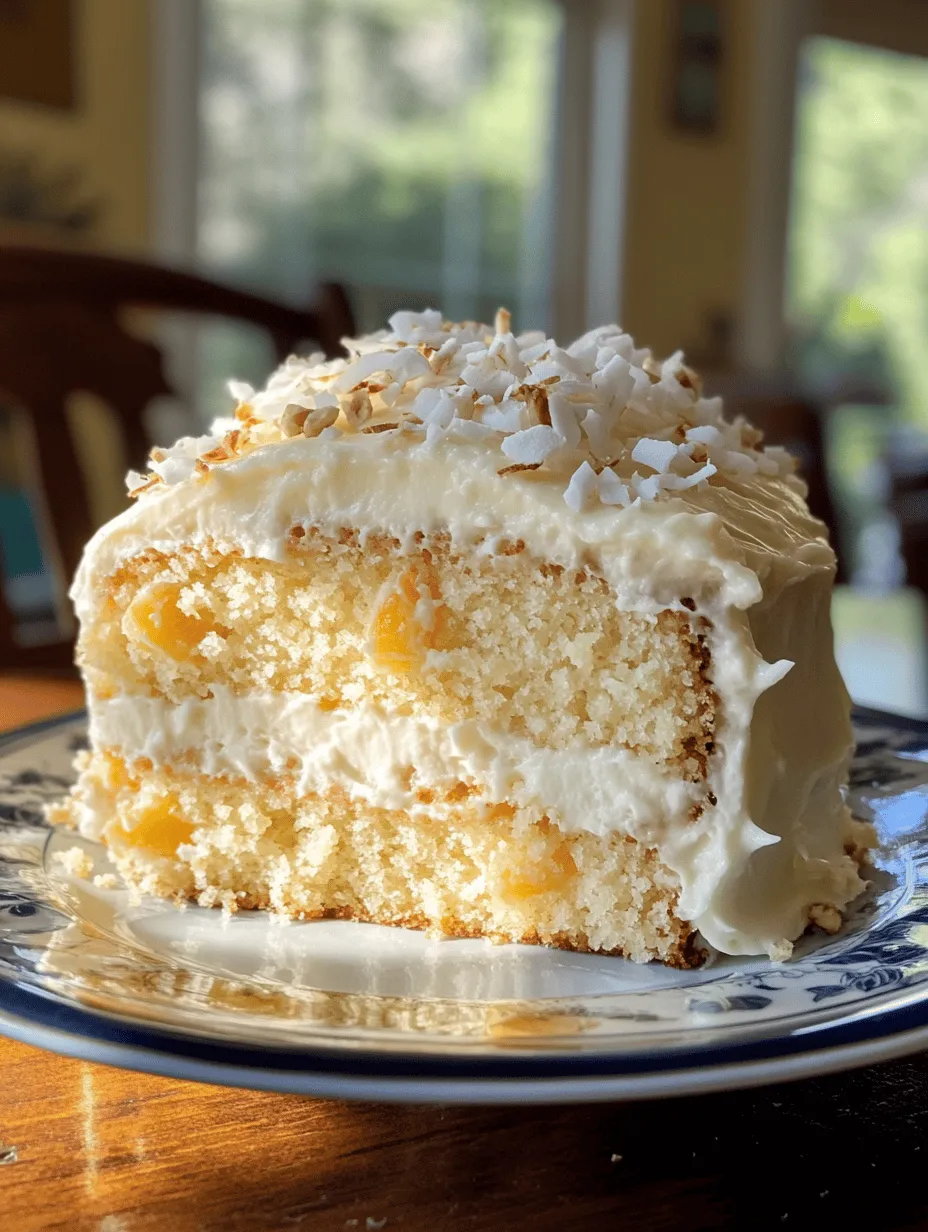
When frosting the cake, place one layer on a serving plate, spread a generous layer of frosting on top, and then carefully place the second layer on top. Use a spatula to apply frosting over the top and sides of the cake. For added decoration, consider topping the cake with toasted coconut flakes, chopped walnuts, or even fresh pineapple slices for a tropical touch.
Flavor Profile and Texture
The Hawaiian Carrot Pineapple Cake is a delightful balance of flavors and textures. The sweetness of the shredded carrots and crushed pineapple harmonizes beautifully with the earthy notes of the carrots. The addition of cinnamon adds warmth, while the cream cheese frosting enhances the cake’s overall sweetness with its tangy profile.
In terms of texture, this cake is moist and tender due to the pineapple and the oil used in the batter. The inclusion of crushed pineapple not only adds moisture but also contributes to the cake’s delightful crumb. The cream cheese frosting provides a rich, creamy layer that complements the cake’s moistness, making each bite a perfect blend of sweet and tangy.
Serving Suggestions
The Hawaiian Carrot Pineapple Cake is versatile and suits a variety of occasions. Whether you’re celebrating a birthday, hosting a holiday gathering, or enjoying a family get-together, this cake is sure to be a hit.
For beverages, consider pairing the cake with a refreshing iced tea, a light white wine, or even a tropical fruit smoothie to complement its flavors.
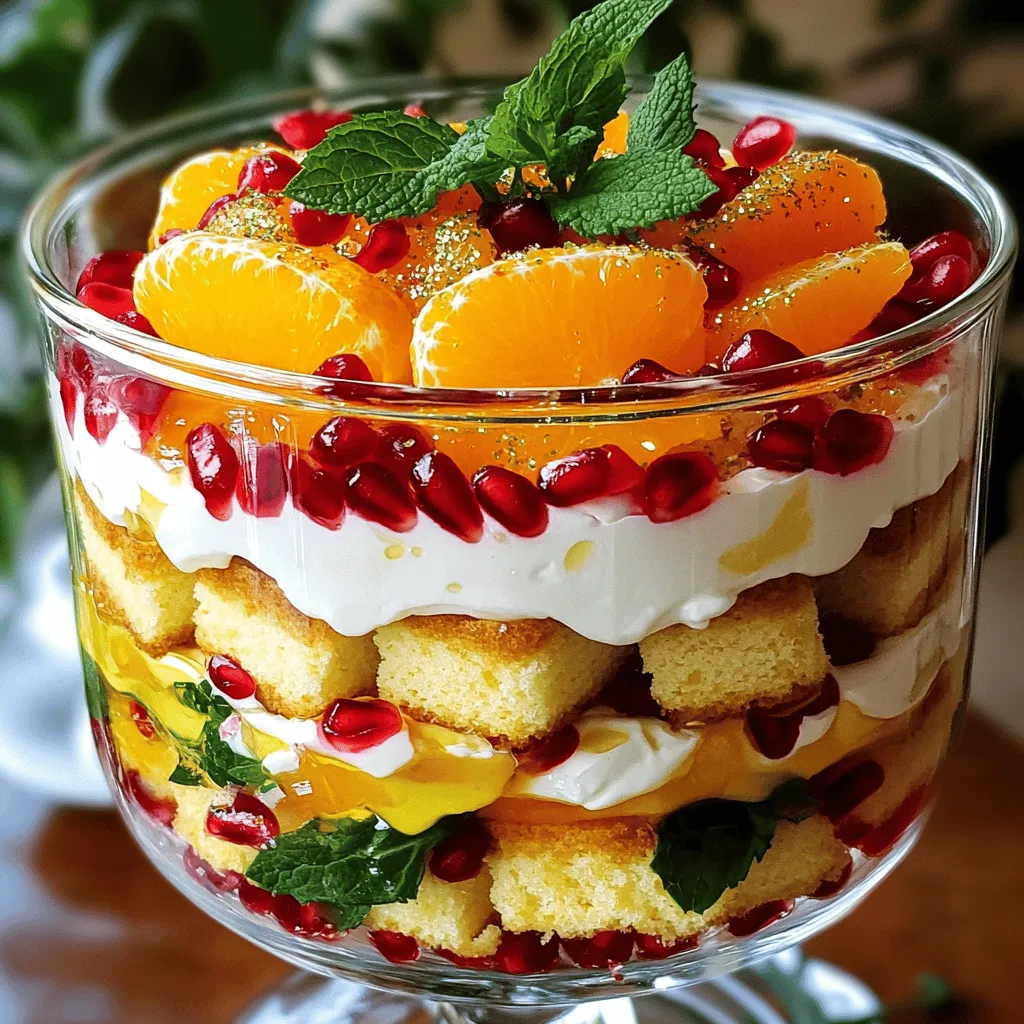
Additionally, get creative with serving ideas: slice the cake into individual portions, or transform it into cake pops for a fun treat. Layered dessert cups, featuring cake, frosting, and fresh fruit, can also be an appealing way to serve this delicious dessert at parties or potlucks.
Nutritional Information
The main ingredients in the Hawaiian Carrot Pineapple Cake offer several nutritional benefits. Carrots are rich in beta-carotene, fiber, and antioxidants, while pineapple provides vitamin C and manganese. The use of whole grain flour can also increase the fiber content of the cake, making it a more wholesome dessert option.
For those with dietary preferences, modifications can be made. To create a gluten-free version, substitute regular flour with a gluten-free all-purpose blend. For a lower sugar option, consider using natural sweeteners like honey or maple syrup, or sugar substitutes designed for baking.
Conclusion
The Hawaiian Carrot Pineapple Cake is not just a dessert; it’s a tropical delight that brings a unique blend of flavors and textures to the table. With its moist crumb, sweet and tangy frosting, and a hint of tropical essence, each slice promises a delightful experience.
We encourage you to try this recipe and enjoy the joy of baking and sharing delicious homemade treats with your loved ones. Whether it’s a special occasion or simply a sweet treat for the week, this cake is sure to bring smiles and satisfaction. Happy baking!
