Introduction
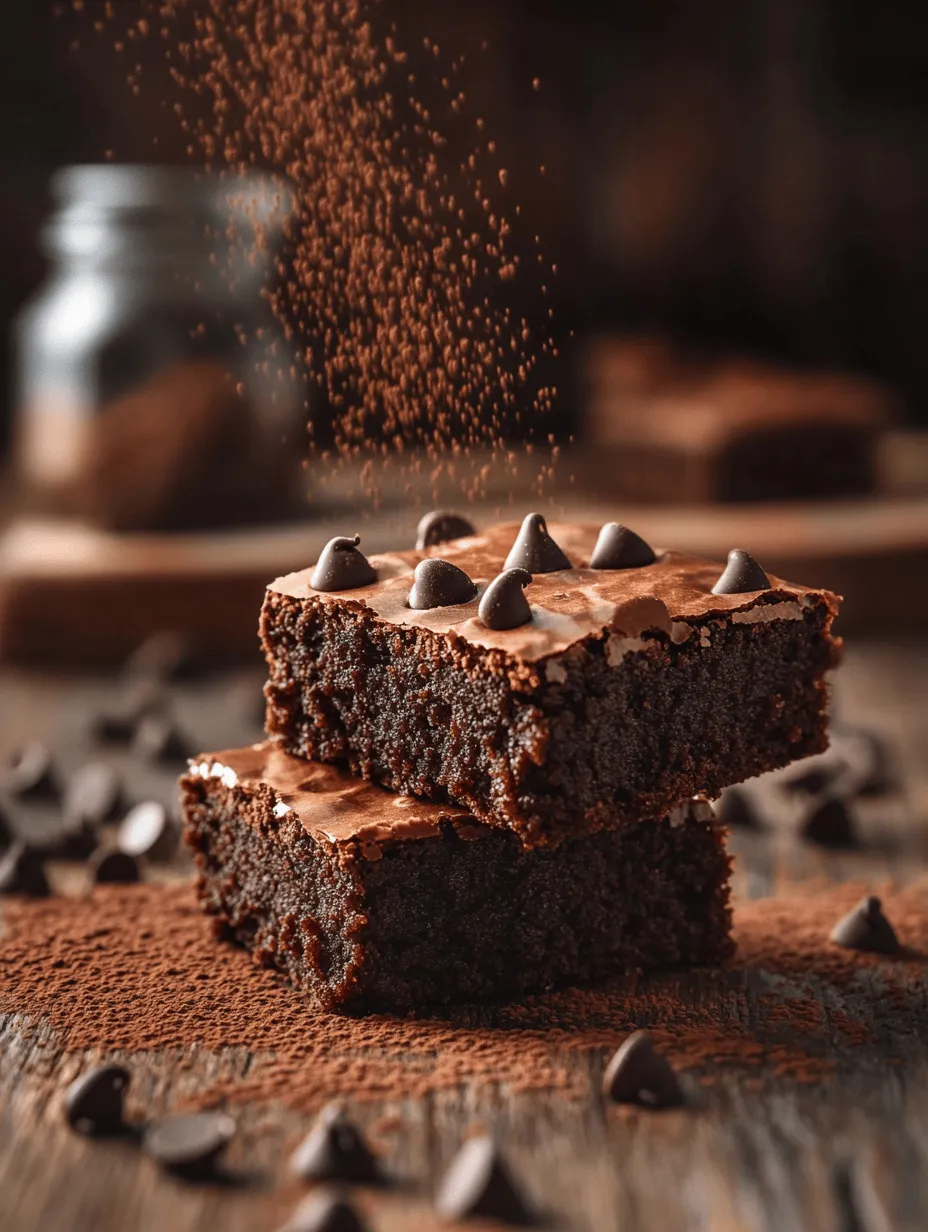
In the world of desserts, few treats can rival the rich, fudgy goodness of brownies. These Sinfully Rich Cocoa Powder Brownies are a delightful indulgence that promises to satisfy any chocolate lover’s cravings. With their simple ingredients and straightforward preparation, these brownies are perfect for both novice bakers and seasoned chefs alike. In this article, we will explore the origins of brownies, the science behind their texture, and provide an in-depth guide to creating the perfect batch of brownies that are not only delicious but also easy to make.
The Allure of Brownies
Brownies have earned their place as a beloved dessert across cultures for good reason. Their unique texture and intense chocolate flavor appeal to a wide audience, making them a staple in bakeries and home kitchens alike. The universal allure of brownies lies in their ability to combine simplicity with decadence. Whether you prefer them chewy, cakey, or fudgy, these chocolate delights can cater to a variety of preferences.
Understanding the Universal Appeal of Brownies
Brownies are more than just a dessert; they evoke feelings of comfort and nostalgia. For many, the act of baking brownies brings back memories of family gatherings, celebrations, and even quiet evenings spent indulging in a sweet treat. Their versatility allows them to be served at any occasion, whether it’s a casual get-together, a birthday party, or a sophisticated dinner party.
Exploring Different Types of Brownies
There are several styles of brownies, each with its own unique characteristics:
– Chewy Brownies: These brownies have a dense texture and a chewy bite, often resulting from the use of more flour and less fat. They typically feature a slightly crispy top layer that contrasts beautifully with the soft interior.
– Cakey Brownies: Cakey brownies resemble cake more than traditional brownies. They have a lighter texture and a fluffier crumb, thanks to the addition of more leavening agents and a higher egg-to-fat ratio.
– Fudgy Brownies: The ultimate in richness, fudgy brownies contain a higher fat content, making them incredibly moist and dense. They are the epitome of chocolate indulgence and are often the go-to choice for those who crave a deeply satisfying brownie experience.
Cultural Significance and Variations Around the World
Brownies have transcended their American origins to become a global phenomenon. Variations exist in many cultures, each adding a unique twist to the classic recipe. For instance, in France, you might find brownies that incorporate nuts such as walnuts or hazelnuts, while in Brazil, they often include condensed milk for extra sweetness and creaminess. Each culture puts its own stamp on this beloved dessert, showcasing the adaptability and universal love for brownies.
Ingredients Breakdown
To create the perfect batch of Sinfully Rich Cocoa Powder Brownies, it is essential to understand the role of each ingredient. Here’s a closer look at the key components involved in this delightful recipe:
– Unsalted Butter: The foundation of flavor and texture, butter adds richness and moisture to the brownies. Using unsalted butter allows you to control the saltiness of the final product.
– Granulated Sugar: Sugar not only sweetens the brownies but also contributes to their moisture balance. It helps create that desirable fudgy texture, particularly when combined with the melted butter.
– Eggs: Eggs act as a binding agent, providing structure and stability to the brownies. They also add moisture, contributing to the overall flavor and texture.
– Vanilla Extract: While the star of the show is undoubtedly the cocoa powder, vanilla extract enhances the chocolate flavor, creating a more complex and satisfying taste.
– Cocoa Powder: The focal ingredient in this recipe, cocoa powder delivers the rich chocolate flavor that brownies are known for. Using high-quality cocoa powder can elevate the taste and result in a more decadent treat.
– All-Purpose Flour: Flour provides structure and crumb formation, helping the brownies hold their shape while baking. The right amount of flour is crucial for achieving the desired texture.
– Salt: A small amount of salt elevates the flavors, balancing sweetness and enhancing the overall taste of the brownies.
– Baking Powder: This leavening agent contributes to the brownie’s rise, creating a lighter texture that still maintains a fudgy quality.
– Optional Add-ins: For those who crave even more indulgence, consider adding chocolate chips for extra fudginess or nuts for a delightful crunch. These optional ingredients can take your brownies to the next level.
Step-by-Step Preparation Guide
Now that we have a solid understanding of the ingredients, let’s dive into the step-by-step preparation process. Each step is designed to ensure that your brownies turn out perfectly every time.
Preheating the Oven
Before you start mixing your ingredients, it’s essential to preheat your oven to the proper temperature. This step is crucial because it ensures that the brownies bake evenly. Set your oven to 350°F (175°C), as this temperature allows the brownies to rise adequately while remaining moist and fudgy.
Melting the Butter
The first step in making your brownies is to melt the unsalted butter. You can do this in a microwave-safe bowl or on the stovetop. If using the microwave, heat the butter in short bursts of 20-30 seconds, stirring in between to prevent overheating. If opting for the stovetop, place the butter in a small saucepan over low heat, allowing it to melt gently.
Melting the butter not only makes it easier to mix with the sugar but also helps in achieving that rich, fudgy texture that defines these brownies. Once melted, set the butter aside to cool slightly before combining it with the sugar.
Mixing the Ingredients
In a large mixing bowl, combine the melted butter and granulated sugar. Whisk them together until the mixture is smooth and well combined. This step is essential for incorporating air into the batter, which will contribute to the brownies’ texture.
Next, add the eggs, one at a time, mixing well after each addition. This ensures that the eggs are fully incorporated into the batter. Follow with the vanilla extract, mixing until just combined.
Once your wet ingredients are ready, sift in the cocoa powder, all-purpose flour, baking powder, and salt. Using a sifter helps to eliminate any lumps and ensures an even distribution of dry ingredients throughout the batter. Gently fold the dry ingredients into the wet mixture using a spatula. Be careful not to overmix, as this can lead to tough brownies. The goal is to combine the ingredients until just incorporated, leaving a few streaks of flour visible.
Adding Optional Ingredients
If you’re feeling adventurous, now is the time to fold in any optional ingredients, such as chocolate chips or nuts. These additions can enhance the flavor and texture of your brownies, providing delightful surprises in every bite.
Once everything is combined, your brownie batter should be thick and glossy, ready to be poured into a prepared baking pan.
With these initial steps complete, you are well on your way to creating a batch of Sinfully Rich Cocoa Powder Brownies that will impress anyone fortunate enough to taste them. Stay tuned for the next part of this article, where we will cover the final steps of baking and tips for achieving the best results.
Mixing Sugar and Eggs: Achieving a Smooth, Airy Mixture
Start your brownie-making process by combining the granulated sugar and eggs in a large mixing bowl. This step is crucial, as it sets the foundation for a rich and airy brownie. Use an electric mixer on medium speed for about 2-3 minutes, or whisk vigorously by hand until the mixture becomes pale and slightly thickened. The incorporation of air at this stage is essential; it helps create a light texture in your brownies while still maintaining that fudgy richness that we all crave.
If you want to enhance the flavor profile, consider adding a teaspoon of vanilla extract to this mixture. Not only will it deepen the taste, but it also complements the chocolate beautifully. Once you have a smooth and airy mixture, it’s time to move on to the next step.
Combining Dry Ingredients: The Significance of Sifting
In a separate bowl, combine your dry ingredients: all-purpose flour, cocoa powder, baking powder, and a pinch of salt. Sifting these dry ingredients is not merely a suggestion; it’s a vital step that ensures your brownies have a uniform texture. Sifting helps to break up any clumps in the cocoa powder and flour, leading to a more consistent batter.
Add the sifted dry ingredients to the wet mixture gradually, about one-third at a time. This method allows for better incorporation and reduces the chance of overmixing. Stir gently with a spatula or a wooden spoon until just combined. It’s important to avoid overmixing at this stage, as this can lead to denser brownies.
Folding Techniques: Ensuring Perfect Texture Without Overmixing
Once your wet and dry ingredients are combined, it’s time to fold the batter. Folding is a technique that gently combines the two mixtures without deflating the airy structure you’ve created. Using a spatula, cut through the center of the batter, lift it, and fold it over itself, turning the bowl as you go.
This process should be done with care; you want to incorporate the ingredients fully without overworking the batter. The goal is to see no streaks of flour or cocoa powder while still keeping a thick, fudgy consistency. Once everything is mixed, you’ll notice a rich, glossy batter that promises delicious brownies.
Pouring Batter: Tips for Even Distribution
Now that your batter is ready, it’s time to pour it into the prepared baking pan. Use a rubber spatula to scrape the batter from the bowl, ensuring you get every last bit. Pour the batter into your greased or lined pan, and use the spatula to spread it evenly.
To ensure even baking, it’s crucial to spread the batter out to the corners of the pan. You can gently tap the pan on the counter to help the batter settle and eliminate any air bubbles. A well-distributed batter will bake uniformly, leading to consistently delicious brownies.
Baking: Understanding Doneness Indicators
Preheat your oven to 350°F (175°C) before you start baking. Once you’ve prepared your batter, place the pan in the oven and bake for about 20 to 25 minutes. The key to perfect brownies lies in knowing when to take them out.
You can perform a toothpick test: insert a toothpick into the center of the brownies; if it comes out with a few moist crumbs, they are done. If the toothpick emerges clean, the brownies may be overbaked. Remember, they will continue to cook slightly in the pan after being removed from the oven, so it’s better to err on the side of underbaking for that fudgy texture we all love.
Cooling: Importance of Cooling Time Before Slicing
Once your brownies are out of the oven, allow them to cool in the pan for at least 15-20 minutes. Cooling is crucial as it allows the brownies to set properly, making them easier to slice. After this initial cooling period, you can lift the brownies out of the pan using parchment paper (if used). Transfer them to a wire rack to cool completely.
If you’re eager to slice into your brownies while they’re still warm, be prepared for a gooey, melty experience. For clean cuts, use a sharp knife and wipe it clean between slices. Once cooled, you can cut them into squares or rectangles, depending on your preference.
Tips for the Perfect Brownies
Achieving the ideal brownie isn’t just about following the steps; it involves some nuanced techniques and adjustments based on personal taste. Here are some insights to help you perfect your brownies:
– Adjusting Ingredients for Dietary Preferences: If you have gluten-free or vegan friends or family, consider substituting the all-purpose flour with a gluten-free blend or almond flour. For vegan brownies, replace the eggs with flax or chia seeds mixed with water (1 tablespoon of seeds with 2.5 tablespoons of water per egg).
– Importance of Measuring Ingredients Accurately: Accurate measurement of ingredients is crucial in baking. Use a kitchen scale for precise measurements, especially for flour and cocoa powder, to avoid dense or dry brownies.
– How to Customize with Different Flavors and Add-ins: Get creative by adding different flavors or ingredients to your brownie batter. A teaspoon of mint extract can infuse a refreshing taste, while a tablespoon of espresso powder will enhance the chocolate flavor. You can also fold in chocolate chips, nuts, or even swirl in some peanut butter or Nutella for extra decadence.
Serving Suggestions
Brownies can be delightful on their own, but they can also be dressed up for a more indulgent experience. Here are some creative serving ideas:
– Pairing with Ice Cream or Whipped Cream: Serve your brownies warm with a scoop of vanilla ice cream or a dollop of whipped cream. The contrast between the warm brownie and cold ice cream creates a delightful experience.
– Drizzling with Sauces: Elevate your brownies by drizzling them with sauces. Warm chocolate or caramel sauce adds an extra layer of sweetness. A sprinkle of sea salt on top can also enhance the flavor.
– Creative Plating for Special Occasions: For parties or special events, consider plating your brownies artistically. Cut them into shapes using cookie cutters or layer them with toppings and sauces for an eye-catching dessert.
Storage and Shelf Life
To keep your brownies fresh and delicious for days, proper storage is key. Here are best practices for storing your brownies:
– How to Keep Brownies Fresh for Days: Store completely cooled brownies in an airtight container at room temperature for up to 4-5 days. If you live in a humid climate, consider refrigerating them to maintain their freshness.
– Freezing Brownies for Long-Term Storage: For longer storage, brownies can be frozen. Wrap them tightly in plastic wrap and then place them in a freezer-safe container. They can last up to three months in the freezer. When ready to enjoy, simply thaw them at room temperature or pop them in the microwave for a few seconds for a warm treat.
Conclusion
The Sinfully Rich Cocoa Powder Brownies recipe encapsulates the essence of indulgence in a sweet treat. With their rich chocolate flavor and fudgy texture, they are sure to become a favorite in any household. Whether enjoyed as a simple dessert or dressed up for a special occasion, these brownies are a testament to the joy of baking. As you embark on your brownie-making journey, remember that the magic lies not just in the ingredients but in the love and care put into every step. Happy baking!