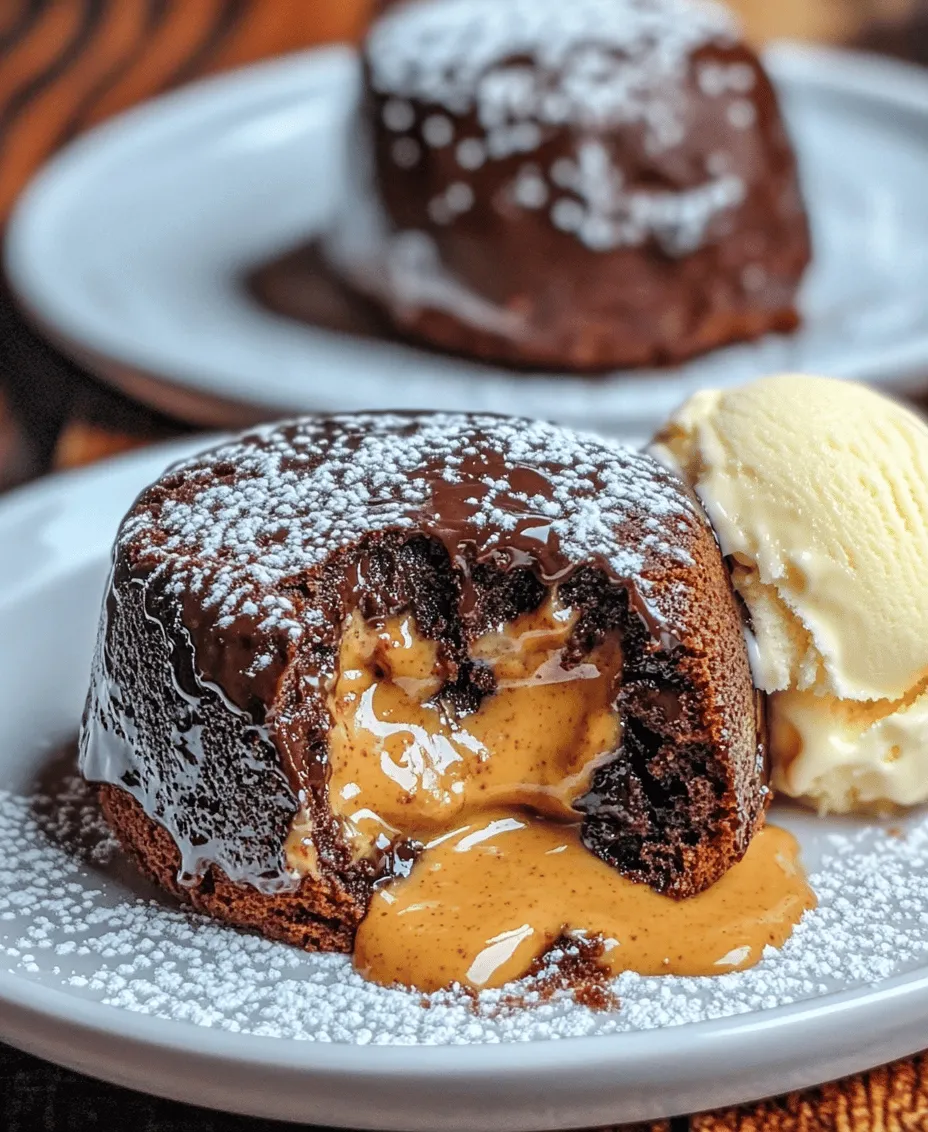
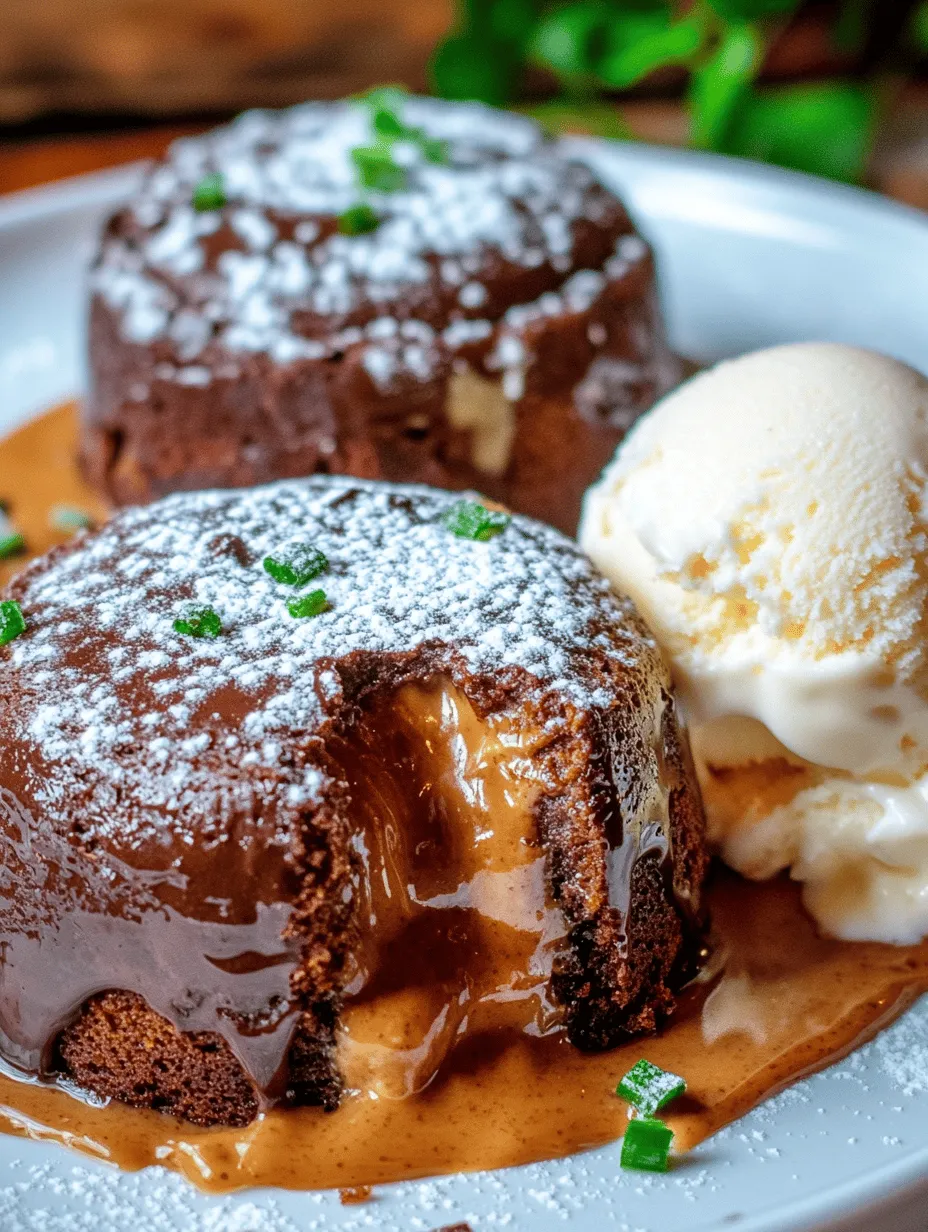
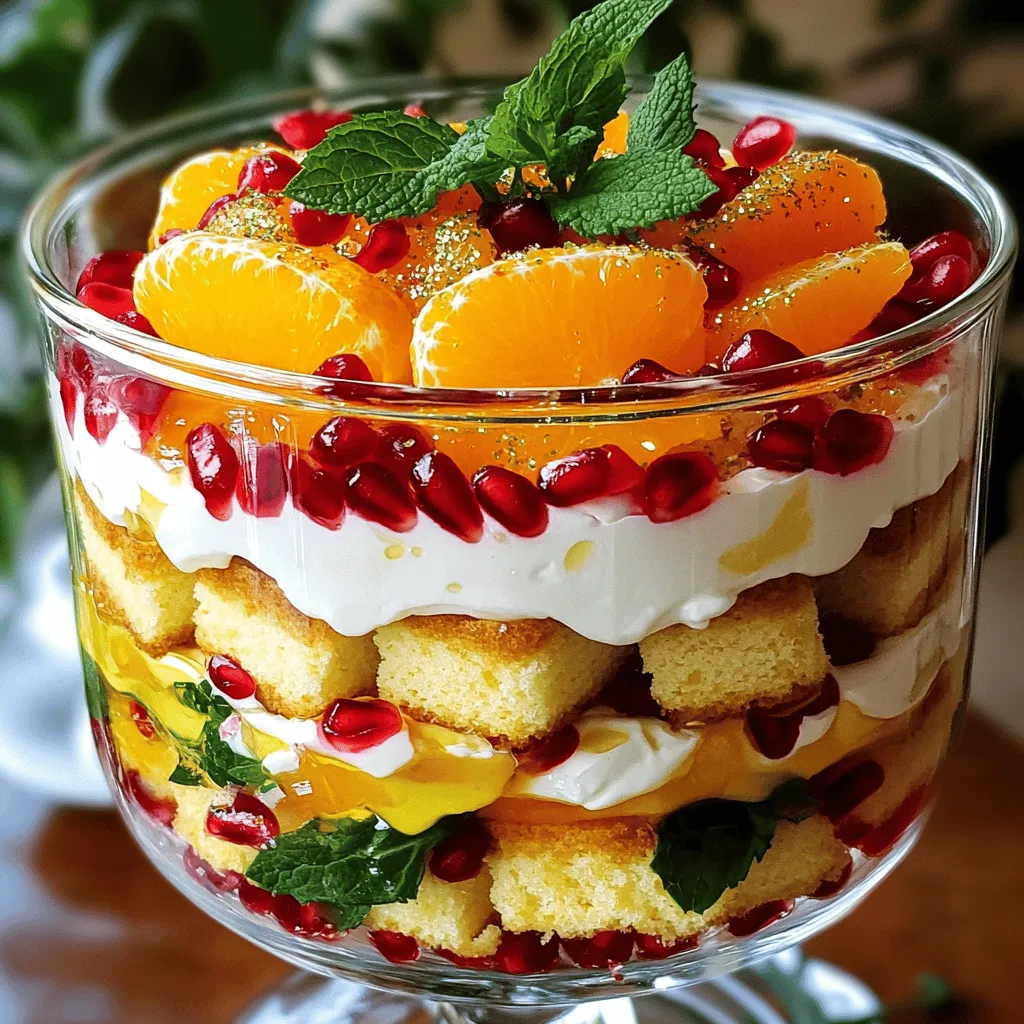
Delight in the rich, indulgent experience of Decadent Chocolate Peanut Butter Lava Cakes, a dessert that combines two beloved flavors into a heavenly treat. With a warm, gooey center and the perfect balance of chocolate and peanut butter, these lava cakes are ideal for special occasions or a cozy night in. Imagine cutting into a soft, chocolate exterior to reveal a luscious, flowing peanut butter center that oozes with flavor. This article will guide you through the ingredients, preparation, and baking process, ensuring that your lava cakes turn out perfectly every time.
The Allure of Lava Cakes
Understanding the Popularity of Lava Cakes
Lava cakes have been a staple on dessert menus at upscale restaurants for decades, and it’s easy to see why. Their unique presentation and irresistible taste make them an eye-catching and mouthwatering option. When you think of a lava cake, what comes to mind is not just a dessert, but an experience; the moment when you break through the delicate cake layer and let the warm filling spill out is nothing short of magical. This spectacle, paired with the rich flavors of chocolate and peanut butter, creates a dessert that has captured the hearts of many.
Exploring the Origins and Variations of Lava Cakes
Lava cakes, also known as molten chocolate cakes, are believed to have originated in the United States in the late 1980s. Chef Jean-Georges Vongerichten is often credited with popularizing the dessert after serving it at his New York City restaurant, JoJo. Since then, the concept of a cake with a molten center has evolved, leading to various interpretations and flavor combinations.
While traditional recipes focus on chocolate cake with a gooey chocolate center, innovative bakers have experimented with flavors ranging from caramel to raspberry. The beauty of lava cakes lies in their versatility; they can be tailored to suit any palate. In this recipe, we take it a step further by incorporating creamy peanut butter—an all-time favorite pairing with chocolate, enhancing the overall flavor profile and creating an unforgettable dessert.
Why Chocolate and Peanut Butter Make the Perfect Pairing
Chocolate and peanut butter are a classic combination that has stood the test of time. The rich, bittersweet notes of chocolate complement the nutty, creamy flavor of peanut butter, creating a delightful balance that appeals to dessert lovers everywhere. When combined in a lava cake, these flavors come together in a way that is both comforting and indulgent.
The contrasting textures—smooth, velvety chocolate cake enveloping a gooey peanut butter center—add to the decadence of this dessert. Whether you enjoy them on their own or serve them with a scoop of vanilla ice cream, the interplay of chocolate and peanut butter makes these lava cakes a luxurious treat that is sure to impress.
Ingredients Breakdown
To create these Decadent Chocolate Peanut Butter Lava Cakes, you will need a selection of essential ingredients that work together to achieve the perfect texture and flavor. Understanding the role of each component is crucial for your baking success.
– Unsalted Butter: Butter is a key ingredient that adds moisture and richness to the cake. Using unsalted butter allows you to control the saltiness of the dessert, ensuring that the flavors of chocolate and peanut butter shine through without being overpowered by salt.
– Semi-Sweet Chocolate Chips: Choosing the right chocolate is vital for the taste of your lava cakes. Semi-sweet chocolate chips provide the perfect balance of sweetness and depth of flavor. You can also experiment with dark chocolate or milk chocolate based on your preference.
– Eggs and Egg Yolks: Eggs are essential for providing structure and richness to your cake. The combination of whole eggs and additional egg yolks contributes to a tender crumb and a luxurious texture that melts in your mouth.
– Granulated Sugar: Sugar not only sweetens the cakes but also plays a role in creating the desired texture. It helps to form a tender crumb while balancing the rich flavors of chocolate and peanut butter.
– Vanilla Extract: A touch of vanilla extract enhances the overall flavor of the lava cakes, adding warmth and depth that complements the chocolate and peanut butter.
– All-Purpose Flour and Salt: Flour is the foundation of your cake, providing structure. A pinch of salt enhances the flavors, making the chocolate and peanut butter taste even more pronounced.
– Creamy Peanut Butter: The star of this recipe, creamy peanut butter, is what gives these lava cakes their signature gooey center. It should be smooth and rich for the best results.
– Optional: For presentation, you may want to dust the finished cakes with powdered sugar or serve them with a scoop of vanilla ice cream. These additions elevate the dessert and make it even more enticing.
Preparation Steps
Before you dive into the baking process, it’s essential to prep your kitchen and gather the necessary tools and equipment. Having everything ready will streamline your experience and ensure that your lava cakes turn out flawlessly.
Prepping Your Kitchen: Tools and Equipment Needed
– Ramekins: Choose the right size and material for your lava cakes. Typically, individual ramekins that hold about 6 ounces work best. They should be oven-safe and preferably made from ceramic or glass to ensure even baking.
– Mixing Bowls and Spatula: A medium mixing bowl is ideal for combining your ingredients. A spatula will help you fold in the ingredients without overmixing, preserving the light texture of your batter.
– Whisk: A whisk is essential for incorporating air into the eggs and sugar mixture, contributing to the cakes’ rise and fluffy texture.
– Baking Sheet: Place your ramekins on a baking sheet for easier handling and to catch any potential spills during baking.
Step-by-Step Guide to Preparing the Lava Cakes
1. Preheat the Oven: Start by preheating your oven to 425°F (220°C). This high temperature is crucial for creating the molten center while ensuring the cake cooks through.
2. Prepare the Ramekins: Grease each ramekin generously with unsalted butter and lightly dust with flour. This step prevents the cakes from sticking and makes for easy removal once baked. Alternatively, you can use cocoa powder for dusting, which will enhance the chocolate flavor.
3. Melt the Chocolate and Butter: In a microwave-safe bowl, combine the semi-sweet chocolate chips and unsalted butter. Heat in the microwave in 30-second intervals, stirring in between, until the mixture is smooth and fully melted. Be careful not to overheat the mixture, as chocolate can seize if it becomes too hot.
4. Whisk the Eggs and Sugar: In a separate mixing bowl, whisk together the eggs, egg yolks, and granulated sugar until the mixture is pale and slightly thickened. This process should take about 2-3 minutes of vigorous whisking.
5. Combine the Mixtures: Gradually pour the melted chocolate and butter mixture into the egg mixture, stirring continuously to combine. This step is important to prevent the eggs from cooking in the heat of the melted chocolate.
6. Add Vanilla and Dry Ingredients: Stir in the vanilla extract, followed by the all-purpose flour and a pinch of salt. Gently fold the flour into the mixture until just combined—be careful not to overmix, as this can lead to dense cakes.
7. Prepare the Peanut Butter Center: In a small bowl, take your creamy peanut butter and set it aside for later use. You can even warm it slightly in the microwave to make it easier to portion out.
8. Assemble the Lava Cakes: Divide the batter evenly among the prepared ramekins, filling each about halfway. Then, add a spoonful of creamy peanut butter to the center of each ramekin. Finally, top off with the remaining batter, making sure the peanut butter is completely covered.
9. Bake: Place the baking sheet with the filled ramekins in the preheated oven and bake for 12-14 minutes. The edges should be firm, while the center remains soft and jiggly. Keep a close eye on them to avoid overbaking.
10. Cool Slightly: Once baked, remove the lava cakes from the oven and let them cool in the ramekins for about 1-2 minutes. This short resting time allows the lava cakes to set slightly, making them easier to unmold.
With these initial steps, you’re on your way to creating a deliciously indulgent dessert that is sure to impress anyone fortunate enough to try it. The combination of rich chocolate and creamy peanut butter will leave your taste buds craving more. Stay tuned for the next part of this article, where we will explore additional tips, serving suggestions, and answers to common questions about this exquisite dessert.
