Introduction: Exploring the Versatility of Baking
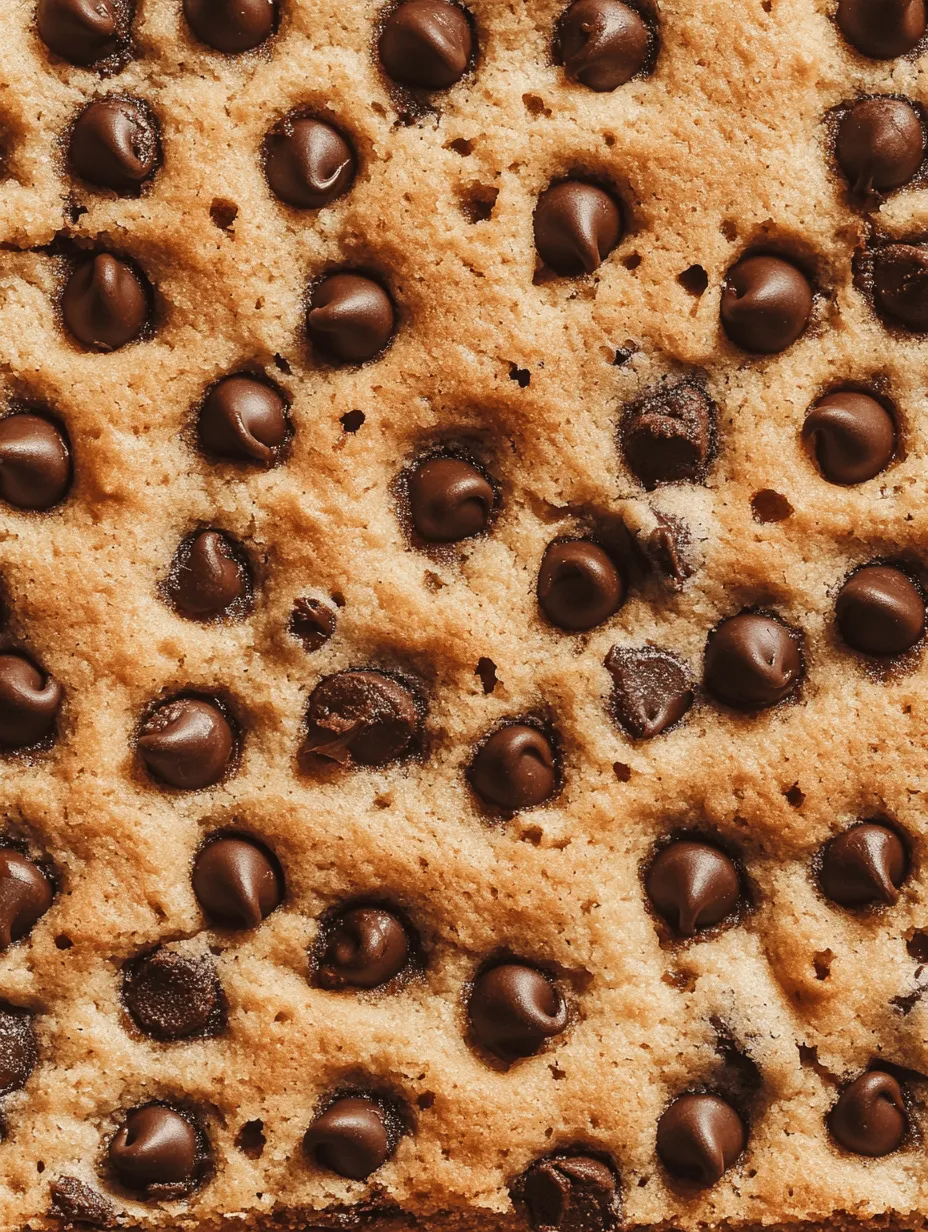
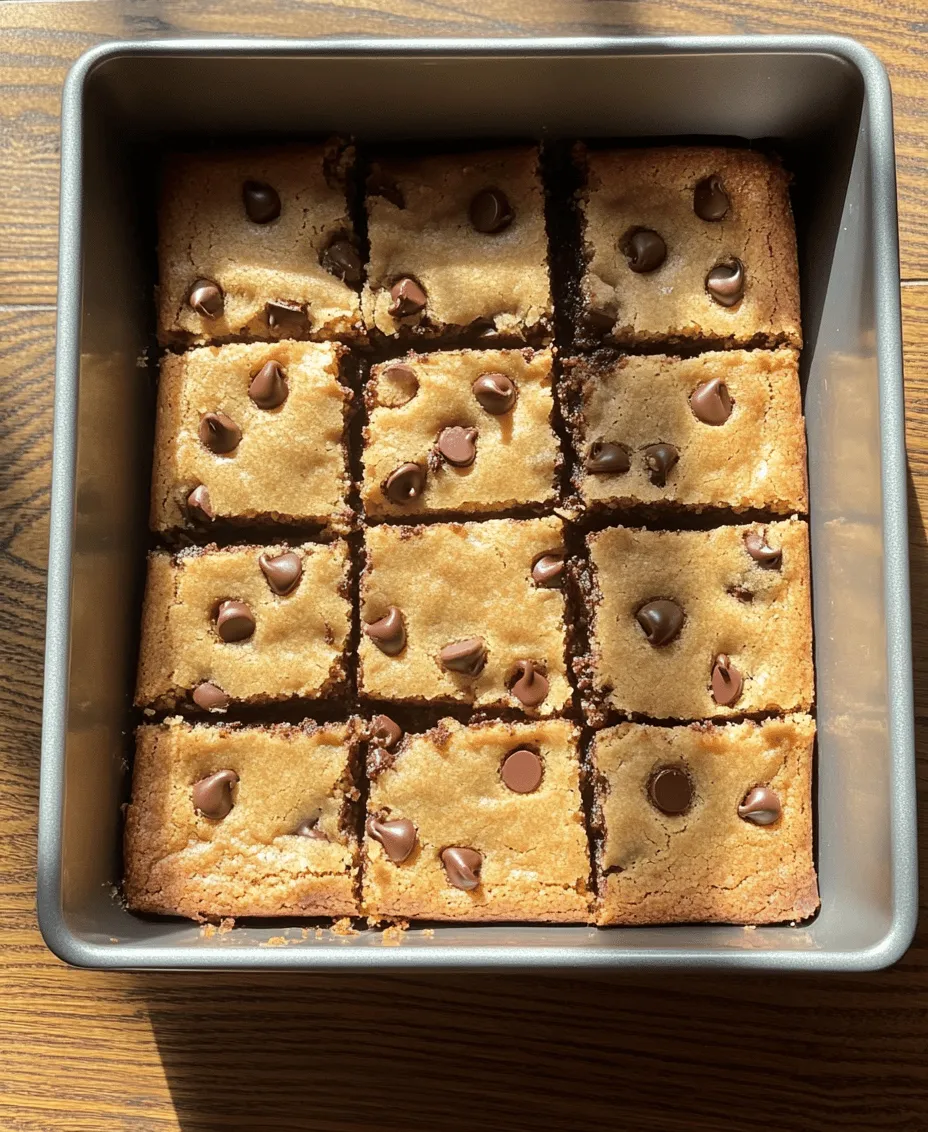
In the world of baking, creativity knows no bounds. The kitchen is often a playground for culinary enthusiasts, where experimentation can lead to delightful discoveries. One question that frequently arises among home bakers is whether cookies can be baked in a cake pan. This method not only offers a unique twist to traditional cookie baking but also provides a new way to enjoy those beloved sweet treats. The result? Delicious, chewy cookie bars that are perfect for sharing or enjoying solo.
In this comprehensive guide, we will dive into the recipe for baking cookies in a cake pan, exploring the essential ingredients, step-by-step instructions, and the mouthwatering results you can expect. Whether you’re hosting a gathering, preparing a snack for your family, or simply indulging your sweet tooth, cookie bars baked in a cake pan are an excellent addition to your baking repertoire.
Understanding the Recipe: The Appeal of Cookie Bars
Cookie bars have gained popularity in recent years for several reasons. They combine the best features of cookies and cake, offering a chewy texture that appeals to many palates. Unlike traditional cookies that require individual shaping and baking, cookie bars simplify the process by allowing you to pour the dough into a pan, bake it, and cut it into squares or rectangles after cooling. This method not only saves time but also yields uniform pieces that are perfect for sharing.
Moreover, cookie bars are incredibly versatile. You can customize them with a variety of mix-ins such as chocolate chips, nuts, dried fruits, or even candies. This adaptability makes them a favorite for gatherings, parties, or any occasion where a sweet treat is desired. The ease of preparation and the delightful results make cookie bars an ideal treat for both novice bakers and seasoned pros.
Ingredients Breakdown: Essential Ingredients for Perfect Cookie Bars
Creating the perfect cookie bars requires a handful of essential ingredients, each playing a crucial role in achieving the desired taste and texture. Here’s a closer look at what you’ll need:
– All-Purpose Flour: This is the foundation of the cookie dough, providing structure and chewiness. It’s important to measure the flour accurately, as too much can lead to dry bars.
– Baking Soda and Salt: These leavening agents enhance the flavor and help the cookie bars rise. Baking soda is particularly important for achieving that perfect chewy texture.
– Unsalted Butter: Butter adds richness and flavor to the cookie bars. Ensure the butter is softened at room temperature for easy mixing. This step is crucial, as softened butter incorporates air into the dough, contributing to a lighter texture.
– Sugars: A combination of brown and granulated sugars is typically used. Brown sugar adds moisture and a hint of caramel flavor, while granulated sugar contributes to the overall sweetness and crispness of the edges.
– Eggs: Eggs are essential for binding the ingredients together and adding moisture. They also help the cookie bars rise and develop a tender crumb.
– Vanilla Extract: This key flavor enhancer brings out the sweetness and adds depth to the overall flavor profile of the cookie bars.
– Chocolate Chips and Mix-Ins: The final touch that personalizes the recipe, offering a variety of flavors and textures. Whether you prefer classic chocolate chips, colorful M&M’s, or even dried fruit, the choice is yours.
Step-by-Step Instructions: Preheat the Oven
Setting the Stage for Baking
Before diving into the mixing and baking process, it’s essential to prepare your baking environment. Begin by preheating your oven to 350°F (175°C). This temperature is ideal for baking cookie bars, ensuring they cook evenly throughout. While the oven is heating, take a moment to prepare your cake pan. Greasing the pan is crucial to prevent sticking, so use either butter or a non-stick cooking spray for best results.
Preparing the Dry Ingredients: The Foundation
While the oven is warming up, focus on preparing the dry ingredients. Start by gathering a mixing bowl and whisk together the all-purpose flour, baking soda, and salt. This step is vital as it helps to evenly distribute the leavening agents throughout the flour, ensuring that your cookie bars rise properly during baking.
Once combined, set the dry mixture aside and turn your attention to the wet ingredients.
Creaming the Butter and Sugars: Achieving the Right Texture
In a separate large mixing bowl, add your softened unsalted butter. Using a hand mixer or a stand mixer fitted with a paddle attachment, beat the butter on medium speed until it becomes creamy and light in color. This process usually takes about 1-2 minutes.
Next, gradually add both the granulated sugar and brown sugar to the creamed butter. Continue to mix on medium speed until the mixture is fluffy and well combined. This step is essential as it incorporates air, which contributes to the lightness and texture of the final product.
Once the sugars are fully incorporated, add in the eggs one at a time, ensuring each is fully mixed before adding the next. Don’t forget to include the vanilla extract at this stage, mixing until just combined. The mixture should be smooth and creamy, with no visible lumps of butter or sugar.
By following these initial steps, you’re setting the stage for delicious cookie bars that are sure to impress. As we move forward, we’ll cover the remaining steps, including how to combine the ingredients and bake the cookie bars to perfection. With the right techniques, you’ll soon be enjoying a delightful batch of homemade cookie bars that are perfect for any occasion. Stay tuned for the next section, where we’ll guide you through the remaining steps of this easy and rewarding baking process.
Combining Wet and Dry Ingredients: The Fusion
Now that you have a creamy and fluffy mixture of butter and sugars, it’s time to blend in the dry ingredients. This step is essential for achieving the perfect cookie bar texture. Start by gradually adding the dry mixture of flour, baking soda, and salt to the wet mixture. Using a spatula or wooden spoon, gently fold the ingredients together until just combined.
Be cautious not to overmix at this stage. Overmixing can lead to tough cookie bars, which is not what you want. The goal is to mix until the flour is just incorporated. A few flour streaks are okay; they will disappear as you fold in your chocolate chips.
Folding in Chocolate Chips: Personalizing Your Treat
Once the wet and dry ingredients are combined, you can personalize your cookie bars by adding chocolate chips or other mix-ins of your choice. Whether you prefer semi-sweet, dark, or even white chocolate, this is your chance to tailor the recipe to your taste.
Gently fold in the chocolate chips with a spatula, ensuring they are evenly distributed throughout the dough. If you’re feeling adventurous, consider adding in some chopped nuts, toffee bits, or dried fruit for an extra layer of flavor and texture. The options are endless, so have fun experimenting with different combinations to create your perfect cookie bar.
Spreading the Cookie Dough: Preparation for Baking
With your dough ready, it’s time to prepare it for baking. Pour the cookie dough into your greased cake pan, ensuring it’s spread evenly across the bottom. Use a spatula to smooth the top, making sure the dough reaches the corners of the pan. This step is crucial for even baking and achieving that delightful golden-brown edge.
If you like a thicker cookie bar, consider using a smaller cake pan. A 9×9 inch pan will yield thicker bars, while a 13×9 inch pan will create thinner, crispier edges. Regardless of the size you choose, make sure the dough is evenly distributed for the best results.
Baking: The Transformative Process
Now comes the exciting part—baking! Preheat your oven to 350°F (175°C) and place your cake pan in the center of the oven. Bake the cookie bars for 25-30 minutes. As they bake, you’ll notice the edges becoming beautifully golden brown while the center remains slightly soft.
To check for doneness, perform the toothpick test. Insert a toothpick into the center of the cookie bars; if it comes out with a few moist crumbs (not wet batter), your cookie bars are ready. Remember, they will continue to cook slightly after you remove them from the oven, so it’s better to take them out a bit early than to overbake.
Cooling and Serving: The Final Touch
Once baked, remove the cake pan from the oven and allow the cookie bars to cool in the pan on a wire rack for about 10-15 minutes. This cooling period helps set the bars, making them easier to slice without crumbling. After they have cooled slightly, use a sharp knife to cut them into squares or rectangles, depending on your size preference.
For an added touch, consider dusting the tops with a sprinkle of sea salt or powdered sugar for presentation. Cookie bars can be enjoyed warm, straight from the oven, or at room temperature. Serve them as a delightful dessert at gatherings, or indulge in one (or two) with your favorite beverage.
Nutritional Information
When enjoying these delicious cookie bars, it’s important to be mindful of their nutritional content. Here’s a breakdown of the approximate nutritional values per serving (based on a standard recipe yielding 16 servings):
– Calories: 180
– Total Fat: 8g
– Saturated Fat: 5g
– Cholesterol: 30mg
– Sodium: 120mg
– Total Carbohydrates: 25g
– Dietary Fiber: 1g
– Sugars: 12g
– Protein: 2g
These values can vary based on specific brands and types of ingredients used, especially when it comes to chocolate and butter. While these cookie bars are a treat, moderation is key to enjoying them as part of a balanced diet.
Variations and Customizations: Experimenting with Flavors and Textures
One of the best aspects of baking cookie bars in a cake pan is the opportunity for customization. Here are some delicious variations to consider:
1. Nutty Delight: Fold in 1 cup of your favorite nuts, such as walnuts or pecans, for added crunch and flavor.
2. Fruit Fusion: Mix in dried fruits, like cranberries, raisins, or chopped apricots, for a chewy, fruity twist.
3. Flavor Boost: Enhance the flavor profile by adding spices like cinnamon or nutmeg, or even a splash of almond extract for a unique taste.
4. Chocolate Overload: If you’re a chocolate lover, try using a combination of chocolate chips, or use chocolate chunks for a more intense chocolate experience.
5. Swirl it Up: For a fun presentation, consider swirling in a layer of Nutella or peanut butter before baking for added flavor and visual appeal.
Feel free to get creative with these variations, and don’t hesitate to combine different ideas to find your perfect cookie bar recipe!
Conclusion: The Joy of Baking Cookie Bars in a Cake Pan
Baking cookies in a cake pan is not only feasible, but it also opens up a world of possibilities for creating delicious treats that are perfect for sharing or enjoying solo. This cookie bar recipe is a delightful twist on traditional cookies, offering a chewy and satisfying texture that everyone will love.
Whether you’re preparing for a crowd or simply craving something sweet, the process of baking cookie bars is a rewarding experience that allows for creativity in the kitchen. With simple ingredients and straightforward steps, you can whip up a batch of cookie bars that will impress friends and family alike.
So, gather your ingredients, preheat your oven, and set off on a baking adventure that will fill your home with delightful aromas and your heart with joy. Enjoy the process as much as the results, and share your delicious creations with those you love!
