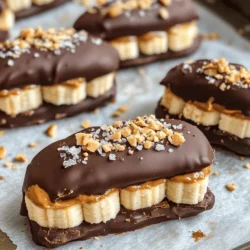
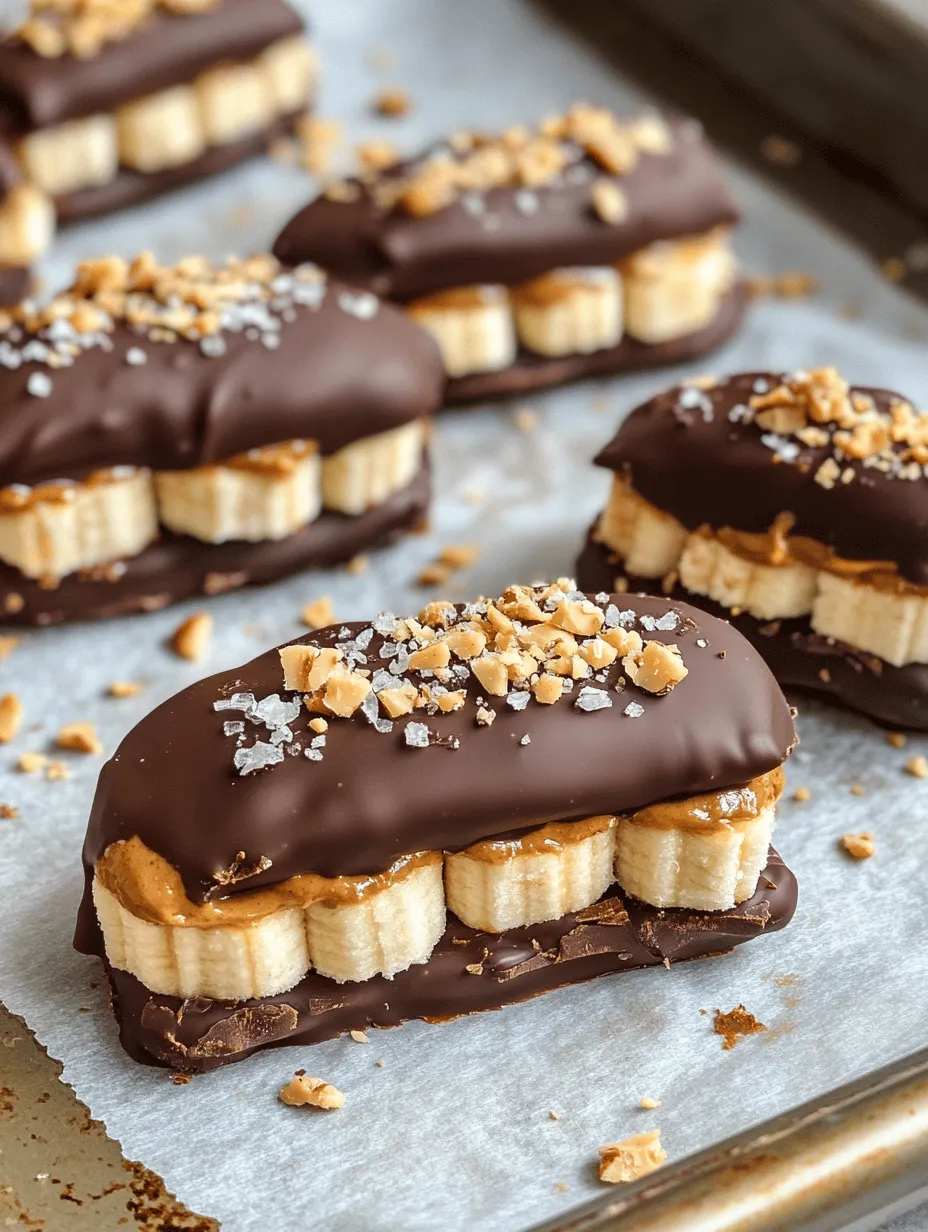
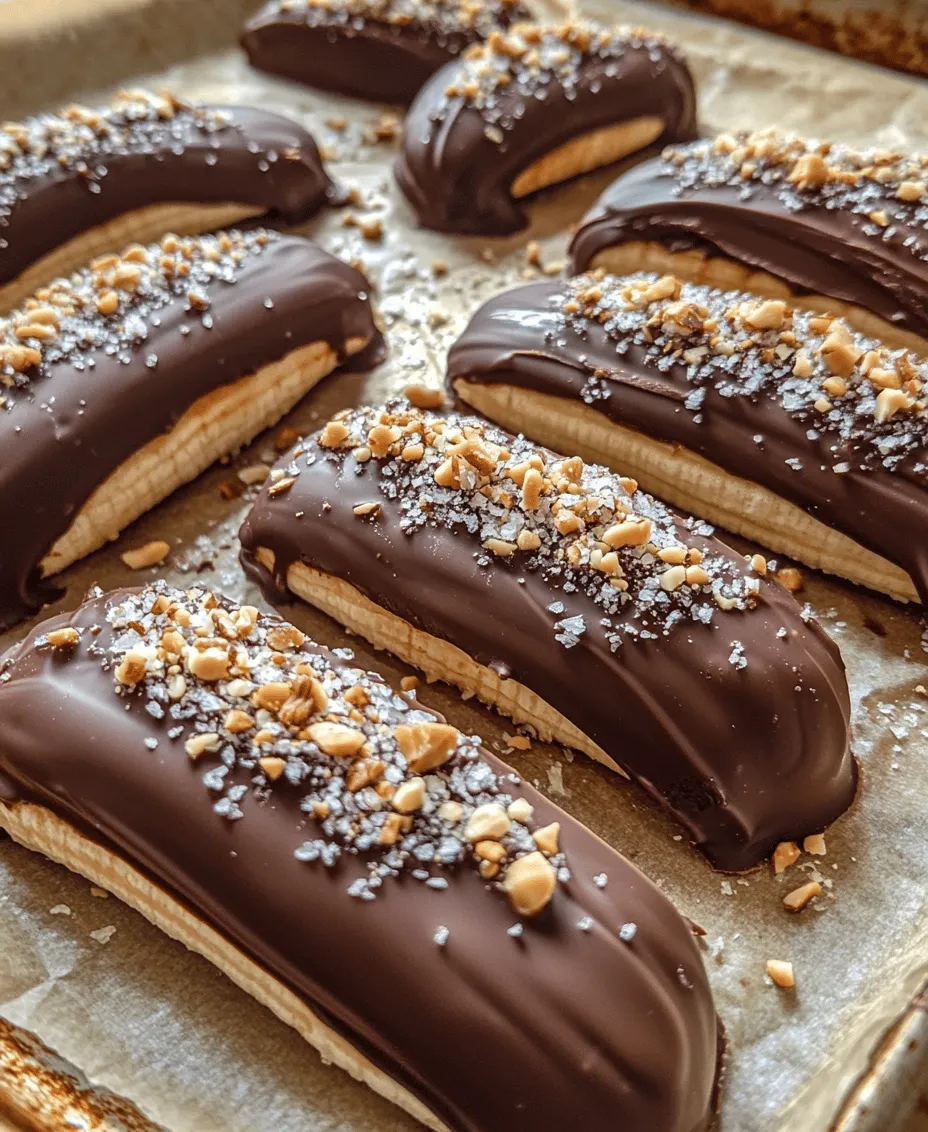
In a world where healthy eating often seems synonymous with deprivation, it’s refreshing to discover recipes that satisfy your sweet tooth while providing nutritional benefits. Chocolate Covered Frozen Banana Peanut Butter Sandwiches are a delightful fusion of flavors and textures, combining the creamy richness of peanut butter, the natural sweetness of bananas, and the indulgent taste of dark chocolate. These sandwiches not only offer a delicious treat for your taste buds but also pack a nutritional punch that makes them a guilt-free indulgence.
This blog post will guide you through the process of making these delicious treats, exploring their health benefits, and providing tips for customization. Whether you’re enjoying them as a snack, dessert, or a post-workout treat, these banana peanut butter sandwiches are sure to become a favorite in your healthy eating repertoire.
Understanding the Appeal of Chocolate Covered Frozen Banana Peanut Butter Sandwiches
Exploring the Flavor Combination
The unique pairing of bananas and peanut butter creates a match made in culinary heaven. Bananas, with their creamy texture and natural sweetness, harmonize beautifully with the rich, nutty flavor of peanut butter. This combination is not only delicious but also provides a satisfying mouthfeel that makes every bite enjoyable. When you introduce a layer of chocolate, the experience is elevated to a gourmet level. The bittersweet notes of dark chocolate contrast with the sweetness of the banana and the savory depth of the peanut butter, creating a well-rounded flavor profile that is hard to resist.
Chocolate covered frozen banana peanut butter sandwiches are not just a treat; they are an experience. Each bite offers a delightful crunch from the chocolate shell, followed by a soft, creamy interior, and a burst of natural sweetness. This combination makes them appealing to both children and adults alike, making them a versatile option for various occasions.
Health Benefits of Key Ingredients
One of the most appealing aspects of Chocolate Covered Frozen Banana Peanut Butter Sandwiches is their health benefits. Let’s take a closer look at the key ingredients and what they bring to the table:
– Bananas: Rich in potassium, bananas help regulate blood pressure and support heart health. They also provide a good source of dietary fiber, which aids in digestion and helps keep you feeling full. The natural sugars found in bananas offer a quick energy boost, making them an excellent post-workout snack.
– Peanut Butter: Packed with healthy fats, protein, and essential vitamins and minerals, peanut butter offers numerous health benefits. The monounsaturated fats in peanut butter can help lower bad cholesterol levels, while the protein supports muscle repair and growth. Additionally, peanut butter contains antioxidants and fiber, contributing to overall health and wellness.
– Dark Chocolate: Unlike its milk chocolate counterpart, dark chocolate is rich in antioxidants, particularly flavonoids, which can help improve heart health and reduce inflammation. The bittersweet flavor of dark chocolate not only enhances the taste of your sandwich but also offers a more complex flavor profile with potential health benefits, especially when consumed in moderation.
By combining these three wholesome ingredients, Chocolate Covered Frozen Banana Peanut Butter Sandwiches become a nutritious treat that satisfies your cravings without compromising your health goals.
Ingredients Breakdown
To create these delicious Chocolate Covered Frozen Banana Peanut Butter Sandwiches, you will need a few essential ingredients, as well as some optional garnishes and variations to customize your treats to your liking.
Essential Ingredients for the Recipe
1. Bananas: Choose ripe bananas that are slightly speckled for optimal sweetness and creaminess. Their soft texture will make them easier to slice and spread.
2. Peanut Butter: Opt for natural peanut butter without added sugars or oils for the healthiest option. You can also use creamy or crunchy varieties based on personal preference.
3. Dark Chocolate: Select high-quality dark chocolate with at least 70% cocoa for a rich flavor and health benefits. You can use chocolate chips or a chocolate bar that you can melt down.
4. Coconut Oil: This ingredient is optional but recommended for the melting process of the chocolate. It helps the chocolate to achieve a silky smooth consistency for easy coating.
Optional Garnishes and Variations
To elevate your Chocolate Covered Frozen Banana Peanut Butter Sandwiches, consider adding some optional garnishes and variations:
– Sea Salt: A sprinkle of sea salt on top of the chocolate adds a delightful contrast to the sweetness of the banana and enhances the overall flavor.
– Chopped Nuts: For added crunch, consider rolling the chocolate-covered sandwiches in chopped nuts like almonds or walnuts before freezing.
– Sprinkles: If you’re making these sandwiches for kids, adding colorful sprinkles can make them even more appealing.
– Nut Butters: Feel free to experiment with other nut butters, such as almond butter or cashew butter, for a different flavor profile.
– Chocolate Variations: For those who prefer white chocolate or milk chocolate, you can substitute these for dark chocolate, keeping in mind the flavor and health implications.
Step-by-Step Instructions for Creating Chocolate Covered Frozen Banana Peanut Butter Sandwiches
Now that you have a good understanding of the appeal and health benefits of this delicious recipe, let’s dive into the step-by-step process of creating these delightful treats.
Preparation of Bananas
The first step in making Chocolate Covered Frozen Banana Peanut Butter Sandwiches is selecting the right bananas. Here’s how to prepare them properly:
1. Choose the Right Bananas: Look for bananas that are ripe but not overly soft. A few brown spots are ideal, as this indicates sweetness without compromising texture.
2. Slice the Bananas: Begin by peeling the bananas and placing them on a cutting board. Use a sharp knife to slice the bananas into even rounds, about 1/2 inch thick. This thickness will ensure that they hold their shape when assembled into sandwiches.
3. Arrange the Slices: Lay the banana slices out on a baking sheet lined with parchment paper. This will prevent them from sticking and make the assembly process easier.
Assembling the Sandwiches
With your bananas prepared, it’s time to assemble the sandwiches. Here’s how to do it:
1. Spread the Peanut Butter: Take a generous spoonful of peanut butter and spread it evenly on one side of a banana slice. Be sure to cover the entire surface for maximum flavor.
2. Top with Another Slice: Place another banana slice on top of the peanut butter-covered slice to form a sandwich. Gently press down to ensure they stick together.
3. Repeat the Process: Continue this process until all of your banana slices are used, making sure to create even sandwiches with a good amount of peanut butter in between.
Freezing Process
Once your sandwiches are assembled, it’s time to freeze them to achieve the perfect texture for chocolate coating:
1. Freeze the Sandwiches: Place the assembled banana peanut butter sandwiches in the freezer for about 1-2 hours, or until they are completely frozen. This step is crucial as it prevents the bananas from becoming mushy when coated in chocolate.
2. Prepare for Chocolate Coating: While the sandwiches are freezing, you can prepare the chocolate coating. In a microwave-safe bowl, combine the dark chocolate and a tablespoon of coconut oil (if using).
3. Melt the Chocolate: Microwave the chocolate mixture in 20-second intervals, stirring in between until the chocolate is fully melted and smooth. Be careful not to overheat it, as chocolate can burn easily.
This prepares you for the next exciting step of coating your frozen banana peanut butter sandwiches with rich, melted chocolate. In part two of this article, we will delve into the chocolate coating process and provide additional tips for serving and storing your delicious creations. Stay tuned for the next section, where we’ll complete these scrumptious treats!
Freezing is a crucial step in creating the perfect texture and taste for your Chocolate Covered Frozen Banana Peanut Butter Sandwiches. When bananas are frozen, they become a creamy, delicious base that pairs harmoniously with the peanut butter and chocolate coating. To ensure that your sandwiches freeze beautifully and maintain their structure, follow these tips:
Proper Freezing Techniques to Avoid Sticking
1. Use Parchment Paper: After assembling your banana peanut butter sandwiches, place them on a baking sheet lined with parchment paper. This will help prevent them from sticking to the surface and to each other.
2. Flash Freezing: Before stacking them in a container, flash freeze the sandwiches for about 30 minutes. This initial freeze allows them to firm up. Once they are solid, you can stack them without worrying about them sticking.
3. Spacing: Make sure to leave space between each sandwich on the baking sheet during the flash freeze. Once they’ve hardened, you can transfer them into an airtight container or freezer bag, separating layers with additional parchment paper if necessary.
4. Label and Date: Always label your containers with the date you made them. This simple step helps you keep track of their freshness.
Melting Chocolate: The Perfect Technique
Melting chocolate chips with coconut oil is a straightforward process, but achieving the right consistency requires attention to temperature control. Here’s how to do it:
1. Choose Quality Chocolate: Use high-quality chocolate chips for the best flavor and texture. Semi-sweet or dark chocolate varieties work well.
2. Coconut Oil Addition: Adding a small amount of coconut oil (about one tablespoon per cup of chocolate chips) not only helps in achieving a silky smooth texture but also makes the chocolate easier to coat the sandwiches.
3. Double Boiler Method: Fill a small pot with water and place it on the stove over low heat. Set a heatproof bowl on top of the pot, ensuring the bottom doesn’t touch the water. Add your chocolate chips and coconut oil to the bowl. Stir occasionally until melted, being careful not to let any water get into the chocolate.
4. Microwave Method: If you prefer a quicker method, place your chocolate chips and coconut oil in a microwave-safe bowl. Heat in short bursts of 20-30 seconds, stirring in between, until melted. Monitor closely to avoid overheating, which can cause the chocolate to seize.
Dipping and Garnishing
After melting your chocolate, it’s time to coat your sandwiches:
1. Timing is Key: Work quickly once your sandwiches are ready to dip. If they sit out too long, they may become too soft to handle. If necessary, return them to the freezer for a few minutes to firm up.
2. Coating Technique: Using a fork or dipping tool, gently lower each sandwich into the melted chocolate. Ensure it’s fully covered and then lift it out, allowing excess chocolate to drip off.
3. Garnishing: Before the chocolate sets, sprinkle toppings like crushed nuts, sea salt, or sprinkles for added flavor and visual appeal. This step is best done immediately after dipping to ensure the toppings stick to the chocolate.
Final Freezing and Serving Suggestions
Once your sandwiches are coated and garnished, they need a final freeze to set the chocolate:
1. Setting Time: Place the coated sandwiches back on the parchment-lined baking sheet and return them to the freezer for about 1 hour. This allows the chocolate to firm up completely.
2. Serving Suggestions: When serving, you can slice the sandwiches into bite-sized pieces for easier handling. These treats can be enjoyed as is, or you can pair them with a side of yogurt or a scoop of your favorite ice cream for an extra indulgent dessert.
Storing Chocolate Covered Frozen Banana Peanut Butter Sandwiches
Best Practices for Storage
To maintain the freshness of your chocolate-covered sandwiches and prevent freezer burn, follow these storage tips:
1. Airtight Containers: Store your sandwiches in an airtight container to keep moisture out. If you’re using a freezer bag, try to remove as much air as possible before sealing.
2. Layering: If you have multiple layers of sandwiches, place parchment paper between each layer to prevent sticking.
Longevity of the Treats
For the best taste and texture, consume your sandwiches within 1-2 months. While they can last longer in the freezer, the quality may diminish over time. To check if your sandwiches are still good to eat, look for any signs of freezer burn, such as discoloration or ice crystals forming on the surface.
Customizing Your Sandwiches: Variations and Alternatives
One of the best aspects of Chocolate Covered Frozen Banana Peanut Butter Sandwiches is their versatility. Here are some ideas to customize your treats:
Flavor Experiments
1. Nut Butter Variations: Swap out the peanut butter for almond butter, cashew butter, or sunbutter for different flavor profiles. Each nut butter brings its unique taste and texture.
2. Adding Sweetness: Spread a layer of marshmallow fluff or honey on the banana before adding the peanut butter for a sweet twist. This addition can create a delightful contrast with the rich chocolate coating.
3. Incorporating Add-Ins: Mix in ingredients such as chia seeds, flax seeds, or protein powder into your nut butter for an extra nutritional boost.
Dietary Adaptations
1. Vegan Options: To make this recipe vegan, ensure you use dairy-free chocolate chips and a plant-based nut butter. Many brands offer chocolate chips that are specifically labeled vegan.
2. Gluten-Free: This recipe is naturally gluten-free as long as you check that the chocolate chips and any additional toppings are certified gluten-free.
3. Sugar-Free Alternatives: For a lower-sugar option, look for sugar-free chocolate chips and consider using natural sweeteners such as agave syrup or stevia in your nut butter.
Conclusion: Embracing Sweet, Healthy Indulgence
Making Chocolate Covered Frozen Banana Peanut Butter Sandwiches is not only a fun kitchen project, but it also results in a delightful treat that satisfies sweet cravings while keeping health in mind. These sandwiches appeal to both kids and adults, making them an excellent snack or dessert option for any occasion.
With endless possibilities for customization, you can experiment with different flavor combinations and ingredients to make these sandwiches your own. Whether enjoyed as a quick snack, a post-workout treat, or a sweet dessert, they promise to be a hit. So why not gather your ingredients, get creative, and relish in the joy of this guilt-free indulgence?


