When it comes to dessert, few things can transport you to a sun-soaked paradise quite like Pineapple Heaven Cake. This delightful cake is a celebration of tropical flavors, combining the sweetness of fresh pineapple with a light and fluffy texture that makes it an irresistible treat for any occasion. Whether you’re hosting a summer barbecue, celebrating a birthday, or simply satisfying a craving for something sweet, this cake is sure to impress.
The Allure of Pineapple Heaven Cake
Pineapple Heaven Cake is not just a dessert; it is a slice of sunshine on your plate. Its origins can be traced back to various tropical regions where fresh fruits are abundant and often inspire local cuisines. This cake embodies the spirit of tropical desserts, where the combination of fruit and light cake creates a refreshing and satisfying experience.
One of the most enticing aspects of Pineapple Heaven Cake is its flavor profile. The key ingredients work harmoniously to create a moist, sweet, and slightly tangy cake that melts in your mouth. The crushed pineapple infuses the cake with its natural juices, while the addition of shredded coconut enhances its tropical essence. This cake is versatile enough to serve at potlucks, family gatherings, or as a refreshing dessert after a hearty meal.
Ingredients Breakdown
To craft the perfect Pineapple Heaven Cake, understanding the role of each ingredient is crucial. Here’s a breakdown of the main components that contribute to this cake’s heavenly charm:
– All-Purpose Flour: The foundation of any cake, all-purpose flour provides the necessary structure. It’s important to use a good quality flour to ensure the cake has the right balance of fluffiness and stability.
– Granulated Sugar: Sugar is essential not only for sweetness but also for moisture. It helps create a tender crumb and caramelizes during baking, contributing to the cake’s lovely golden color.
– Baking Powder and Baking Soda: These two leavening agents play a vital role in making the cake rise. Baking powder provides a lift when mixed with wet ingredients, while baking soda helps neutralize the acidity from the pineapple, ensuring a light texture.
– Salt: A pinch of salt enhances the overall flavor, balancing the sweetness and bringing out the natural flavors of the other ingredients.
– Unsalted Butter: Butter adds richness and moisture to the cake. Using unsalted allows you to control the salt content, ensuring the sweetness of the cake shines through.
– Eggs: Eggs act as a binding agent, providing structure and stability to the cake. They also contribute to the texture, making it light and fluffy.
– Crushed Pineapple: The star ingredient, crushed pineapple adds moisture, sweetness, and a tropical flair. Using fresh or canned pineapple can dramatically influence the cake’s flavor, so opting for high-quality fruit is essential.
– Shredded Coconut: This ingredient brings texture and an additional layer of coconut flavor, making each bite a tropical adventure.
– Optional Walnuts: For those who enjoy a bit of crunch, walnuts can be added to the batter. They offer an earthy contrast to the sweetness of the cake and enhance its overall flavor.
Preparing the Cake: Step-by-Step Instructions
Now that we’ve explored the ingredients, let’s dive into the preparation process. Follow these step-by-step instructions to ensure your Pineapple Heaven Cake turns out perfectly.
Preheating the Oven
The first step in baking any cake is to preheat your oven. Set it to 350°F (175°C). This temperature is ideal for baking a light and fluffy cake, allowing it to rise evenly without becoming too dense. Preheating the oven ensures that the cake begins to cook immediately upon entering, promoting a better texture and rise.
Combining Dry Ingredients
While the oven is heating, gather your dry ingredients: all-purpose flour, baking powder, baking soda, and salt. Sift the flour into a large mixing bowl along with the other dry ingredients. Sifting is a crucial step that aerates the flour, breaking up any clumps and ensuring a lighter cake. It helps in evenly distributing the leavening agents and salt throughout the flour, leading to a consistent texture in the final product.
Creaming Butter and Sugar
Next, it’s time to cream the butter and sugar. In a separate mixing bowl, add the softened unsalted butter and granulated sugar. Using an electric mixer, beat them together on medium speed until the mixture is light and fluffy, which usually takes about 3-5 minutes. This process incorporates air into the butter, which is essential for achieving a fluffy cake. The color should turn pale, and the texture should be noticeably lighter.
Once your butter and sugar are well creamed, it’s time to add the eggs. Include them one at a time, mixing well after each addition. This step helps to emulsify the mixture, ensuring that the eggs are fully incorporated, which contributes to the cake’s moisture and structure.
With the eggs thoroughly mixed in, you can now add the crushed pineapple. If you’re using canned pineapple, make sure to drain it well to avoid excess moisture in the batter. Fold the pineapple into the mixture gently until just combined.
Mixing Dry and Wet Ingredients
After combining the wet ingredients, it’s time to integrate the dry ingredients. Gradually add the sifted flour mixture to the pineapple batter. Mix on low speed to avoid overworking the batter, which can lead to a dense cake. Alternate adding the dry ingredients with the remaining wet ingredients, ensuring you end with the dry ingredients. This method helps maintain the cake’s light texture.
At this stage, if you’re opting for walnuts, fold them into the batter gently. This will distribute the nuts evenly without overmixing the cake batter.
With the batter ready, you’re well on your way to creating a delicious Pineapple Heaven Cake that’s sure to be a crowd-pleaser. Stay tuned for the next steps where we will cover how to bake, cool, and serve this delightful dessert!

Incorporating Eggs and Vanilla: Importance of Mixing in Stages
When it comes to baking, the order in which ingredients are mixed can significantly affect the final product. Begin by incorporating the eggs and vanilla extract into your cake batter after creaming the butter and sugar. This process typically involves adding the eggs one at a time, ensuring that each egg is fully integrated before introducing the next. This step is crucial as it helps maintain the cake’s structure and moisture.
After adding the eggs, mix in the vanilla extract. This not only enhances the flavor but also contributes to the overall aroma of the cake. The key here is to mix gently yet thoroughly, ensuring that the ingredients are well combined without overstirring, which can lead to a denser cake.
Mixing Dry Ingredients with Wet Ingredients: Tips for Preventing Overmixing
Once your egg and vanilla mixture is ready, it’s time to combine the dry ingredients with the wet mixture. In a separate bowl, whisk together the flour, baking powder, and salt. Gradually add this dry mixture to the wet ingredients, mixing just until the flour is no longer visible. It’s important to resist the urge to mix too vigorously. Overmixing can develop the gluten in the flour, resulting in a tough texture rather than the light, fluffy cake you desire.
To help prevent overmixing, you can use a spatula to fold the ingredients together. This gentle method allows you to incorporate the flour without overworking the batter. Aim for a lumpy consistency; it’s perfectly fine if there are a few small streaks of flour remaining.
Folding in Pineapple, Coconut, and Walnuts: Techniques for Maintaining Fluffiness
The addition of pineapple, coconut, and walnuts is what truly makes this cake a tropical delight. To incorporate these ingredients, it’s essential to use a folding technique. This method involves gently lifting and turning the batter to distribute the ingredients without deflating the mixture.
Start with the crushed pineapple, ensuring to drain excess juice to prevent the batter from becoming too wet. Add the pineapple to the batter, followed by the shredded coconut and chopped walnuts. Use a spatula to carefully fold these ingredients in, ensuring they are evenly distributed throughout the batter while preserving the airiness that you’ve worked hard to create.
Baking the Cake: Signs of Doneness and Baking Tips
Preheat your oven to 350°F (175°C) before you begin baking. Pour the prepared batter into a greased and floured cake pan, spreading it evenly. Bake for approximately 25 to 30 minutes, but keep an eye on the cake as oven temperatures can vary. The cake is done when it turns a golden brown color and a toothpick inserted into the center comes out clean or with a few moist crumbs.
To further ensure even baking, rotate the cake pan halfway through the baking time. If the edges of the cake start to brown too quickly, you can cover them with aluminum foil to prevent burning. Once baked, remove the cake from the oven and let it cool in the pan for about 10 minutes before transferring it to a wire rack to cool completely.
Cooling the Cake: Importance of Cooling for Texture and Serving
Cooling the cake is a crucial step that should not be overlooked. Allowing the cake to cool completely on a wire rack helps it set properly and maintain its fluffy texture. This cooling process can take about an hour, during which time the cake might continue to firm up.
Once the cake is cool, you can slice it for serving or prepare it for frosting. If you attempt to frost a warm cake, the icing may melt and slide off, ruining the presentation. Patience is key; a well-cooled cake will provide the perfect base for your whipped topping.
Creating the Whipped Topping
Ingredients for the Topping: Role of Whipped Topping and Powdered Sugar
For the whipped topping, you’ll need heavy cream and powdered sugar. The heavy cream is essential as it provides the richness and stability needed for the topping, while the powdered sugar adds sweetness and helps achieve a smooth consistency. You may also choose to add a splash of vanilla extract for extra flavor.
Mixing Techniques to Achieve the Right Consistency for Spreading
To make the whipped topping, start by chilling your mixing bowl and beaters in the refrigerator for about 10 to 15 minutes. Cold equipment helps to whip the cream more efficiently. Pour the heavy cream into the bowl and begin mixing on medium speed. As the cream starts to thicken, gradually add the powdered sugar. Continue mixing until stiff peaks form, which means that the cream holds its shape but is not overbeaten.
Avoid mixing beyond the stiff peak stage, as overwhipped cream can turn grainy and may eventually become butter. When you achieve the desired consistency, set the whipped topping aside until the cake is ready for assembly.
Assembling the Cake
Step-by-Step Guide to Spreading the Topping
Once the cake has cooled completely, it’s time to assemble it. Place one layer of the cake on a serving platter. Use a spatula to spread a generous layer of whipped topping over the first layer. Ensure even coverage all the way to the edges for a beautiful finish. If you are making a layered cake, carefully place the second layer on top and repeat the process.
Tips for Garnishing with Fresh Pineapple Slices and Cherries for Presentation
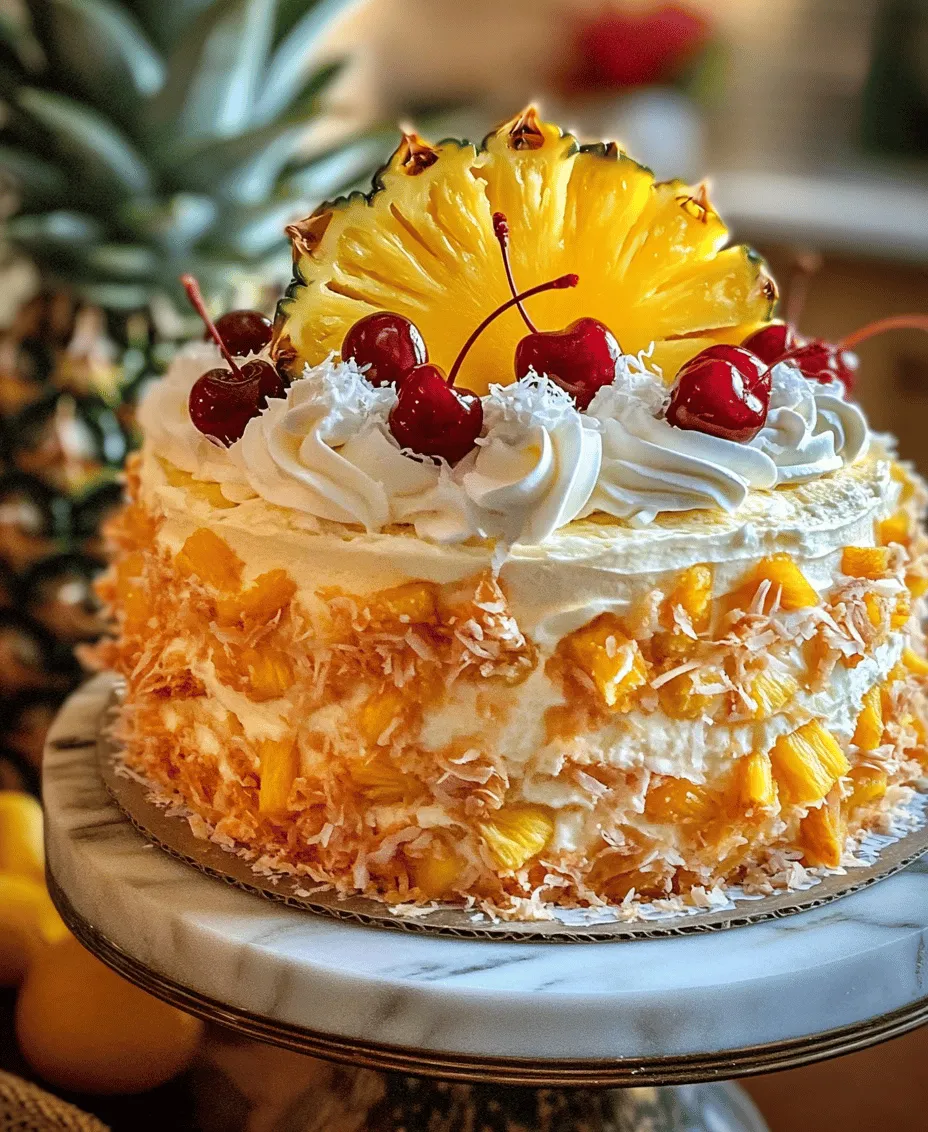
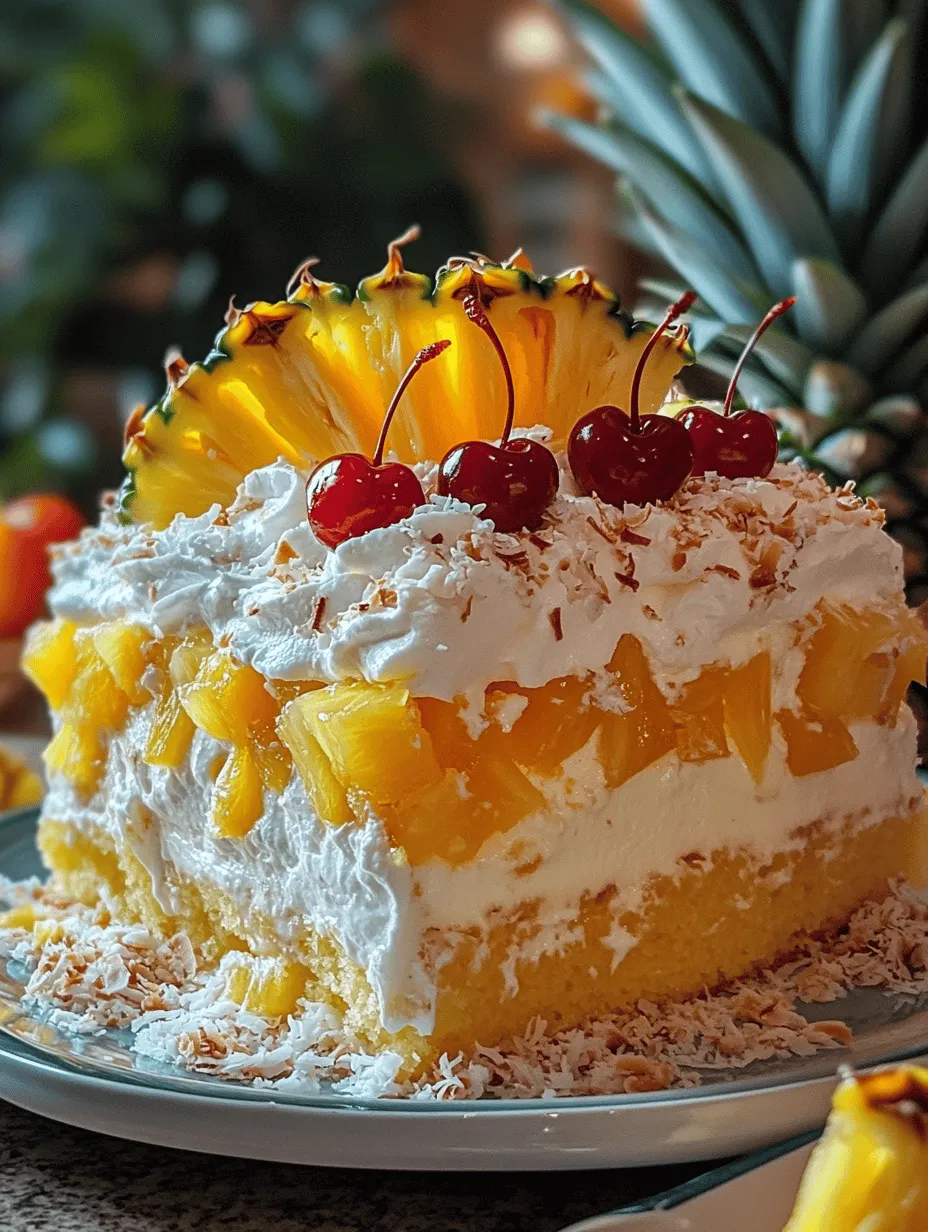
For a stunning presentation, consider garnishing the top of the cake with fresh pineapple slices and cherries. Arrange the pineapple slices in a decorative pattern, and place a cherry on top of each slice. This not only enhances the visual appeal of the cake but also adds to the tropical theme. You can also sprinkle some toasted coconut or chopped walnuts on top for added texture and flavor.
Serving Suggestions
Ideal Occasions for Serving Pineapple Heaven Cake
Pineapple Heaven Cake is perfect for a variety of occasions. Its tropical flavors make it an excellent choice for summer barbecues, birthday parties, or family gatherings. Additionally, it can be a delightful dessert for holiday celebrations, bringing a taste of the tropics to your table.
Pairing Options with Beverages or Additional Tropical Treats
This cake pairs wonderfully with a range of beverages. For a refreshing option, serve it alongside iced tea, lemonade, or coconut water. If you’re looking for something a bit stronger, consider pairing it with a light white wine or a tropical cocktail, such as piña colada or mojito. You can also serve it with a side of fresh fruit salad or coconut sorbet for an extra tropical treat.
Nutritional Information
Overview of the Cake’s Nutritional Content per Serving
Each slice of Pineapple Heaven Cake offers a delightful combination of flavors and textures. While the exact nutritional content will vary based on specific ingredients and portion sizes, a typical slice contains approximately 300-350 calories. This includes fats from the cream and walnuts, carbohydrates from the sugar and flour, and a small amount of protein from the eggs and nuts.
Discussion of Potential Dietary Adjustments (e.g., Gluten-Free Alternatives)
For those looking to make dietary adjustments, consider substituting regular flour with a gluten-free all-purpose blend, ensuring it contains xanthan gum for proper texture. You can also opt for a dairy-free whipped topping made from coconut cream for a vegan version of this cake. Always check the labels on your ingredients to ensure they meet your dietary needs.
Storing and Freezing Tips
Best Practices for Storing Leftovers to Maintain Freshness
If you have leftovers, store the Pineapple Heaven Cake in an airtight container in the refrigerator. It is best enjoyed within three to four days, as the whipped topping may begin to lose its texture over time. To keep the cake fresh, you can place a piece of wax paper between the cake and the lid of the container to prevent moisture buildup.
Instructions for Freezing the Cake and Reheating It
For longer storage, you can freeze the cake. To do this, wrap the cooled cake layers tightly in plastic wrap, followed by aluminum foil to prevent freezer burn. The cake can be frozen for up to three months. When you’re ready to enjoy it, thaw the cake in the refrigerator overnight. Once thawed, you can reapply fresh whipped topping if desired.
Conclusion
Pineapple Heaven Cake is a delightful treat that encapsulates the essence of tropical flavors and fluffy textures. With its sweet pineapple, creamy topping, and crunchy walnuts, it’s a cake that is sure to be a crowd-pleaser at any gathering. We encourage you to try making this cake at home, as the process is not only enjoyable but also rewarding when you take that first bite of its deliciousness.
Sharing homemade treats like Pineapple Heaven Cake with friends and family creates lasting memories and brings joy to any occasion. So gather your ingredients and enjoy the process of baking this delightful cake that’s sure to transport you to a tropical paradise with every bite.


