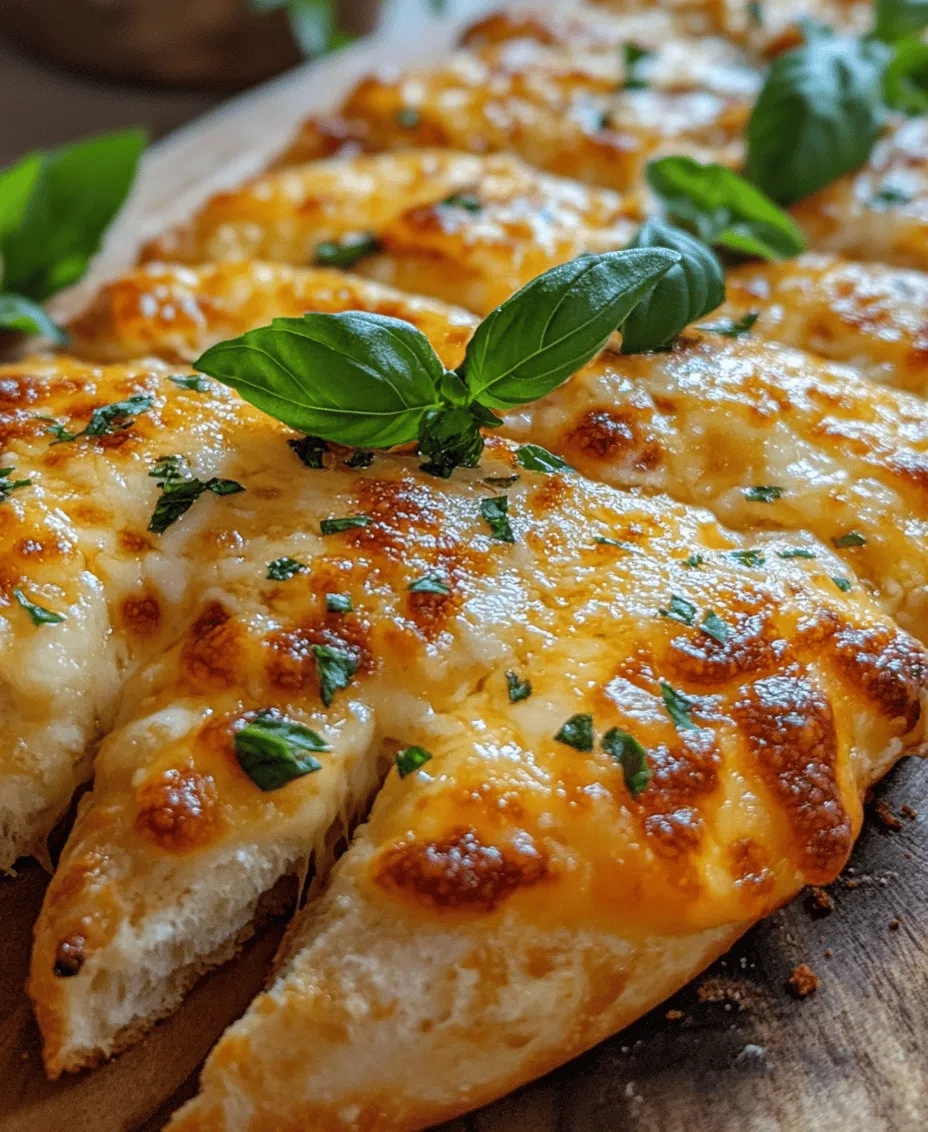
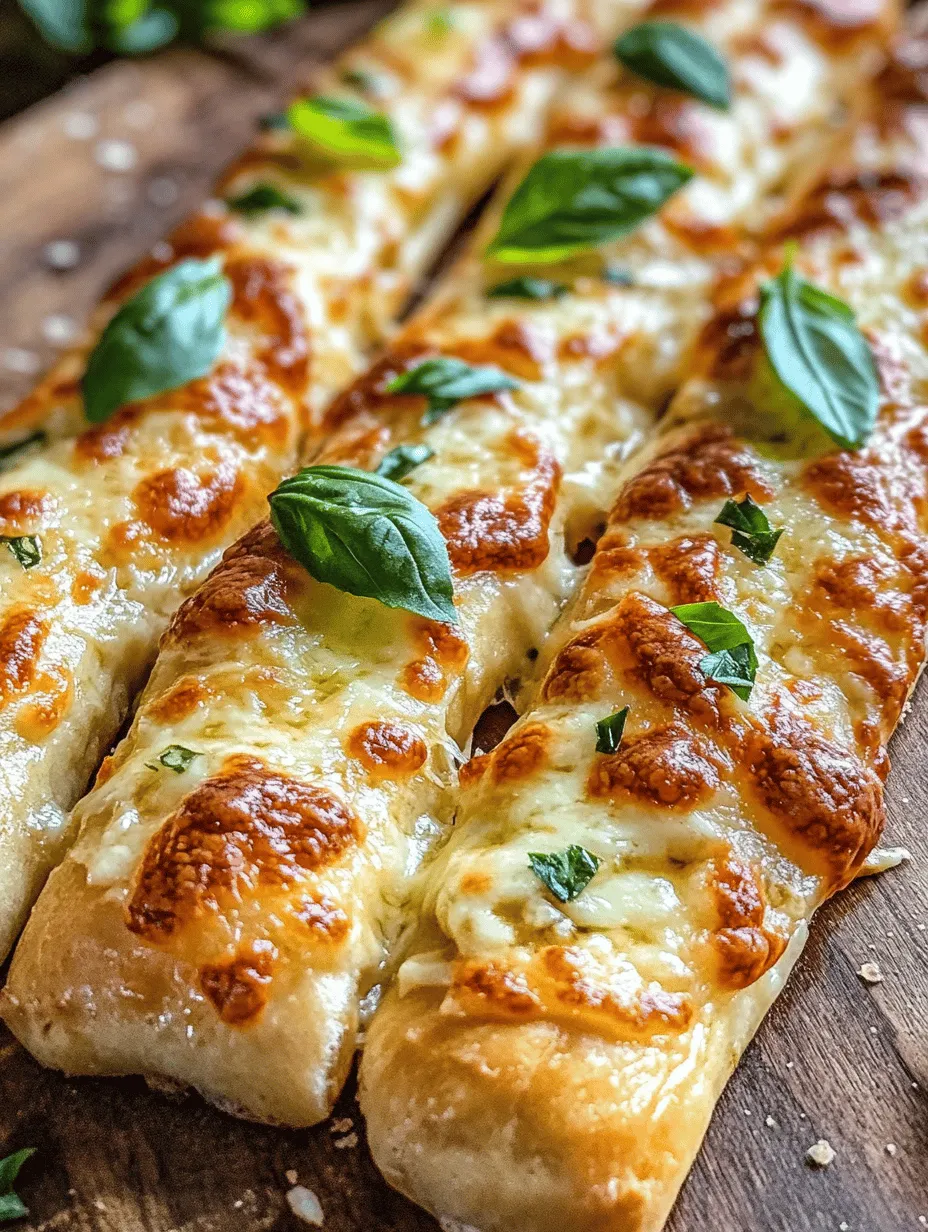
When it comes to delightful snacks that bring a taste of Italy right to your kitchen, cheesy Italian breadsticks are hard to beat. These golden, cheesy delights boast a perfect blend of flavors that make them an irresistible treat for any occasion. Whether you are hosting a dinner party, enjoying a movie night at home, or simply looking for a savory snack, these breadsticks shine as a versatile option. Their cheesy goodness combined with the Italian flair not only tantalizes your taste buds but also satisfies your craving for homemade comfort food.
The beauty of cheesy Italian breadsticks lies in their ease of preparation. With just a handful of ingredients and straightforward steps, you can create these delectable treats from scratch. There’s something incredibly satisfying about baking your own bread, and the aroma that fills the kitchen is simply unbeatable. As the breadsticks rise and the cheese melts, anticipation builds, and you can be sure that your efforts will be rewarded with a delicious outcome that everyone will love.
The Allure of Homemade Breadsticks
Breadsticks, or “grissini,” are a staple in Italian cuisine, often served as a warm, crunchy complement to meals. They are found in both casual trattorias and upscale restaurants, showcasing their widespread appeal. Historically, breadsticks originated in the region of Piedmont, crafted to be a light, crispy accompaniment to meals. Their charm lies in their simplicity—perfectly baked, they can be enjoyed on their own or dipped in sauces, soups, or spreads.
Creating homemade breadsticks offers a unique experience. The process allows you to engage with your food, transforming basic ingredients into something truly special. There’s a unique joy in kneading the dough, watching it rise, and finally pulling it out of the oven, golden and bubbling. Homemade breadsticks not only elevate any meal but also foster an inviting atmosphere for family and friends. Whether served as an appetizer before a sumptuous Italian feast or enjoyed on their own, these breadsticks bring a touch of warmth and hospitality to any gathering.
Ingredients Breakdown for Cheesy Italian Breadsticks
To craft perfect cheesy Italian breadsticks, you’ll need a selection of key ingredients, each playing a vital role in achieving the desired texture and flavor. Here’s a closer look at what goes into this delightful recipe:
All-Purpose Flour
All-purpose flour is the backbone of many bread recipes, including our cheesy breadsticks. It provides the necessary structure and texture, allowing the dough to rise while maintaining a soft, chewy interior. The gluten content in all-purpose flour is ideal for creating the elasticity needed in bread, ensuring that your breadsticks are tender yet sturdy enough to hold up against gooey cheese and flavorful toppings.
Active Dry Yeast
Yeast is responsible for the fermentation process that helps the dough rise. Active dry yeast is a convenient option for home bakers, as it can be stored for long periods and activated easily. During the proofing stage, the yeast feeds on the sugars present in the dough, producing carbon dioxide gas that causes the dough to expand. This step is crucial for achieving light and fluffy breadsticks, so ensuring that your yeast is fresh and properly activated is a must.
Sugar
While sugar is often associated with sweetness, in bread baking, it serves a dual purpose. It acts as food for the yeast, helping to activate it and kick-start the fermentation process. Additionally, sugar enhances the flavor profile of the breadsticks, contributing a subtle sweetness that balances the savory elements. A small amount is all you need to achieve the perfect flavor.
Salt
Salt is a flavor enhancer and plays a significant role in balancing the taste of your breadsticks. It not only elevates the overall flavor but also strengthens the gluten structure, resulting in a better texture. When using salt in bread baking, it’s essential to measure it accurately, as too much can inhibit yeast activity, while too little can lead to bland breadsticks.
Warm Water
Water is a crucial component in bread making, as it hydrates the flour, allowing gluten to form. For yeast to thrive, the water must be warm—ideally between 100°F to 110°F (37°C to 43°C). This temperature range is optimal for yeast activation, helping it to bloom and multiply, resulting in a well-risen dough. Be cautious, as water that is too hot can kill the yeast, while water that is too cold will slow down the fermentation process.
Olive Oil
Olive oil not only adds moisture to the dough but also contributes a rich flavor that is synonymous with Italian cooking. It helps keep the breadsticks tender and enhances their overall texture. Additionally, olive oil is celebrated for its health benefits, being a source of healthy fats that can support heart health.
Garlic Powder
Garlic powder brings a punch of flavor to cheesy Italian breadsticks, adding a savory aroma that is hard to resist. The richness of garlic complements the cheese beautifully, making each bite a flavorful experience. Garlic powder is convenient to use, as it distributes evenly throughout the dough, providing consistent flavor without the need for fresh garlic preparation.
Italian Seasoning
A blend of dried herbs that encapsulates the essence of Italian cuisine, Italian seasoning typically includes basil, oregano, thyme, and rosemary. Incorporating Italian seasoning into your breadsticks not only enhances their flavor but also adds a delightful aroma that evokes memories of traditional Italian kitchens. This blend of herbs encapsulates the heart of Italy, making it a perfect addition to our cheesy breadsticks.
Mozzarella and Parmesan
No cheesy breadsticks would be complete without the addition of cheese. Mozzarella is renowned for its melty texture and mild flavor, making it the ideal choice for breadsticks. It melts beautifully, creating a gooey, cheesy layer that pulls apart with each bite. Parmesan, on the other hand, offers a sharp, nutty flavor that enhances the overall taste profile. When combined, these cheeses create an irresistible cheesy topping that is sure to satisfy.
Fresh Basil
Fresh basil serves as both a garnish and a flavor enhancer, adding a pop of color and a burst of freshness to the breadsticks. Its aromatic qualities elevate the dish, making it visually appealing while also contributing to the Italian flavor profile. A sprinkle of fresh basil before serving adds a final touch that makes your homemade breadsticks feel gourmet.
Step-by-Step Instructions for Making Cheesy Italian Breadsticks
Proofing the Yeast
The first critical step in making cheesy Italian breadsticks is proofing the yeast. This process ensures that the yeast is alive and active, which is essential for the dough to rise properly. To begin, measure out the warm water and add the sugar, stirring to dissolve. Sprinkle the active dry yeast over the surface of the water and let it sit for about 5 to 10 minutes. During this time, you should see bubbles forming, and the mixture will become frothy, indicating that the yeast is active and ready to use.
Once your yeast is proofed, you can proceed with combining it with the other ingredients to form a dough. This initial step sets the foundation for light and fluffy breadsticks, so it’s important to take the time to ensure your yeast is properly activated.
With the yeast proofed and ready, you’re well on your way to creating delicious cheesy Italian breadsticks that will impress your family and friends. Stay tuned for more detailed instructions on the next steps, as we guide you through the process of making these delectable treats from scratch.

Creating the Dough
To create the perfect dough for your Cheesy Italian Breadsticks, start by gathering your ingredients: all-purpose flour, warm water, yeast, olive oil, sugar, and salt. Begin by activating your yeast. In a small bowl, combine the warm water (around 110°F or 43°C) with sugar and yeast, allowing it to sit for about 5-10 minutes until it becomes frothy. This step is crucial, as it indicates that the yeast is alive and ready to help your dough rise.
In a large mixing bowl, combine the flour and salt. Once your yeast mixture is frothy, pour it into the flour mixture along with the olive oil. Mix the ingredients using a wooden spoon or your hands until they start to come together into a shaggy dough. The dough should feel slightly sticky but not overly wet. If it’s too dry, add a little more water, a tablespoon at a time, ensuring the right consistency. You want a dough that holds together but is not overly sticky, which allows for easier handling during kneading.
Kneading the Dough
Kneading is a vital step in developing the dough’s texture and structure. When you knead, you’re working the gluten proteins in the flour, which creates a network that gives the bread its elasticity. This elasticity is what allows the dough to rise properly and hold its shape during baking.
To knead your dough, transfer it to a lightly floured surface. Using the heel of your hand, push the dough away from you, then fold it back over itself, and give it a quarter turn. Repeat this process for about 8-10 minutes, or until the dough becomes smooth and elastic. You’ll know it’s ready when it bounces back slightly when pressed with a finger. If the dough becomes too sticky, sprinkle a bit more flour on the surface but avoid adding too much, as this can result in a dense breadstick.
The First Rising Process
After kneading, place your dough in a lightly greased bowl, cover it with a damp cloth or plastic wrap, and let it rise in a warm, draft-free area. The ideal temperature for yeast activity is around 75°F to 80°F (24°C to 27°C). This environment encourages the yeast to ferment and produce carbon dioxide, which causes the dough to rise.
Allow the dough to rise for about 1 to 1.5 hours, or until it has doubled in size. To check if the dough is ready, gently press your finger into the dough; if the indentation remains, it’s ready for the next step. If it springs back, give it a little more time to rise.
Shaping the Breadsticks
Once your dough has risen, punch it down gently to release any air bubbles. Transfer the dough to a floured surface and divide it into equal portions, typically about 12-16 pieces, depending on your desired size for the breadsticks. Roll each piece into a rope shape, approximately 8-10 inches long. Aim for even thickness throughout to ensure uniform baking.
To achieve the perfect shape, use your palms to roll the dough gently, applying even pressure. If you’re looking for a more rustic appearance, you can leave them a bit thicker; for a more traditional breadstick, aim for a thinner roll. Place the shaped breadsticks on a parchment-lined baking sheet, ensuring they are spaced adequately apart to allow for expansion during the second rise.
Seasoning and Cheese Application
The seasoning and cheese application is where your Cheesy Italian Breadsticks truly come to life. After shaping, brush each breadstick lightly with olive oil. This not only adds flavor but also helps the seasonings stick. In a small bowl, mix together your preferred Italian seasoning blend, which might include garlic powder, onion powder, dried oregano, and crushed red pepper flakes, along with a pinch of salt.
Sprinkle the seasoning mixture generously over the breadsticks, ensuring even coverage. Next, it’s time to add the cheese. Grate a combination of mozzarella and Parmesan cheese for a delightful topping that melts beautifully during baking. Sprinkle the cheese over the seasoned breadsticks, allowing for a generous layer that will create a deliciously cheesy crust.
The Second Rising: Importance and Timing
The second rising is just as important as the first. This step allows the dough to relax and rise slightly again, resulting in light and airy breadsticks. After applying your seasonings and cheese, cover the breadsticks with a clean kitchen towel and let them rise for another 30 minutes.
During this time, preheat your oven to 375°F (190°C). The warm environment will encourage the yeast to continue working, resulting in a fluffier final product.
Baking to Perfection
Once your breadsticks have completed the second rise, it’s time to bake. Place the baking sheet in your preheated oven and bake for 15-20 minutes, or until the breadsticks are golden brown and the cheese is bubbly. Keep an eye on them during the last few minutes of baking to prevent over-browning.
You can tell the breadsticks are done when they have a lovely golden color, and when tapped, they sound hollow. For an extra touch, consider brushing them with melted butter mixed with minced garlic right after they come out of the oven for an enticing aroma and flavor.
Serving Suggestions for Cheesy Italian Breadsticks
These Cheesy Italian Breadsticks are incredibly versatile and can be enjoyed in various ways. One classic pairing is with marinara sauce or garlic butter for dipping. The rich, savory flavors of the sauce complement the cheesy, warm breadsticks beautifully.
You can also serve them alongside pasta dishes, salads, or soups, making them an excellent addition to any Italian meal. Alternatively, they can serve as a satisfying snack on their own or as part of a party platter, showcasing their appeal to family and friends. For a fun twist, try adding different toppings such as fresh herbs or a drizzle of balsamic glaze for an extra layer of flavor.
Nutritional Information and Benefits
Homemade Cheesy Italian Breadsticks can be a delicious treat that also offers nutritional value. Based on the ingredients used, here’s a general overview of what you can expect in each serving:
– Calories: Approximately 150-200 calories per breadstick, depending on the amount of cheese and oil used.
– Carbohydrates: Around 25-30 grams, primarily from the flour.
– Protein: Approximately 5-7 grams, mainly from the cheese and flour.
– Fats: About 5-10 grams, depending on the olive oil and cheese content.
Using whole ingredients and avoiding preservatives makes these breadsticks a healthier option compared to store-bought varieties. The use of olive oil not only enhances flavor but also provides healthy fats, while the cheese contributes protein and calcium.
Conclusion: The Joy of Homemade Cheesy Italian Breadsticks
Making Cheesy Italian Breadsticks from scratch is not only a rewarding culinary experience but also a delightful way to create lasting memories around the dinner table. The process of mixing, kneading, rising, and baking allows you to connect with the ingredients and enjoy the fruits of your labor.
There’s something special about pulling a warm, cheesy breadstick from the oven and sharing it with loved ones. Whether served as an appetizer, snack, or alongside your favorite pasta dish, these breadsticks are sure to become a cherished addition to your home-cooked meals. Embrace your culinary creativity, explore variations and toppings, and savor the joy of homemade cheesy Italian breadsticks that bring everyone together.


