Introduction
Red velvet desserts have captured hearts and taste buds across the globe, becoming a staple at celebrations, from birthdays to weddings. The striking crimson hue of red velvet cake, often complemented by a cream cheese frosting, evokes a sense of indulgence and festivity that is hard to resist. The unique combination of flavors—rich cocoa, vanilla, and a hint of tanginess—sets red velvet apart from other desserts, making it an iconic choice for special occasions.
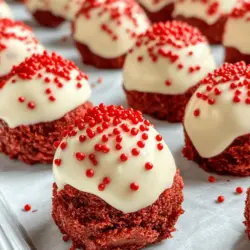
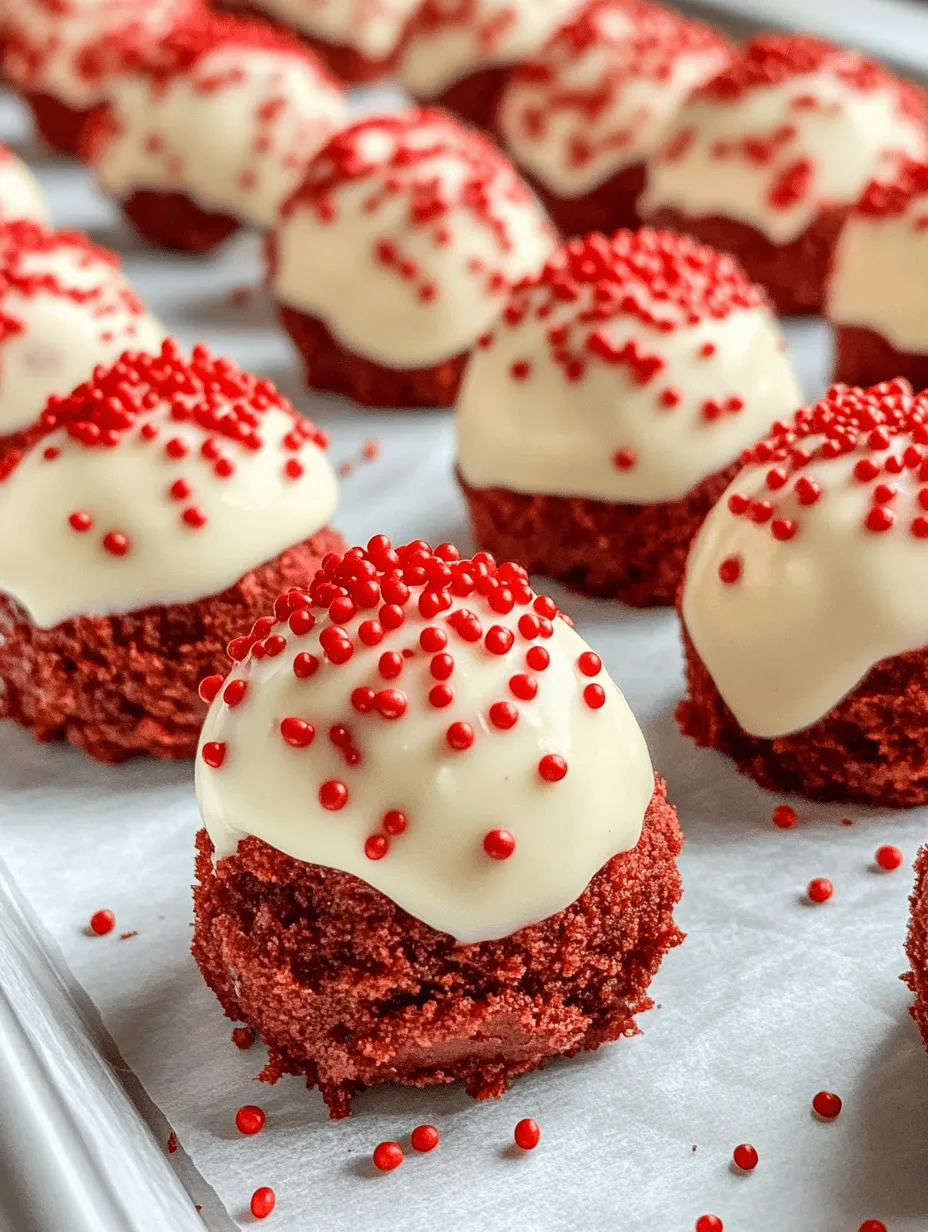
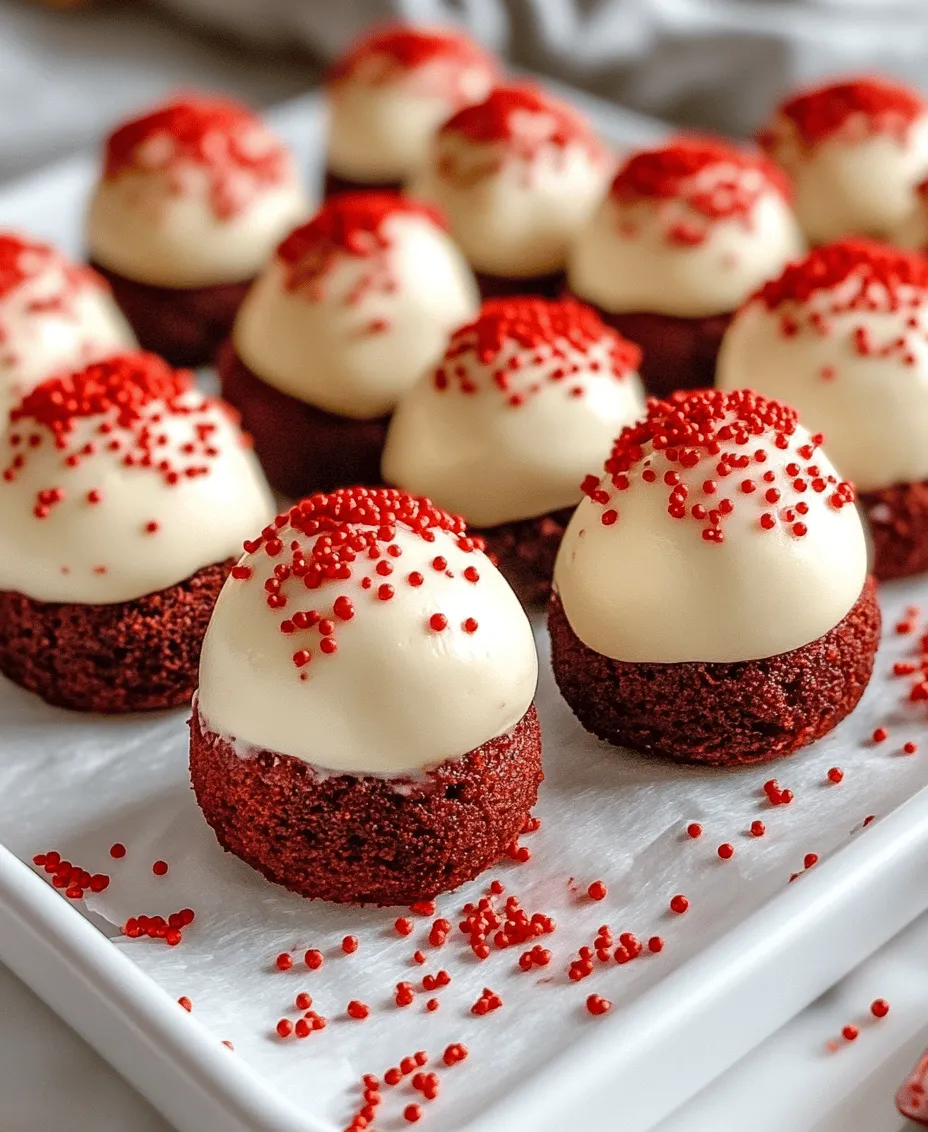
In this article, we introduce an innovative twist on this classic treat: Delightful Red Velvet Cheesecake Bites. These miniature desserts combine the beloved flavors of red velvet cake with the creamy richness of cheesecake, all perfectly packaged in bite-sized portions. Ideal for parties, holiday gatherings, or simply as a delightful treat at home, these cheesecake bites are not only eye-catching but also incredibly delicious. They provide the perfect solution for those who want to indulge without committing to a large slice of cake.
Whether you’re hosting a festive gathering or looking for a sweet treat to brighten your day, these red velvet cheesecake bites are sure to impress your guests, making them an irresistible addition to any dessert table.
The Allure of Red Velvet Desserts
To truly appreciate the appeal of red velvet cheesecake bites, it is essential to understand the historical charm of red velvet cake itself. The origins of this vibrant dessert can be traced back to the early 20th century, with its roots in the Southern United States. Initially, red velvet cake was not as universally recognized as it is today; its fame surged during the 1980s, thanks in part to a marketing campaign by a food company that promoted the cake mix. Today, red velvet cake is a beloved dessert, often associated with love, romance, and special occasions.
The allure of red velvet lies not only in its stunning appearance but also in its unique flavor profile. The cake is made with a combination of cocoa powder and buttermilk, which contributes to its tender, moist texture. The acidity of the buttermilk enhances the cake’s flavor while also reacting with the cocoa, giving it a slight reddish hue. This distinctive combination makes red velvet cake a true treat for the senses, boasting a rich, velvety mouthfeel, a subtle chocolate flavor, and a tangy finish from the cream cheese frosting that often accompanies it.
In recent years, the trend of bite-sized desserts has gained momentum, as more people seek convenient yet indulgent options. Mini desserts like cheesecake bites have become increasingly popular because they allow for easy serving and consumption, making them ideal for gatherings where guests may want to sample a variety of treats. The combination of red velvet cake and cheesecake in a bite-sized format not only meets the demand for smaller portions but also enhances the overall dessert experience, allowing for a perfect balance of flavors and textures.
Ingredients Breakdown
To create these delightful red velvet cheesecake bites, we will utilize a variety of key ingredients, each playing a vital role in achieving the perfect taste and texture. Here’s a closer look at what you’ll need:
– Red Velvet Cake Mix: The base of our dessert, the red velvet cake mix provides convenience and a rich flavor. Using a cake mix simplifies the process while still delivering that signature red velvet taste. Look for a high-quality mix for the best results.
– Vegetable Oil: This ingredient adds moisture and richness to the cake batter. It ensures that the bites remain tender and delicious, preventing them from becoming dry.
– Eggs: Serving as a binding agent, eggs help provide structure to the cake. They also contribute to the overall texture, making the bites light and fluffy.
– Cream Cheese: The star of our cheesecake filling, cream cheese adds a creamy texture and a distinctive tangy flavor. It is essential for creating that classic cheesecake taste that complements the red velvet beautifully.
– Powdered Sugar: This ingredient sweetens the cheesecake filling and enhances its smoothness. The fine texture of powdered sugar allows it to blend easily with the cream cheese, creating a velvety mixture.
– Whipped Cream: To lighten the cheesecake filling, whipped cream is folded in, giving the bites a fluffy, airy texture. This addition enhances the overall mouthfeel and balances the richness of the cream cheese.
– Optional Ingredients: For those looking to elevate the texture and flavor of their cheesecake bites, adding chocolate chips or white chocolate chunks can provide an extra dimension. These additions bring delightful surprises in every bite, making the treat even more enjoyable.
With a clear understanding of the ingredients, we can now dive into the preparation steps to create these irresistible red velvet cheesecake bites.
Step-by-Step Instructions for Preparation
Preparing the Red Velvet Cake
To kick off the preparation of your delightful red velvet cheesecake bites, start by gathering all your ingredients and preheating your oven to 350°F (175°C). Following these detailed instructions will ensure that your cake turns out perfectly, setting the stage for your cheesecake filling.
1. Mix the Cake Batter:
– In a large mixing bowl, combine the red velvet cake mix, vegetable oil, and eggs. Use a hand mixer or a whisk to blend the ingredients together until they are well combined. Be careful not to overmix the batter; a few lumps are perfectly fine.
– If desired, you can also add a splash of vanilla extract to enhance the flavor of the cake. This addition brings out the richness of the cocoa and adds depth to the overall taste.
2. Prepare the Baking Pan:
– Grease a 9×13-inch baking pan with non-stick cooking spray or line it with parchment paper for easy removal. Ensuring that the pan is prepared properly will help prevent the cake from sticking, allowing for a smooth extraction once baked.
3. Bake the Cake:
– Pour the cake batter into the prepared baking pan, spreading it evenly with a spatula. Place the pan in the preheated oven and bake for 25-30 minutes, or until a toothpick inserted into the center comes out clean. Keep an eye on the cake as it bakes, as oven temperatures can vary.
4. Cool the Cake:
– Once baked, remove the cake from the oven and set it aside to cool in the pan for about 10-15 minutes. After it has cooled slightly, carefully transfer the cake to a wire rack to cool completely. Allowing the cake to cool is crucial, as it will make it easier to crumble for the cheesecake bites.
5. Crumble the Cake:
– Once the cake has cooled completely, use your hands or a fork to crumble it into fine pieces in a large mixing bowl. This crumbly texture will serve as the foundation for your cheesecake bites, so ensure there are no large chunks remaining.
With the red velvet cake prepared, you’re now ready to move on to creating the luscious cheesecake filling that will elevate these bites to the next level. Stay tuned for the next steps, where we will bring together the cake and cheesecake components to form these delightful treats.
Tips for Perfectly Baked Red Velvet Cake
Baking the perfect red velvet cake is essential to crafting delightful cheesecake bites. To avoid dryness or undercooking, here are some valuable tips:
1. Measuring Ingredients Accurately: Use the spoon-and-level method for measuring flour. Too much flour can lead to a dry cake, while too little can cause it to collapse. Always use a scale for precision if available.
2. Room Temperature Ingredients: Make sure your eggs, buttermilk, and butter are at room temperature. This helps create a smooth batter that bakes evenly.
3. Monitor Oven Temperature: An oven thermometer can ensure that your oven runs at the correct temperature. If your oven is too hot or too cold, it can throw off baking times and results.
4. Check for Doneness: About five minutes before the recommended baking time is up, start checking for doneness. Use the toothpick method: insert a toothpick into the center of the cake, and if it comes out clean or with a few moist crumbs, the cake is ready.
Baking the Cake
Preheat your oven to 350°F (175°C). Grease and flour your cake pans or use parchment paper for easier removal. Pour the prepared red velvet cake batter evenly into the pans, ensuring they are filled to about two-thirds capacity to allow room for rising.
Bake for approximately 25-30 minutes. The edges should start to pull away from the sides of the pan, and the center should spring back when gently touched. Once baked, remove the cakes from the oven and allow them to cool in the pans for about 10 minutes before transferring them to a wire rack to cool completely.
Importance of Cooling the Cake Completely Before Crumbling
Cooling the cake completely before crumbling is crucial for a few reasons. First, a warm cake can become gummy and difficult to crumble. Second, cooling helps set the structure of the cake, allowing for a more uniform crumb when you break it down. Ideally, let the cakes cool for at least an hour to achieve the perfect texture.
Suggestions for Checking Doneness Using the Toothpick Method
When checking for doneness, insert a toothpick into the center of your cake. If it comes out with a few moist crumbs but no wet batter, your cake is done. If the toothpick comes out with wet batter, return the cake to the oven for a few more minutes, checking every couple of minutes until fully baked. Remember that cakes continue to cook slightly after being removed from the oven due to residual heat, so be cautious not to overbake.
Preparing the Cheesecake Filling
While the cake cools, you can prepare the cheesecake filling. Start by softening the cream cheese at room temperature to ensure a smooth mixture.
Techniques for Achieving a Smooth Cheesecake Filling:
1. Beat the Cream Cheese: Begin by beating the cream cheese alone for about 2 minutes until it becomes fluffy and smooth. This step is essential to break down any lumps before adding other ingredients.
2. Gradually Add Sugar: Add granulated sugar and vanilla extract gradually while continuing to mix. This prevents the sugar from clumping and ensures an even distribution.
3. Incorporate Sour Cream: Add sour cream for a luscious texture and tangy flavor. Mix until fully combined.
Importance of Folding in Whipped Cream to Maintain Lightness
To achieve that signature light and airy cheesecake texture, fold in the whipped cream. After whipping heavy cream to soft peaks, gently fold it into the cheesecake mixture using a spatula. Use a gentle motion to avoid deflating the whipped cream, which contributes to the lightness of the cheesecake filling.
Creating the Cheesecake Bites
Once you have both the cooled cake and the cheesecake filling ready, it’s time to assemble your cheesecake bites.
Step-by-Step Guide on Shaping the Bites for Uniformity:
1. Crumble the Cake: In a large bowl, crumble the cooled red velvet cake into fine crumbs using your hands or a fork. The crumbs should be small and uniform.
2. Mix with Cheesecake Filling: Add the cheesecake filling to the crumbled cake. Use a spatula to combine until the mixture is well incorporated and holds together when pressed.
3. Shape into Bites: Take small portions of the mixture and roll them into balls. Aim for about 1-inch in diameter for uniform bites. If you prefer, you can also shape them into squares or rectangles for a different presentation.
Tips for Handling the Mixture Without Making a Mess:
– Chill the Mixture: If the mixture feels too soft to handle, refrigerate it for about 15-20 minutes to firm it up slightly.
– Wet Your Hands: Dampen your hands with a bit of water to prevent the mixture from sticking while rolling into shapes.
Chilling and Serving the Cheesecake Bites
Once shaped, the cheesecake bites need to chill to set. Place them on a parchment-lined baking sheet and refrigerate for at least 2 hours. This step is crucial as it allows the flavors to meld and the bites to firm up for easy handling.
Suggestions on Presentation for Serving:
– Plating Ideas: Arrange the chilled cheesecake bites on a decorative platter or tiered stand for a beautiful display.
– Garnishing: For a pop of color, consider garnishing with red sprinkles or edible glitter. You might also drizzle with white chocolate or top with mini chocolate chips.
Nutritional Information
These red velvet cheesecake bites provide a delightful balance of indulgence and moderation. Each bite offers a rich taste while remaining manageable in portion size.
Overview of the Nutritional Aspects:
– Calories: Approximately 100-150 calories per bite, depending on the size and ingredients.
– Fats and Sugars: The bites contain a blend of healthy fats from cream cheese and sugar, which should be enjoyed as an occasional treat rather than a daily staple.
Discussion of Portion Sizes:
When serving, consider offering them in small quantities, especially if catering to a larger group. This way, guests can enjoy the rich flavors without overindulging.
The Perfect Occasion for Red Velvet Cheesecake Bites
These delightful red velvet cheesecake bites are versatile and can shine at various events:
– Birthdays: Their festive appearance makes them a favorite for birthday celebrations.
– Holidays: Serve them during holiday festivities as a sweet treat that complements holiday meals.
– Weddings and Anniversaries: Their elegant look fits beautifully into dessert tables at weddings or special anniversaries.
Suggestions for Pairing with Beverages:
Consider serving these bites with a cup of rich coffee, which balances the sweetness, or pair them with dessert wines for a more decadent experience. Sparkling wines can also enhance the celebration of special occasions.
Conclusion
Red velvet cheesecake bites are not just a dessert; they are a culinary experience that captures the hearts of anyone lucky enough to taste them. With their luscious texture, rich flavor, and beautiful presentation, these bites are sure to be a crowd-pleaser at your next gathering.
We encourage you to try making these easy yet impressive dessert bites at home. With a few simple steps and some attention to detail, you can create a treat that will leave your guests raving long after the last bite. Enjoy the delightful process of baking and savor the sweet rewards it brings!


