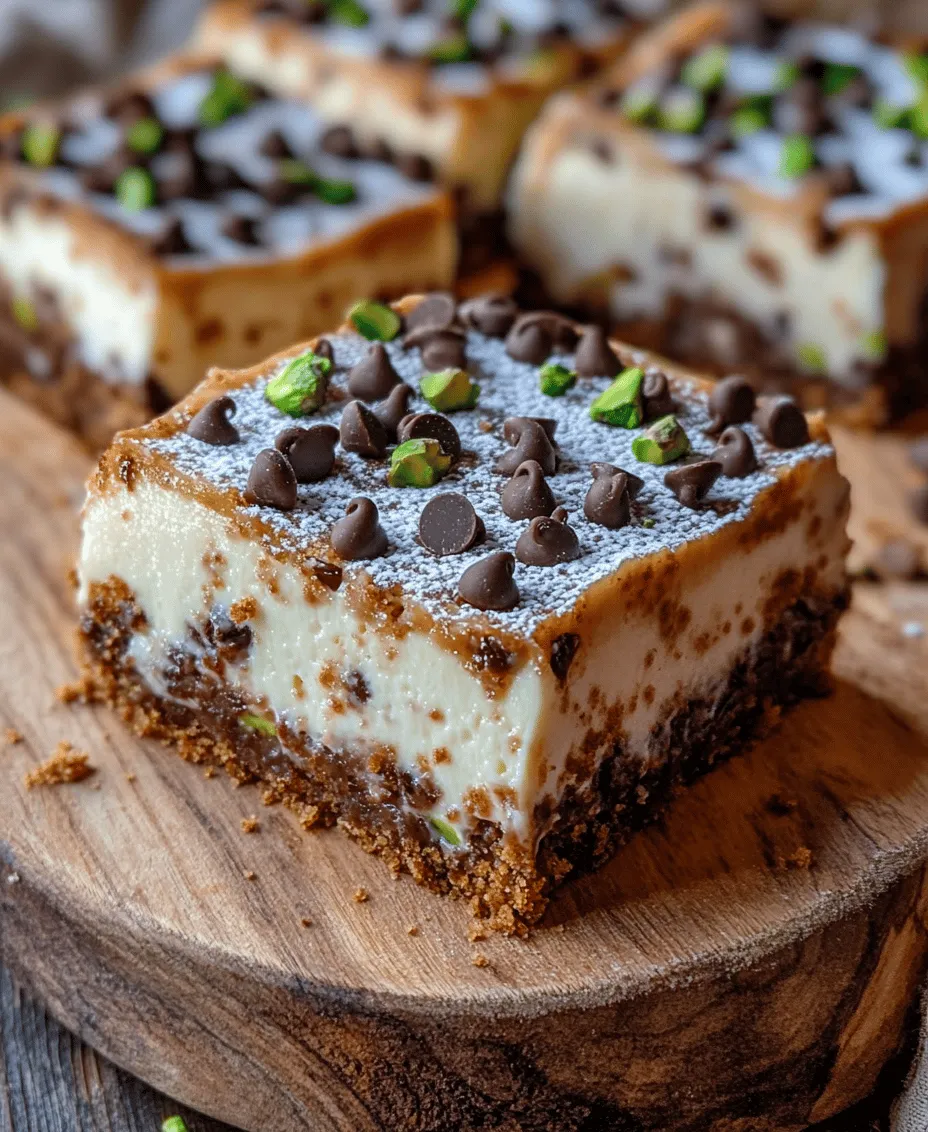
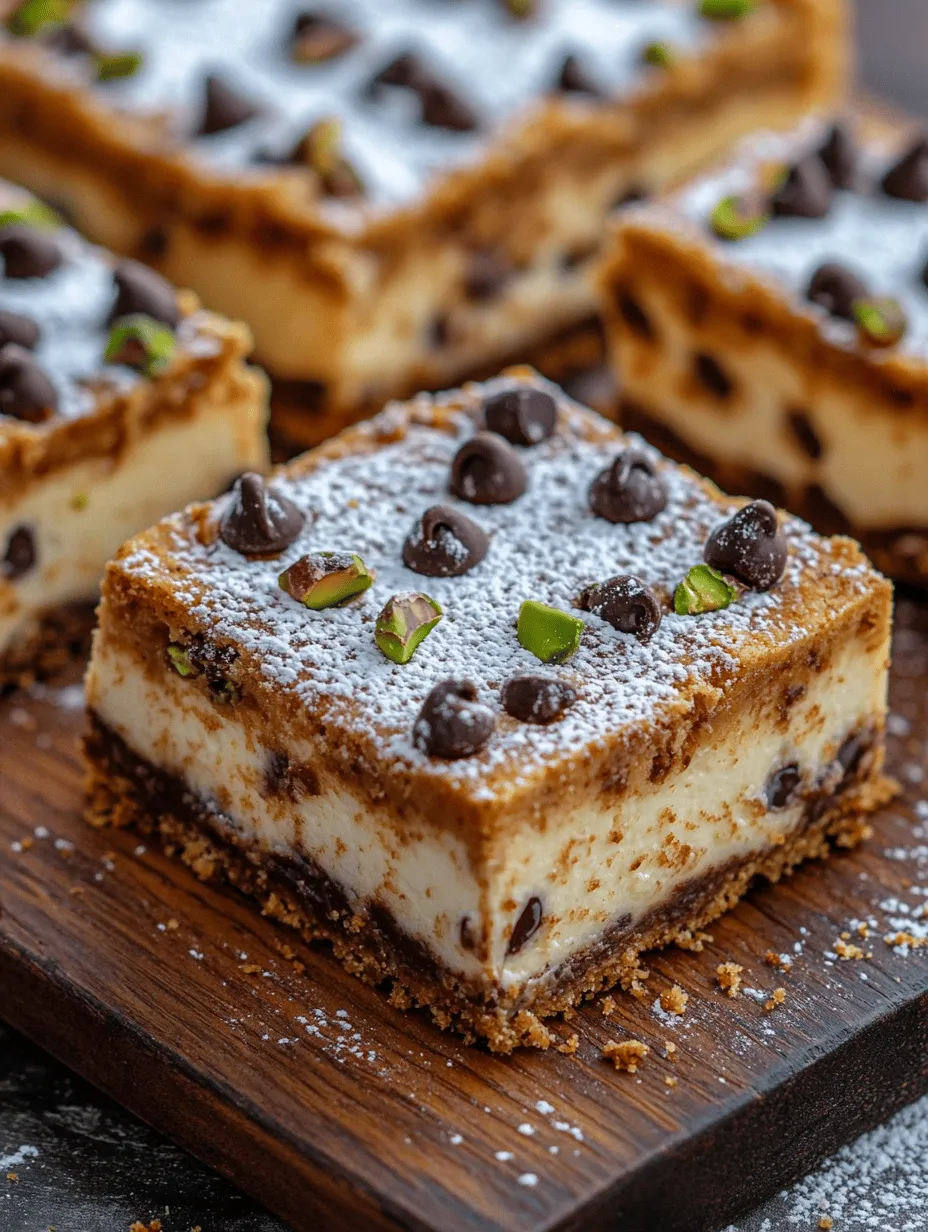
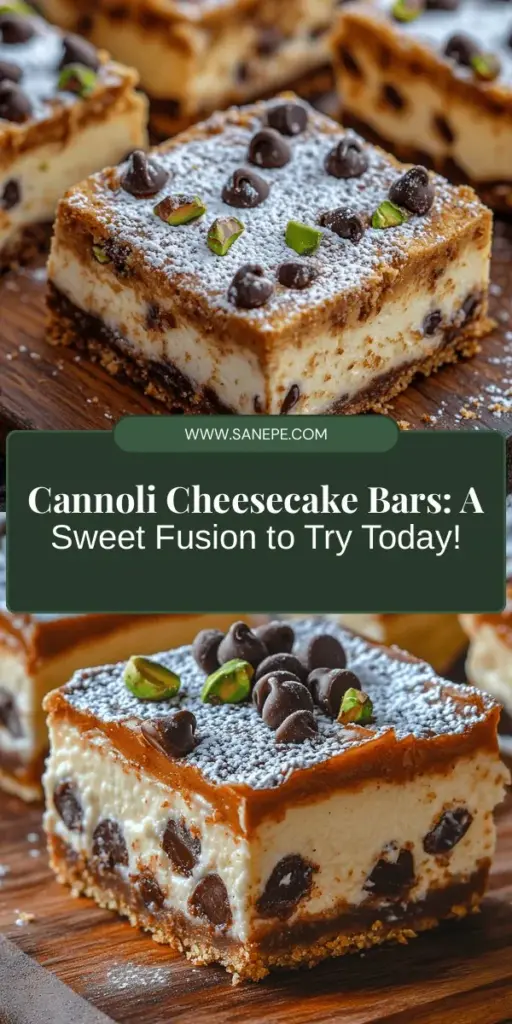
When you think of classic Italian desserts, two iconic treats often come to mind: the crispy, creamy cannoli and the rich, velvety cheesecake. Now, imagine merging these two culinary masterpieces into one irresistible dessert. Introducing Cannoli Cheesecake Bars Delight, a luscious fusion that promises to satisfy your sweet tooth and impress your guests. This delightful recipe combines the unique flavors of traditional cannoli with the creamy texture of cheesecake, offering a dessert experience like no other.
Perfect for any occasion—be it a holiday gathering, a birthday celebration, or simply a weekend treat—Cannoli Cheesecake Bars Delight is an absolute must-try for dessert lovers. The recipe is designed to be simple and accessible, making it ideal for both novice bakers and seasoned culinary enthusiasts. With just a few straightforward steps, you can create a stunning dessert that is sure to steal the spotlight.
Understanding the Inspiration Behind Cannoli Cheesecake Bars
To truly appreciate Cannoli Cheesecake Bars Delight, it helps to understand the origins of its two main components: cannoli and cheesecake.
The Origins of Cannoli
Cannoli, a beloved Italian pastry, hails from Sicily and has a rich history dating back to the Arabian rule of the island during the 9th century. Traditionally, cannoli consist of a crispy, tube-shaped shell filled with a sweet, creamy mixture, often made from ricotta cheese, sugar, and various flavorings. This dessert not only showcases the artistry of Italian pastry-making but also holds cultural significance, often enjoyed during festive celebrations, particularly during Carnevale.
The Essence of Cheesecake
On the other hand, cheesecake has roots that trace back to ancient Greece, where it was served to athletes during the first Olympic games. Over the centuries, cheesecake has transformed and taken on various forms across different cultures. The American version, characterized by its creamy texture and rich flavor, has become a staple in dessert menus worldwide.
Combining the elements of these two classic treats creates a creative yet familiar dessert. The Cannoli Cheesecake Bars Delight invites you to explore a new flavor profile while paying homage to the traditional recipes that inspired it. The end result is a harmonious blend of creaminess, crunch, sweetness, and a dash of nostalgia.
Ingredients Breakdown
Creating Cannoli Cheesecake Bars Delight requires a thoughtfully curated list of ingredients, each contributing to its delicious flavor and texture. Let’s dive into the components that make this dessert truly special.
Crust Ingredients
1. Graham Cracker Crumbs: The foundation of our Cannoli Cheesecake Bars is a buttery graham cracker crust. The crumbs lend a sweet, slightly nutty flavor and a satisfying crunch that contrasts beautifully with the creamy filling.
2. Butter: Melted butter binds the graham cracker crumbs together, creating a cohesive crust. It also adds richness and enhances the overall flavor of the dessert.
3. Sugar: A touch of granulated sugar sweetens the crust, balancing the flavors of the filling and adding a slight caramel note once baked.
Cheesecake Filling Ingredients
1. Cream Cheese: The star of the filling, cream cheese provides that rich, creamy base associated with traditional cheesecake. It offers a smooth texture and tangy flavor that pairs perfectly with sweet ingredients.
2. Ricotta Cheese: Essential for capturing the essence of cannoli, ricotta cheese adds a light, fluffy texture to the filling. This ingredient is what gives Cannoli Cheesecake Bars their signature taste and authentic Italian flair.
3. Sugar: Sweetening the filling is crucial; it not only enhances the flavor but also balances the tanginess of the cream cheese and ricotta.
4. Eggs: Eggs help bind the filling together, providing structure and stability while contributing to the creamy consistency.
5. Vanilla Extract: A splash of pure vanilla extract infuses the filling with warmth and depth, elevating the overall flavor of the dessert.
6. Optional Ingredients: For those looking to enhance their Cannoli Cheesecake Bars, consider adding chocolate chips or chopped pistachios. These additions provide delightful bursts of flavor and texture, reminiscent of traditional cannoli.
Topping Ingredients
1. Powdered Sugar: A light dusting of powdered sugar not only adds sweetness but also gives the dessert an elegant finish, making it visually appealing.
2. Garnishes: Consider garnishing your Cannoli Cheesecake Bars with mini chocolate chips, chopped pistachios, or even a drizzle of chocolate sauce for an extra touch of indulgence.
Step-by-Step Instructions for Cannoli Cheesecake Bars
Now that we’ve explored the delicious components of Cannoli Cheesecake Bars Delight, let’s dive into the preparation process. By breaking the steps down clearly, you’ll find that creating this dessert is easier than you might think!
Preparing the Crust
1. Preheat Your Oven: Before you start mixing ingredients, preheat your oven to 350°F (175°C). This step is crucial for achieving the perfect crust texture—golden brown and slightly crispy.
2. Mix the Crust Ingredients: In a medium bowl, combine the graham cracker crumbs, melted butter, and granulated sugar. Use a fork or your fingers to mix the ingredients until the crumbs are evenly coated with butter and the mixture resembles wet sand.
3. Press the Mixture into the Pan: Transfer the crust mixture into a greased 9×9-inch baking pan. Press it firmly into the bottom of the pan using your fingers or the bottom of a measuring cup. Ensure the crust is evenly distributed and compacted for optimal texture.
4. Bake the Crust: Place the crust in the preheated oven and bake for about 10-12 minutes, or until it is lightly golden. This step not only sets the crust but also enhances its flavor. Allow the crust to cool while you prepare the filling.
With the crust out of the way, you’re one step closer to creating your Cannoli Cheesecake Bars Delight. The next section will guide you through the process of making the creamy cheesecake filling that will elevate your dessert to new heights. Stay tuned for more detailed instructions on assembling this delicious treat!

Tips for Pressing the Crust Firmly into the Pan for an Even Bake
Creating the perfect crust for your Cannoli Cheesecake Bars is crucial, as it sets the foundation for the rich flavors that follow. Here are some essential tips to ensure your crust is pressed firmly and evenly into the pan:
1. Use the Right Tools: A flat-bottomed measuring cup or a tart tamper works wonders for pressing the crust into the pan. These tools allow you to apply even pressure without damaging the crust.
2. Start from the Center: Begin pressing the crust mixture in the center of the pan, then work your way outward. This technique helps ensure an even layer and prevents the crust from being too thick in any one spot.
3. Compact the Mixture: Take your time when pressing the crust. It should be tightly packed, which will help it hold together during baking. Aim for a thickness of about 1/4 inch, which provides a sturdy base without overpowering the cheesecake.
4. Chill Before Baking: After pressing the crust into the pan, consider chilling it in the refrigerator for about 15-20 minutes before baking. This step helps to firm up the crust, making it less likely to crumble during baking.
5. Baking for a Crispier Base: Bake the crust for about 10 minutes until it’s slightly golden. This not only sets the crust but also enhances its flavor, giving it that delightful crunch when paired with the creamy cheesecake filling.
Creating the Cheesecake Filling
The filling is where the magic happens in your Cannoli Cheesecake Bars. To achieve a smooth, creamy texture and avoid lumps, follow these steps:
1. Beat the Cream Cheese: Start with room temperature cream cheese, as this will make it easier to beat. Use an electric mixer on medium speed to whip the cream cheese until it’s completely smooth and fluffy. This usually takes about 2-3 minutes. Scrape down the sides of the bowl to ensure all the cream cheese is evenly beaten.
2. Incorporate the Sugar: Gradually add granulated sugar and continue mixing until fully combined. The sugar should dissolve, and the mixture should remain smooth.
3. Add Eggs: Add eggs one at a time, mixing on low speed until just combined. Overmixing can introduce air bubbles, which can lead to cracks in your cheesecake. Just blend until the yolks are fully incorporated.
4. Flavor it Up: Add in the vanilla extract and a pinch of cinnamon to enhance the flavor profile, mimicking the spices found in traditional cannoli.
5. Folding in Add-ins: Once the filling is ready, gently fold in the mini chocolate chips and optional pistachios. Use a spatula to carefully combine, ensuring you don’t deflate the mixture. This step adds delightful crunch and bursts of flavor in every bite.
Baking and Cooling Process
Achieving the perfect bake is essential for a great cheesecake. Here’s how to know when your Cannoli Cheesecake Bars are just right:
1. Know When It’s Done: The cheesecake should be set around the edges but still slightly jiggly in the center. The edges will appear firm, while the center should look a bit wobbly, which indicates it will continue to set as it cools.
2. Cooling Method: Once baked, turn off the oven and crack the door open. Allow the cheesecake to cool in the oven for about an hour. This gradual cooling process helps prevent cracks from forming on the surface.
3. Chilling Time: After cooling in the oven, transfer the cheesecake to the refrigerator. Chill for at least 4 hours, but overnight is best for developing the flavors and achieving the ideal texture.
4. Patience is Key: While you may be tempted to dig in right away, letting the cheesecake fully chill enhances the flavors and texture, ensuring each bar is rich and creamy.
Serving Suggestions
Now that your Cannoli Cheesecake Bars are ready, here are some delightful serving suggestions to elevate your dessert experience:
1. Pairing Options: These cheesecake bars pair wonderfully with freshly brewed coffee or a glass of dessert wine. A sweet dessert wine, such as Moscato or Vin Santo, complements the rich flavors of the cheesecake beautifully.
2. Presentation Tips: For an elegant touch, serve the bars on a pretty platter garnished with fresh fruit, such as raspberries or strawberries. A dusting of powdered sugar or a drizzle of chocolate sauce can also enhance visual appeal.
3. Portion Control: Cut the bars into small squares for easy serving, especially if you’re presenting them at gatherings. This allows guests to enjoy a taste without feeling overwhelmed.
4. Make it a Dessert Platter: Consider creating a dessert platter with a variety of treats, including the Cannoli Cheesecake Bars, cookies, and mini pastries, for a stunning display at parties or celebrations.
Nutritional Information
Understanding the nutritional aspects of your Cannoli Cheesecake Bars can help you make informed choices:
– Caloric Content: Each bar typically contains around 250-300 calories, depending on the size and specific ingredients used. This makes them a rich treat, perfect for special occasions.
– Allergens: Common allergens in this recipe include dairy (cream cheese) and gluten (if using regular graham crackers).
– Dietary Adjustments: For those looking for gluten-free options, you can substitute the graham cracker crust with gluten-free alternatives like almond flour or gluten-free cookies. Additionally, using low-fat cream cheese can reduce caloric content without sacrificing flavor.
Conclusion
In conclusion, making Cannoli Cheesecake Bars is a delightful experience that brings together the best of both worlds—rich, creamy cheesecake combined with the classic flavors of cannoli. This recipe is not only a crowd-pleaser but also a testament to the joy of baking and sharing delicious treats with friends and family.
By following the detailed steps and tips outlined, you’ll create a stunning dessert that’s perfect for any gathering or family dessert night. Whether you’re celebrating a special occasion or just indulging in a sweet treat, these Cannoli Cheesecake Bars are sure to impress. We encourage you to try this recipe, savor the flavors, and enjoy the smiles they bring to the faces of those you share them with. Happy baking!


