Introduction
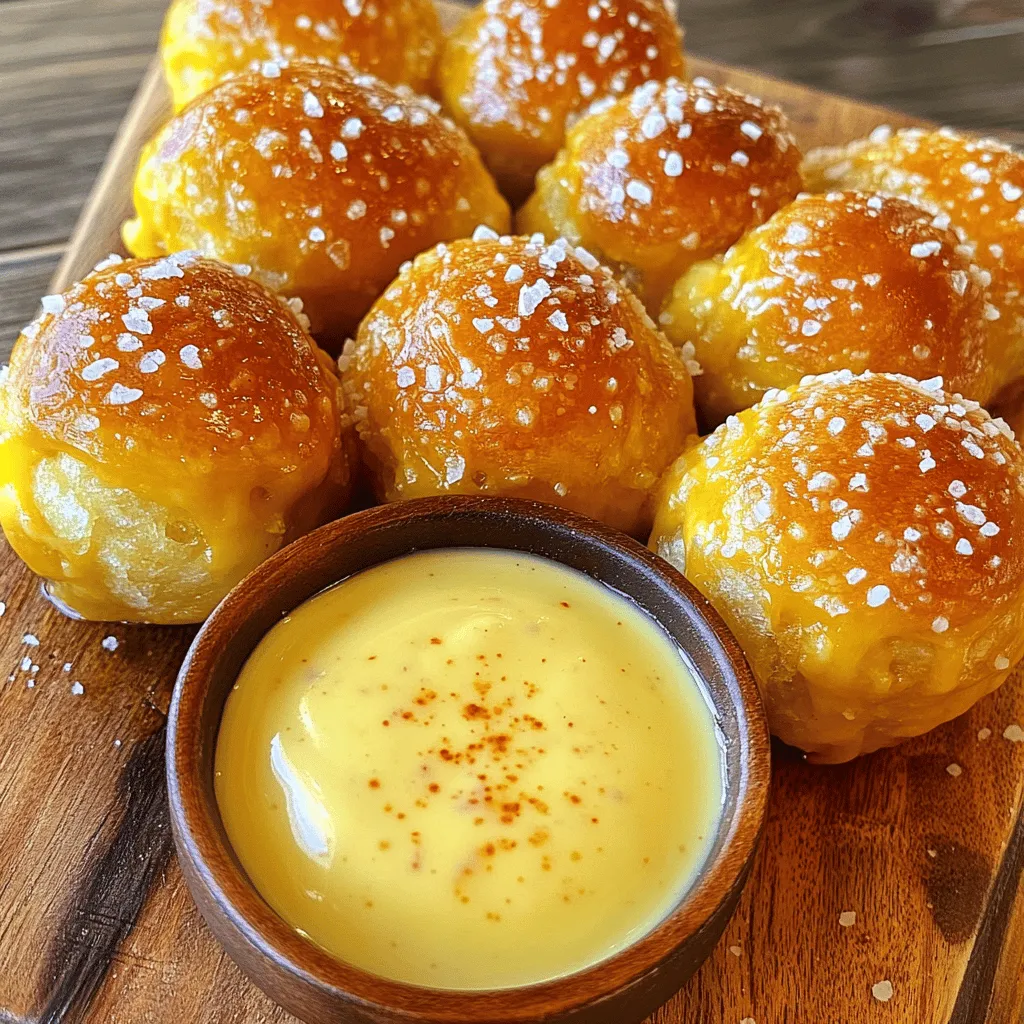
If you’re looking for a snack that perfectly blends comfort, flavor, and fun, look no further than pretzel bites. These delightful little morsels have captured the hearts of snack lovers everywhere, becoming a staple at sporting events, parties, and cozy family movie nights. Their warm, soft texture and salty exterior make them irresistible, but what if you could elevate this beloved snack to a whole new level? Enter Cheesy Pretzel Bites Bombs—an exciting twist that combines the classic pretzel bite with a creamy, dreamy cheddar sauce that takes flavor to new heights.
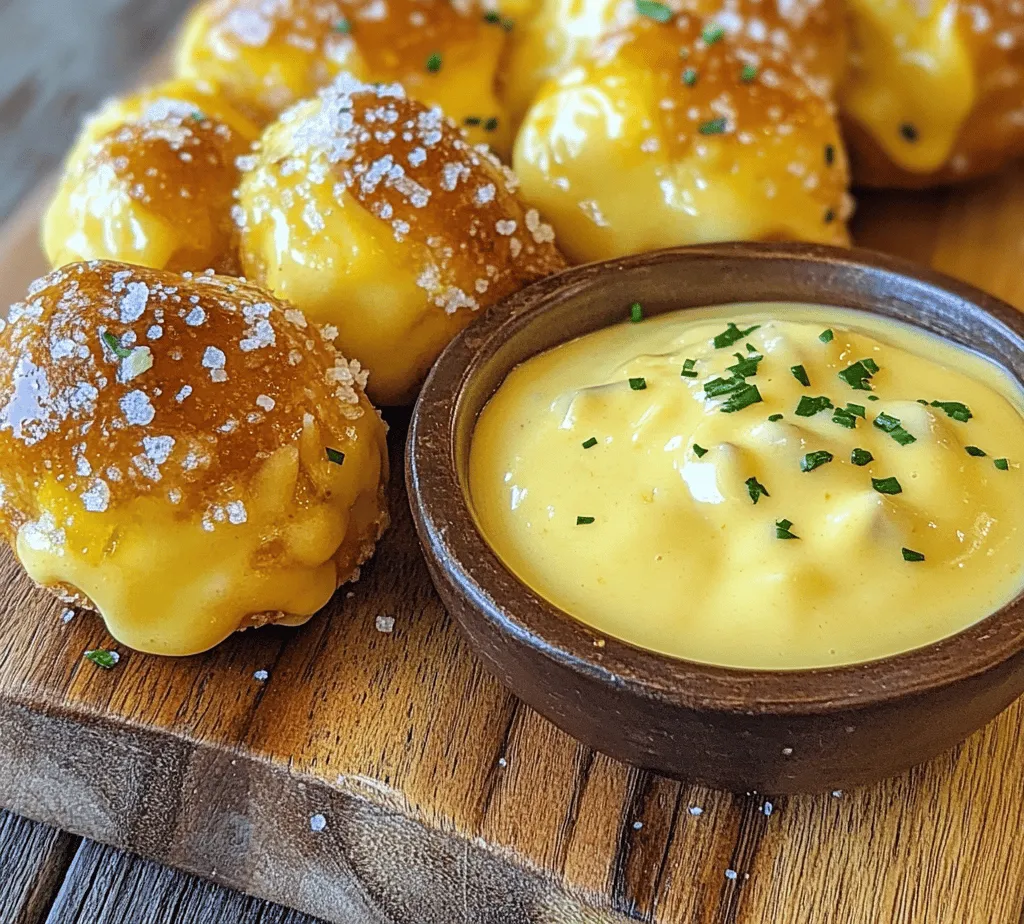
These cheesy pretzel bites are not just an ordinary snack; they are the ultimate crowd-pleaser. Imagine biting into a soft, buttery pretzel shell, only to be met with a gooey, rich cheddar center that oozes with every bite. This recipe is perfect for gatherings, game days, or simply indulging in a cozy night at home. Whether you’re hosting friends for a movie marathon or just need a delicious snack to satisfy your cravings, Cheesy Pretzel Bites Bombs will steal the show and have everyone coming back for more.
Understanding the Ingredients
Before diving into the step-by-step guide on how to make these delectable treats, let’s take a closer look at the essential ingredients. Understanding what each component contributes to the recipe will help ensure your pretzel bites turn out perfectly every time.
Essential Ingredients for Pretzel Bites
1. Warm Water: The foundation of our dough begins with warm water, an essential element for activating the yeast. The warmth helps to awaken the dormant yeast, allowing it to multiply and create the carbon dioxide necessary for the dough to rise.
2. Active Dry Yeast: This little powerhouse plays a critical role in the dough’s rise and texture. When combined with warm water, the yeast ferments, producing gas that causes the dough to expand, resulting in that delightful puffiness we all crave in a pretzel bite.
3. Granulated Sugar: You might be surprised to find sugar in a savory recipe, but it serves an important purpose. Sugar enhances yeast activation, providing the yeast with food to grow and ensuring a better rise and flavor in the dough.
4. All-Purpose Flour: The backbone of our pretzel bites, all-purpose flour provides the structure needed for the dough. It gives the pretzel bites their chewy texture and allows them to hold their shape during baking.
5. Salt: Apart from enhancing the overall flavor of the pretzel bites, salt plays a vital role in controlling yeast activity, ensuring that the dough rises at the right pace. It also contributes to that classic pretzel taste we all love.
6. Baking Soda: This ingredient is key in the boiling process that the dough undergoes before baking. When the pretzel bites are boiled in a baking soda solution, they develop that iconic deep brown color and distinct flavor that sets pretzels apart from regular bread.
7. Coarse Sea Salt: After boiling and before baking, a sprinkle of coarse sea salt on top adds the perfect finishing touch. It balances the richness of the cheesy filling and enhances the overall flavor experience.
Ingredients for the Cheddar Sauce
1. Shredded Sharp Cheddar Cheese: The star of our cheesy filling, sharp cheddar cheese is essential for its robust flavor. Choosing a quality cheese will ensure that your sauce is rich and satisfying, providing that gooey texture we all crave.
2. Unsalted Butter: Used to create a roux, unsalted butter is essential for the base of our cheese sauce. It adds richness and helps to create a smooth, creamy consistency.
3. All-Purpose Flour: When combined with melted butter, flour forms the roux that thickens our cheese sauce. This step is crucial for achieving the right texture—creamy but not too runny.
4. Whole Milk: For a truly luxurious sauce, whole milk adds creaminess and richness. It blends beautifully with the cheese, creating a velvety texture that coats the pretzel bites perfectly.
5. Dijon Mustard: A touch of Dijon mustard introduces a subtle tang that beautifully complements the sharpness of the cheddar cheese. This added flavor depth makes the cheese sauce truly outstanding.
6. Garlic Powder and Cayenne Pepper: Both of these ingredients enhance the flavor complexity of the sauce. Garlic powder adds an aromatic quality, while cayenne pepper provides a slight kick, making every bite exciting.
Step-by-Step Guide to Making Cheesy Pretzel Bites
Now that we’ve covered the essential ingredients, it’s time to dive into the exciting process of making Cheesy Pretzel Bites Bombs. Follow these steps carefully for the best results.
Preparing the Dough
Activating the Yeast
Begin by activating the yeast, which is a crucial first step to ensure your pretzel bites are fluffy and light. In a mixing bowl, combine the warm water (about 110°F) with granulated sugar. Stir until the sugar is dissolved, then sprinkle the active dry yeast over the surface of the water. Allow this mixture to sit for about 5-10 minutes until it becomes frothy. This froth indicates that the yeast is alive and ready to rise.
Mixing Ingredients
Once the yeast is activated, it’s time to mix your ingredients. In a large mixing bowl, combine the all-purpose flour and salt. Make a well in the center and pour in the yeast mixture. Using a wooden spoon or your hands, gradually incorporate the flour into the liquid, mixing until a rough dough begins to form.
Kneading Techniques for Optimal Dough Texture
Transfer the dough onto a clean, lightly floured surface. Begin kneading the dough by folding it over itself and pushing it down with the heel of your hand. Rotate the dough a quarter turn and repeat the process. Knead the dough for about 8-10 minutes until it becomes smooth and elastic. This step is vital as it develops the gluten structure, which gives the pretzel bites their chewy texture.
Letting the Dough Rise
Once kneaded, shape the dough into a ball and place it in a lightly greased bowl, turning it to coat all sides with oil. Cover the bowl with a clean kitchen towel or plastic wrap, and let it rise in a warm environment for about 1 hour or until it has doubled in size. This rising period is essential, as it allows the dough to develop flavor and texture.
As you wait for the dough to rise, you can prepare the delicious cheddar sauce that will fill your pretzel bites. Get ready to indulge in a snack that’s not only comforting but also undeniably delicious! Now you’re on your way to creating your very own Cheesy Pretzel Bites Bombs, bringing a gourmet twist to a classic favorite. Stay tuned for the next steps, where we’ll explore the boiling process and how to assemble these mouthwatering bites!
Best Practices for Rising: Temperature and Covering
The first critical step in creating your Cheesy Pretzel Bites Bombs is ensuring that your dough rises perfectly. The ideal rising temperature for your dough is around 75°F to 80°F (24°C to 27°C). This temperature range allows the yeast to thrive and produce the carbon dioxide necessary for the dough to expand. For a successful rise, cover the dough with a clean kitchen towel or plastic wrap to retain moisture and warmth, preventing a dry surface that can hinder yeast activity.
If your kitchen is particularly cool, you can create a warm environment for the dough to rise by placing it in an oven that has been preheated to the lowest setting for just a few minutes, then turned off. Alternatively, placing the bowl of dough in a sunny spot or on top of the refrigerator can help maintain an optimal temperature for rising.
Understanding the Dough’s Development
As the dough rises, it undergoes fermentation, where the yeast converts sugars into carbon dioxide and alcohol. This process not only leavens the dough but also develops flavor and texture. You will notice the dough increase in size, becoming light and airy. This is the result of gluten development, which gives the dough its structure. Allow your dough to rise until it has doubled in size, which typically takes about 1 to 1.5 hours, depending on the room temperature.
Prepping for Baking
Before you begin shaping your pretzel bites, there are a few important steps to prepare for baking. First, preheat your oven to 450°F (232°C). An adequately heated oven is crucial for achieving that perfect golden-brown crust and chewy texture characteristic of pretzels. While the oven heats up, line a baking sheet with parchment paper or a silicone baking mat to prevent sticking and facilitate easy cleanup.
Preheating the Oven: Why Temperature Matters
Preheating the oven to the correct temperature is essential for your pretzel bites. When the dough hits the hot oven, the sudden increase in temperature causes the gas bubbles to expand rapidly, giving the pretzel bites their puffy shape. If the oven is not hot enough, the dough will not rise adequately, resulting in denser bites.
Preparing the Baking Soda Bath: Science Behind the Pretzel Texture
One of the defining characteristics of pretzels is their unique texture, achieved through a baking soda bath. The bath is made by dissolving baking soda in boiling water. This alkaline solution reacts with the dough, giving the pretzels a distinctive chewy crust and deep brown color when baked.
To prepare your baking soda bath, bring 4 cups of water to a boil and stir in 1/4 cup of baking soda. Be cautious, as the mixture will bubble up when the baking soda is added. Once the solution is ready, reduce the heat to a simmer.
Shaping and Boiling the Pretzel Bites
Now it’s time to shape your pretzel bites! Turn the risen dough onto a lightly floured surface and gently punch it down to release excess gas. Divide the dough into small equal portions, about 1.5 inches in diameter, to ensure uniformity in cooking and presentation.
Shaping Tips for Uniform Sizes
To achieve uniform sizes, use a kitchen scale to weigh each piece of dough, or simply eyeball it for an approximate size. Roll each piece into a ball, then elongate it slightly into a log shape. You can twist the log into a traditional pretzel knot or simply leave it as a ball—both will yield delicious results!
The Boiling Process: Impact on Texture and Flavor
Once shaped, it’s time to boil your pretzel bites. Carefully place them in the simmering baking soda bath, allowing them to boil for about 30 seconds on each side. This step is crucial; it enhances the flavor while also creating a chewy exterior. After boiling, remove the bites with a slotted spoon and place them on the prepared baking sheet.
Baking to Perfection
Now that your pretzel bites are shaped and boiled, it’s time for the final step: baking. Place the baking sheet in the preheated oven and bake for 10 to 12 minutes, or until they are golden brown.
Timing and Visual Cues for Doneness
Keep an eye on them as baking times can vary depending on your oven. Look for a deep golden color and a shiny crust. The pretzel bites should feel firm to the touch and have a slight bounce when pressed.
The Role of Coarse Salt in Enhancing Flavor
Before placing the pretzel bites in the oven, sprinkle them generously with coarse sea salt. This simple addition amplifies the flavor and provides a delightful contrast to the cheesy interior.
Crafting the Cheddar Sauce
While your pretzel bites are baking, it’s time to whip up a smooth and creamy cheddar sauce that will take your snack experience to the next level.
Step-by-Step Instructions for Creating a Smooth, Creamy Sauce
1. Melt the Butter: In a medium saucepan, melt 2 tablespoons of butter over medium heat.
2. Whisk in Flour: Once melted, whisk in 2 tablespoons of all-purpose flour and cook for about 1 minute to create a roux, stirring constantly.
3. Add Milk: Gradually pour in 1 cup of milk while whisking to prevent lumps. Continue to cook until the mixture thickens and bubbles gently.
4. Incorporate Cheese: Remove from heat and stir in 1 cup of shredded sharp cheddar cheese. Continue stirring until the cheese has melted and the sauce is smooth.
Techniques for Ensuring No Lumps in the Sauce
To avoid lumps in your cheese sauce, always whisk vigorously while adding the milk to the roux. If any lumps do form, you can use an immersion blender to blend the sauce until smooth.
Flavoring the Sauce: Balancing Cheese, Mustard, and Spices
For added flavor, consider mixing in a teaspoon of Dijon mustard, a pinch of garlic powder, or a dash of cayenne pepper for a hint of heat. Taste and adjust the seasonings to your preference.
Serving Suggestions
Your Cheesy Pretzel Bites Bombs are now ready to serve! Here are some creative ideas to elevate your presentation and enhance the snacking experience:
Presentation Ideas for Serving Pretzel Bites
Serve your pretzel bites on a large wooden board or a slate platter for a rustic touch. Arrange them in a circle, with the cheddar sauce in the center, or stack them in a tall tower for visual appeal.
Pairing with Beverages for an Enhanced Snack Experience
Consider pairing your cheesy pretzel bites with refreshing beverages. A crisp lager or a cold glass of lemonade complements the savory bites beautifully. For a non-alcoholic option, sparkling water with a twist of lemon adds a refreshing contrast.
Creative Dipping Options Beyond Cheddar Sauce
While the cheddar sauce is a classic choice, don’t hesitate to get creative with dipping options! Offer a zesty ranch dressing, a honey mustard dip, or even a spicy buffalo sauce for an adventurous twist.
Nutritional Information
Understanding the nutritional value of your snacks can be helpful, especially when sharing with family and friends. Below is a breakdown of the calories and nutritional value per serving (based on a serving size of 4 pretzel bites with cheddar sauce):
– Calories: Approximately 250-300 calories
– Carbohydrates: 30g
– Protein: 10g
– Fat: 12g
– Fiber: 1g
Discussion on Portion Sizes and Indulgence
Keep in mind that while these cheesy pretzel bites make for a delightful snack, moderation is key due to their indulgent nature. Enjoy them as a treat during game nights, movie marathons, or gatherings with friends.
Conclusion
Homemade Cheesy Pretzel Bites Bombs offer a deliciously fun snack experience that’s perfect for sharing with loved ones. The combination of the chewy pretzel exterior paired with a gooey, cheesy center creates a mouthwatering treat that is sure to impress.
By following this detailed recipe, you’ll not only enjoy the process of cooking but also create memorable moments around the table. So roll up your sleeves, get into the kitchen, and prepare to delight your friends and family with these irresistible bites. The joy of cooking is in the creation and sharing of food—embrace it, and savor every cheesy, salty bite!
